Home Built Tap Wrench Project

MozamPete

H-M Supporter - Gold Member
H-M Supporter Gold Member
Joined
Jun 26, 2014
Messages
619
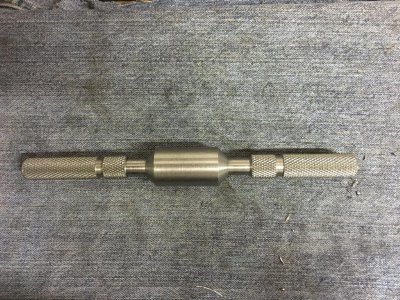
I have broken a couple of tap wrench over the years - while I have some good quality taps, all my tap wrenches are rubbish. So today I decided to try and build my own base on a blatant rip off of the Starrett No.91 style.

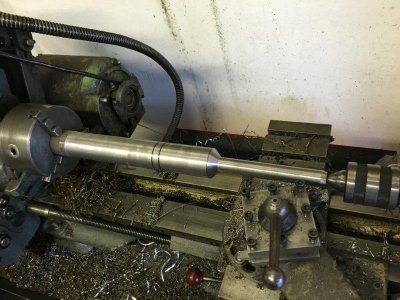
Started with a bit of 28mm dia. scrap round stock.
IMG_0043.jpg
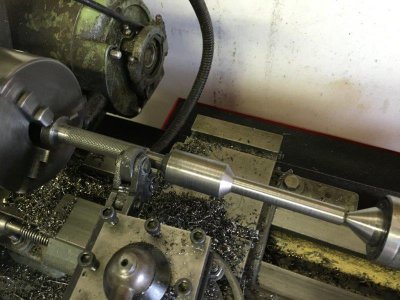
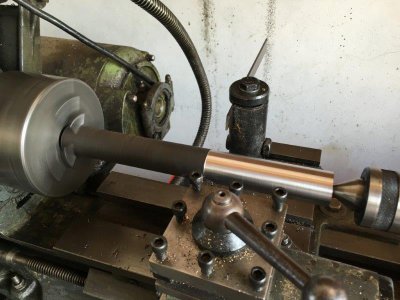
Turned down one end to 12mm dia, for the adjusting side handle.
IMG_0044.jpg
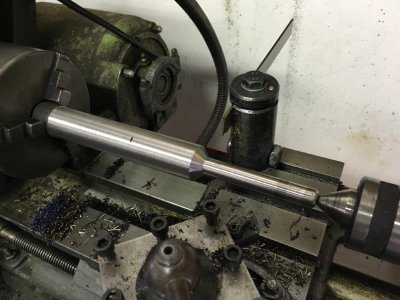
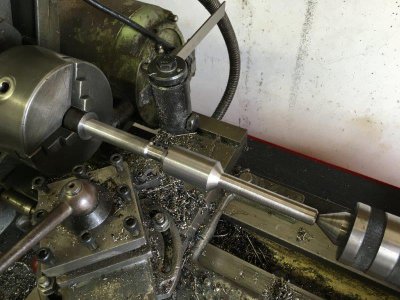
and the other to 15mm dia. for the fixed handle.
IMG_0045.jpg

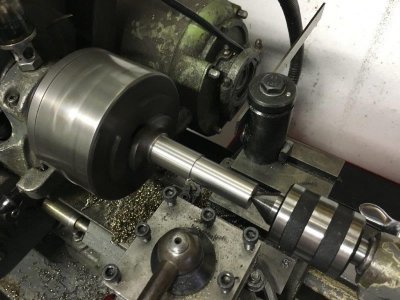
Knurled the fixed handle.
IMG_0046.jpg

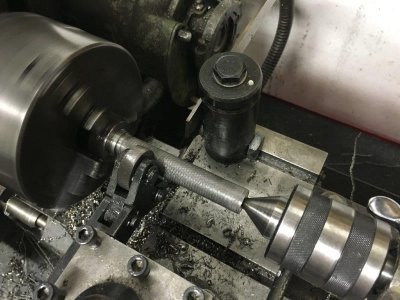
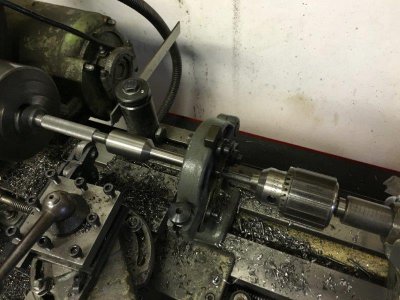
and drilled the adjusting side handle for the plunger.
IMG_0047.jpg
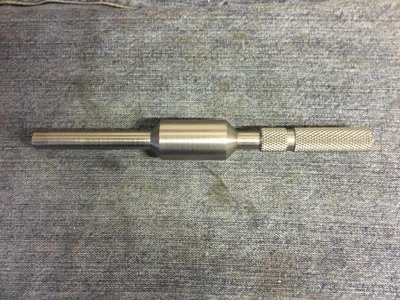
and that was the lathe work on the body complete
IMG_0048.jpg
 
Lookin good so far, now ya need to make several more sizes to complete the collection.
 
That's the plan if the first one works out OK.
 
Got a couple of hours in the workshop tonight and managed to make and fit the adjusting handle. Turned down another piece of the same stock so ended up with more chips than part.

Turned down the 28mm stock to 15mm
IMG_0062.jpg

Knurled it to match the fixed handle
IMG_0064.jpg

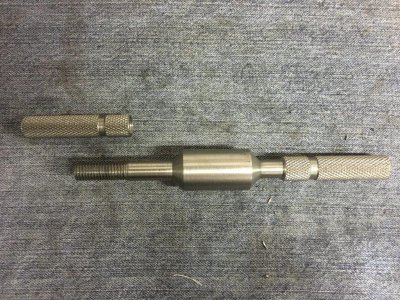
And after some drilling and tapping I had my adjusting handle. Trimmed the corresponding handle of the main body down and threaded it to suit.
IMG_0065.jpg

And they fit like they were made for each other.
IMG_0067.jpg
 
As the next task is milling the middle flat, and due to my garage/workshop layout it is easier to use the lathe for a little work in an evening than the mill (basically to use the mill I have to move the kids bikes out of the garage), it will probably wait until the weekend. So instead I made a start on it's big brother.

This one is from 40mm diameter stock, about 400mm long (the longest I can turn between my chuck and the tailstock with a live centre installed)
IMG_0078.jpg
 
Last edited:
Im interested to see how this tool works, I'm not familiar with the No.91. The knurling looks good, nicely done.
 
Looking good, I should make one sometime.
 
Im interested to see how this tool works, I'm not familiar with the No.91. The knurling looks good, nicely done.
Basically there is a spring loaded plunger down the center of the adjusting handle that will be the movable jaw of the chuck, and the side of the hole in the middle (still to be drilled) will be the fixed jaw. As you screw the adjusting handle on it presses on the plunger and advances the jaw.

For the plunger I intend to use a piece of drill rod attached to the end for the actual jaw so it can be hardened - could just make the whole plunger from drill rod but I'm cheap so will use scrap for most of its length and just a short piece of drill rod for the actual jaw.

Basic idea of the design is as shown below
Capture-1.jpg
 
Last edited:
Back
Top