Drill bit matters as does process.
Photo are from today.
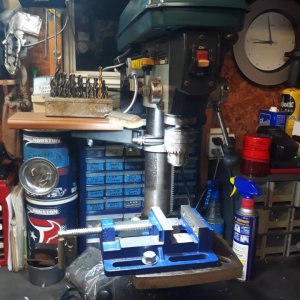
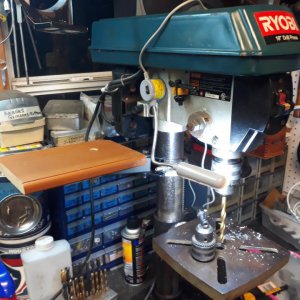
This is for a BBQ, started as a torch or laser CT disk from scrap yard, it fits a hup from fire engine and supports the tube the BBQ is attached to
Started with1/8 as spotter then worked up.
The 11/16 and final 3/4 holes looked a bit ugly inside as the chips would get caught in the drill, Chinese bits.
The 1/2 drill had smooth sides that looked polished.
We used a 3/4 end mill as final cut as tye drill bits were not cutting exact, there was some wobble.
The end mill insured good, straight and round holes.
Your drill bit and method matters.
The photo material started at 1.25 thick and we reduced the outer part to 1 inch.
A constant pressure on the drill resulted in long and nasty swirling chips.
Pecking or releasing pressure when the chip reached the chuck worked well but makes for large mess the vacuum cannot pickup.
What worked well was pulsing the pressure, thing pecking the drill but not removing from hole, just relax for a split second, this stops the cutting resulting in broken chips.
Pulsing at 1 second interval resulted in small curls that the vacuum can get.
Problem is the small curls do not travel up and out of the hole so sometimes they get under the edge of the drill bit and make hole ugly.
Also be careful of speed.
Too slow rpm just takes longer, too fast burns up your bit, most drill presses on slow speeds are still too fast for good drilling at 1/2 inch.
Sent from my SM-G781V using Tapatalk