-
Welcome back Guest! Did you know you can mentor other members here at H-M? If not, please check out our Relaunch of Hobby Machinist Mentoring Program!
You are using an out of date browser. It may not display this or other websites correctly.
You should upgrade or use an alternative browser.
You should upgrade or use an alternative browser.
Grizzly GO 727 mill has grown
- Thread starter iron man
- Start date
- Joined
- Feb 7, 2013
- Messages
- 792
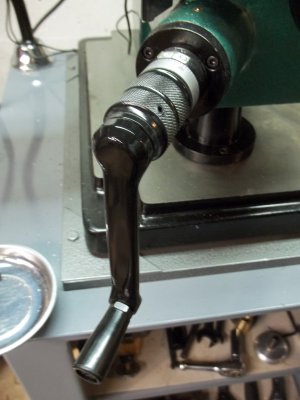
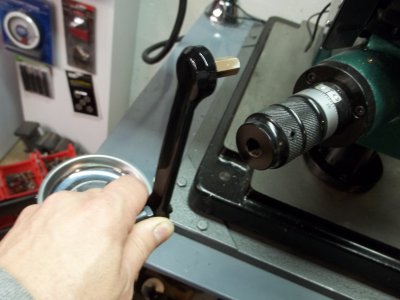
I just made another update the lead screw that lifts the table was 16 tpi with the present gear ratio that lifted the table 1/32 per rev. I now made a new Acme screw 3/4 dia at 8 tpi this gives me 1/16 per rev. and makes the dial direct read instead of indirect.
- Joined
- Feb 7, 2013
- Messages
- 792
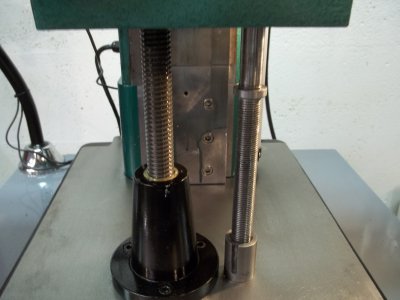
Here is a shot of the new lead screw with the stock old one next to it the new one I made is 8 TPI the old is 16 TPI the new one has a brass lead screw nut the old one is cast.
View attachment 50901
- - - Updated - - -
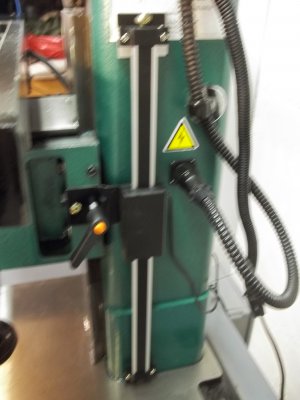
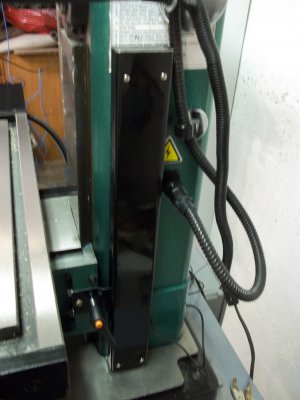
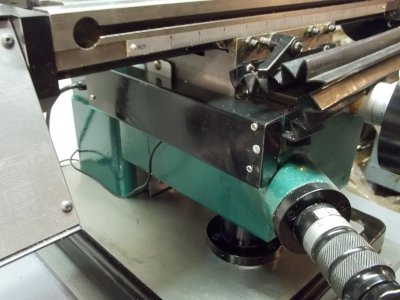
Sorry about the poor quality of the photo but here is the new longer DRO I installed I will build a cover for it next.. Ray


Last edited:
- Joined
- Dec 1, 2010
- Messages
- 1,172
That is a great line up of mods you have done to your mill. Seeing what it was, and all you have done, makes me wonder why they didn't make them this way. Maybe you should make up a kit to sell with all your improvments.
Great looking job :thumbsup:
Great looking job :thumbsup:


