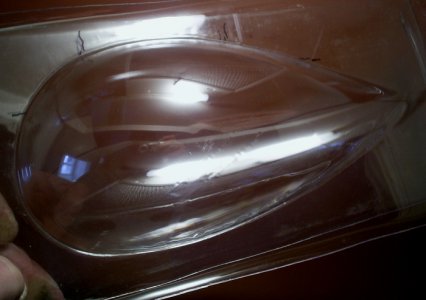
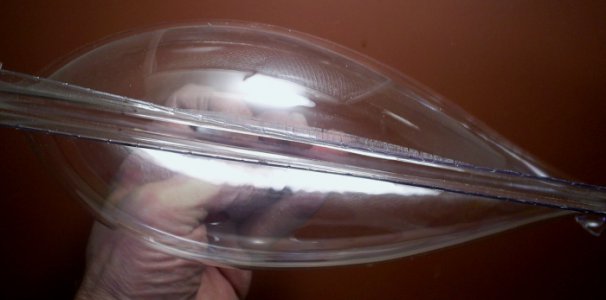
Rangerman is correct, it is vacuum forming. The plastic is similar to ABS, but has better impact resistance. Actually, there are several plastics which will form with vacuum or pressure. Truth is, I'd be embarrassed to video this process, because the equipment is very "rudimentary". But I will describe it. Two years ago I needed to do this to form lenses for my homebuilt wingtip strobes. I built a crude plywood box about a foot long, with an open top. I applied that cheap gray 1/4" stickyback foam on the edges of the open side. A hole was cut into the box which provided a slip fit for a vacuum hose. A second hole of about 1/2" Ø was drilled in the opposite side of the box. A form was cut out of a rectangular piece of plywood which was large enough to cover the opening in the box - just a perimeter of the teardrop shape I wanted. A second piece of ply had the same shape cut out of it, but about 1/8" larger all around.
A blank piece of .040" plastic was cut, the same size as the forms (rectangle). The plastic is placed on top of the form, then the second, larger, form board placed on top of the plastic. This "sandwich" is heated in a kitchen oven until the plastic sags about 1/2" in the center. turn on the vacuum and quickly grab the sandwich out of the oven and place it on the box. Hold it down tight, while using a finger over the 1/2" hole to regulate the vacuum in the box, controlling the depth of draw. You can draw too far, so some finesse is required here. Blow on the plastic (that's right - huff and puff) to cool it and set the plastic. This method is called freeblown or freedrawn.
A variation would be to clamp plastic into its sandwich and pull it over a form, such as a skull (no, not the mother-in-law's). Also requires vacuum to pull it into the details of the form. A third variation would be male and female forms to press the hot plastic into the desired shape, but this is much more difficult.
So there you have it. An oven, a box, a vacuum cleaner or shop vac, two pieces of plywood and a little plastic. Anyone can do it. Of course, you could opt for the deluxe thermoforming machine for several thousand dollars, but I kinda like my $5 one.
Tom


