Engraving Lines Into A Degree Dial?

old toolmaker

Registered
Registered
Joined
May 15, 2016
Messages
98
I have 3" diameter degree dial made from 303 stainless steel that needs to have 360 lines engraved around the periphery. I tried some practice engraving of the lines .005" deep in a scrap piece of 303 SS using a 90 degree tool bit on its side and using the lathe as a shaper. The result looked good but it is not a good solution because it was tough on the tool and for 360 lines I will resharpen many times. I am sure if I had used cast iron it would have worked well because cast iron tends to crumble when cut. So I was thinking of engraving the lines using a .010" stub ball end mill mounted in my Unimat Milling head on my lathe.

Does anyone here have a better solution or idea?

Dick
 
Come use my DH and 16inch shaper.
I have not done this. However, it's on my wish list of skills.
Perhaps together we could figure this out!
I'm 20min away from Buffalo MN.

I'm on Winter Break from classes so will be around many days in the coming few weeks.

Daryl
MN
 
Last edited:
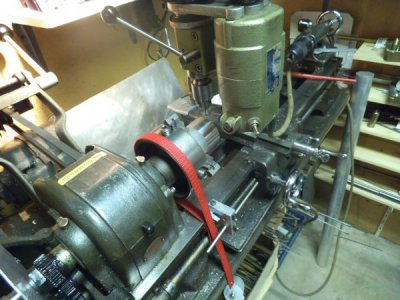
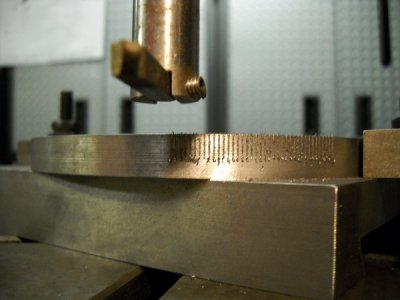
Dick I used my unimat mounted on the cross slide and it worked well.

Unimat head on cross slide.jpg

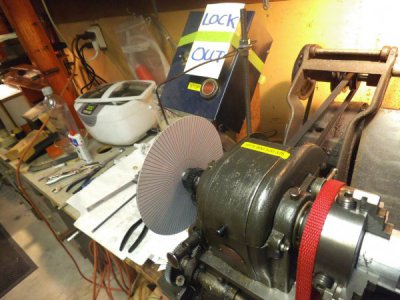
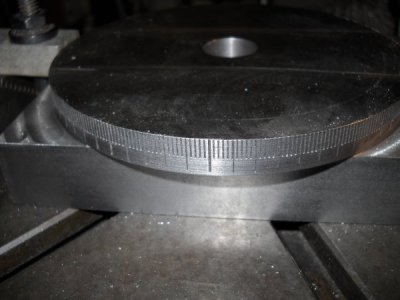
Then a picture of the indexing wheel.
indexing dial on lathe.jpg

David
 
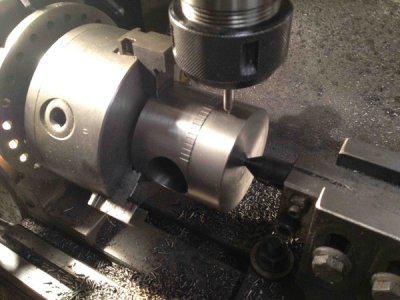
I use a carbide spotter drill and just drag it across.
 
An engraving bit. Not a great picture, they work great. Grind the end of a broken carbide drill bit, router bit or end mill to a sharp cone, then grind from the side to the centre line like a D bit reamer.

z0ol7Zv6qASRfYqDZtu2ReKdb81sBIiDxKKIQ12XNeoRDurVPikUn0ZuY9yzpcmUBMx1z9-FNwp8knvK3=w1632-h1224-no.jpg

Greg
 
That is the same setup I use with my Unimat milling head on the cross slide. I have built a headstock worm drive dividing attachment for my mini lathe.
What material are you cutting in the picture? What is the included angle on the cutter and what depth of cut did you use? I have a couple of 90 cutters ground on 1/8" shanks left from an identical engraving project from when I had access to my CNC mill.

Dick
 
I think the angle is about 90 deg Dick maybe a little sharper. If memory serves about 5 to 10 thou deep. The first one was cast iron, but this one was a fairly hard piece of mystery steel.
pi4pLBUCj8KhsRV-Mi0z7CZlo5OE19v0uwQVtOcS_6po6bDDbFj_SXRKdF7AYe-Wpy5uoFQ76w4pMfHVs=w1632-h1224-no.jpg

Greg
 
I started the engraving using a 90 degree single lip engraving cutter I had that was in good shape. I have so far engraved the long lines (tens), the medium length lines (fives) and I have 288 short lines left to do (ones).
It is going better than I had expected. Maybe I will finish tomorrow. The next step will be to stamp the numbers. ( I made an alignment tool to guide the number stamps). I sure miss my CNC for some of this work.

Dick
 
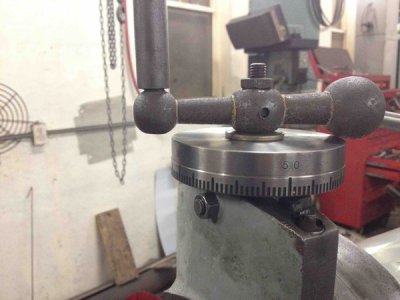
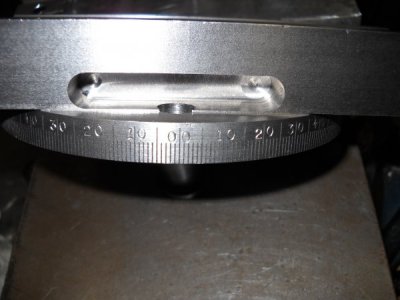
I used a sharp pointed HSS tool bit, old threading tool, to put the 360 some odd marks on my new compound base. Had no problem doing this. The material was 80-55-06 ductile iron. I can see 300 series SS being a problem putting marks on it as tough as that stuff is. A 400 series stainless steel would have worked a little better. A piece of Stressproof would have worked best, too. Ken

DSCN1690.JPG

DSCN1698.JPG

DSCN1711.JPG
 
I have a Gorton pantograph and it works great. But so does just dragging a sharp pointed object. The spinning cutter will probably leave some kind of flat bottom in the cut. If you have a very pointy tool the dragging technique will leave a nice defined V with no flat bottom. When dragging, it will raise a burr and could give a deceiving width of the finished lines. I use an emery stick to smooth the burrs and check the width of the line and adjust as necessary. Dragging may not work on a plated surface because of the burr problem…Good Luck, Dave.
 
Back
Top