- Joined
- Sep 28, 2013
- Messages
- 4,318
This got thrown out as the cylinder was leaking and I've always wanted a hydraulic press, so this followed me home and sat for many months until the time came for me to fix it and use it to replace the bushings in the rear suspension of my Focus (still had some uneven tire wear, even after replacing the shocks and springs). Thought I'd post this as much as a guide for others wanting to do a tear down as anything else
now that I've got some sleep after spending 20h or so working on the car this weekend..
I followed the procedure outlined
here which also has a parts diagram.
Before I go through the pictures, the 2 major PITAs I had were; 1) getting the quick connect fitting out of the cylinder. It took a whole lot more force with a 25mm (prob. should have been 1in, it was pretty tight) spanner than I was comfortable with. 2) I couldn't get the nut off the spring tension screw in the base of the cylinder (piston just rotated), so getting the screw out with the spring under tension was a complete arse ache. That was pretty much it though.
One plus side was that in trying to get the spring tension nut, the captive nut with the wiper seal unscrewed, so that was easy
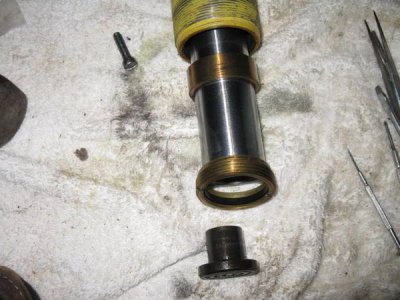
lower guide showing orientation on the piston
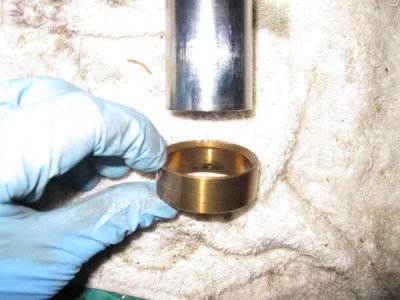
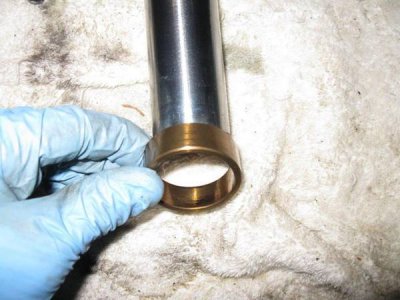
upper spring screw
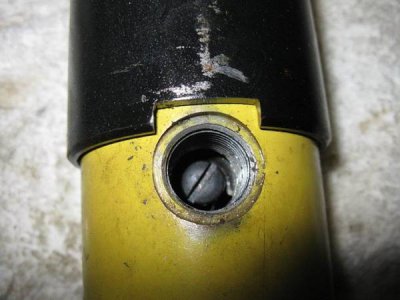
Piston coming out
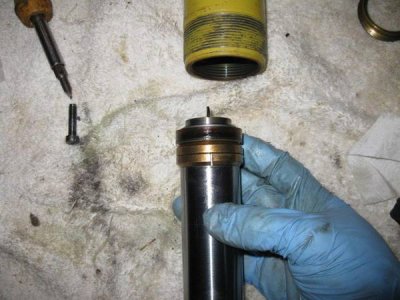
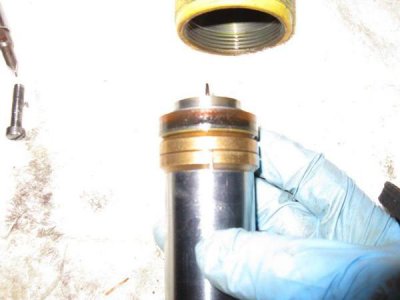
seal and spring clip thing
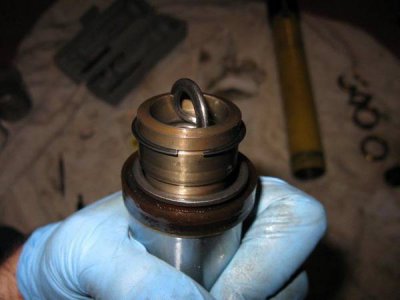
now that I can grip the cylinder I can undo that damn nut
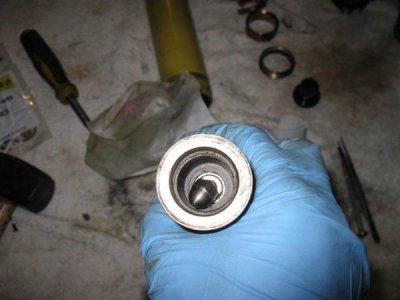
now you can see the copper washer and spring tension screw (that would have made taking out that other screw so much easier)
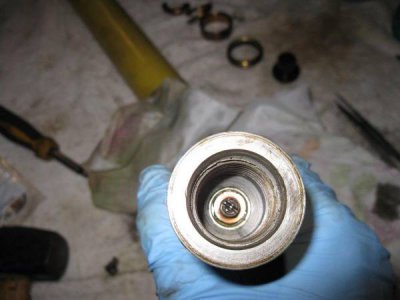
you don't need to unscrew that screw all the way (just so the slotted head is flush with the bottom of that bore), but I did so I could take the spring out and clean out any crud (there was lots)
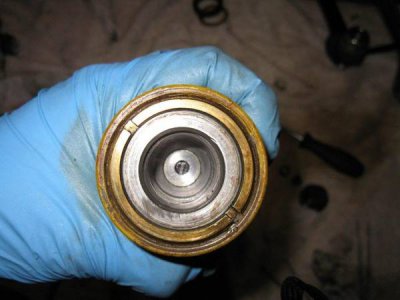
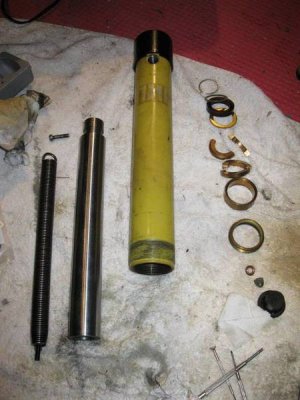
everything disassembled and shown in it's assembly order
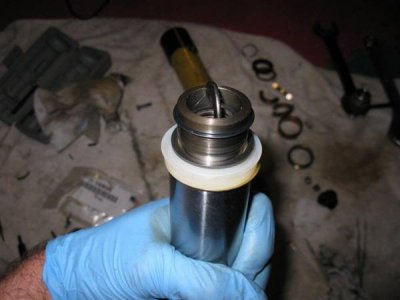
new seal/ ring/ clip in place (already put a new wiper seal in the bottom ring as it was perished to hell)
I then put everything back together, filled it up with hydraulic fluid, screwed in the quick connect fitting and nada. Checked the pump, lots of oil everywhere but inside it. So I pulled the handle, took out all the split rubber seals that I could get to in the plunger bore and turned them upside down to see if that would give them enough of a seal. They're not directional, just have to line them up so the splits don't all sit in a row. Sometimes you can get a bit more life out of a seal by turning it around
Filled up the pump with the rest of my quart of hydraulic fluid and it worked. Woohoo!
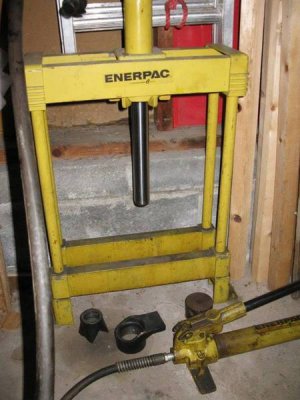
pressing new bushing sleeves into one of the upper control/ camber arms
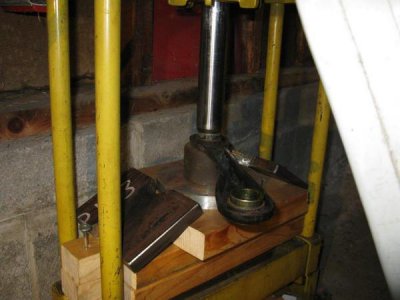
and in place - it may look like some of the bushings are tilted, but that's just because the suspension is at full droop, at normal ride height they're straight.
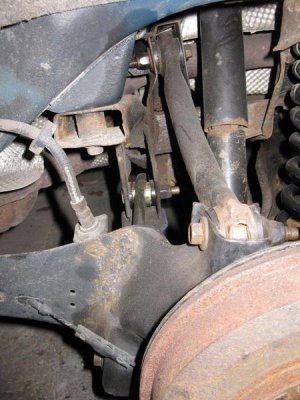
got to give my HF 4 1/2in angle grinder a good workout as 4 of the bolts, 2 I knew about and 2 I didn't, were seized the the inner sleeve of their bushings. Fun times. Took about 17h to do the rear (10h to do one side which made the 2nd side much quicker) and 1 1/2h to change the struts on the front. Then 2h sleeping on the couch in the dealership to get an alignment Save for a final oil change to use up the oil I have left, it's all ready for its 2500 mile journey in a few weeks.
now that I've got some sleep after spending 20h or so working on the car this weekend..
I followed the procedure outlined
here which also has a parts diagram.
Before I go through the pictures, the 2 major PITAs I had were; 1) getting the quick connect fitting out of the cylinder. It took a whole lot more force with a 25mm (prob. should have been 1in, it was pretty tight) spanner than I was comfortable with. 2) I couldn't get the nut off the spring tension screw in the base of the cylinder (piston just rotated), so getting the screw out with the spring under tension was a complete arse ache. That was pretty much it though.
One plus side was that in trying to get the spring tension nut, the captive nut with the wiper seal unscrewed, so that was easy

lower guide showing orientation on the piston


upper spring screw

Piston coming out


seal and spring clip thing

now that I can grip the cylinder I can undo that damn nut

now you can see the copper washer and spring tension screw (that would have made taking out that other screw so much easier)

you don't need to unscrew that screw all the way (just so the slotted head is flush with the bottom of that bore), but I did so I could take the spring out and clean out any crud (there was lots)

everything disassembled and shown in it's assembly order

new seal/ ring/ clip in place (already put a new wiper seal in the bottom ring as it was perished to hell)

I then put everything back together, filled it up with hydraulic fluid, screwed in the quick connect fitting and nada. Checked the pump, lots of oil everywhere but inside it. So I pulled the handle, took out all the split rubber seals that I could get to in the plunger bore and turned them upside down to see if that would give them enough of a seal. They're not directional, just have to line them up so the splits don't all sit in a row. Sometimes you can get a bit more life out of a seal by turning it around
Filled up the pump with the rest of my quart of hydraulic fluid and it worked. Woohoo!

pressing new bushing sleeves into one of the upper control/ camber arms

and in place - it may look like some of the bushings are tilted, but that's just because the suspension is at full droop, at normal ride height they're straight.

got to give my HF 4 1/2in angle grinder a good workout as 4 of the bolts, 2 I knew about and 2 I didn't, were seized the the inner sleeve of their bushings. Fun times. Took about 17h to do the rear (10h to do one side which made the 2nd side much quicker) and 1 1/2h to change the struts on the front. Then 2h sleeping on the couch in the dealership to get an alignment

