- Joined
- Feb 8, 2014
- Messages
- 11,176
I have been having inconsistent flow problems with my pressure fogless spray coolant system. The flow control valve seems to get gummed up as it’s running, and you have to tweak the valve a bit to get it to flow again. I am running it at 60 PSI, have an in-line filter, running WD-40 as a fluid. I suspect that WD-40 has something in it that builds up in a small orifice that needs to be periodically cleared. I have tried several different types of valves with the same result, so time for a change. I would like to be able to walk away from the machine on long runs, but right now its not really advisable given the coolant issues.
So to eliminate the orifice I decided that a controllable flow, positive displacement, low volume pump is the answer. I had a FloJet carpet cleaner pump on the shelf so I started there. These are a dual diaphragm,1.8 GPM pump. Way too much for mist coolant, so it needs to be slowed down…… A lot! So I removed the original motor and installed a NEMA 23 stepper motor. That didn’t work very well. A few problems: The Viton parts inside don’t like WD-40 very much, that particular pump has had some very strong oxidizers run through it for extended periods so the valves leak a bit, and it’s obsolete so I can’t get the petroleum compatible buna-N seals and valves for it. So back on the shelf it goes, probably for another 20 years. FloJet is still in business, and have lots of different pumps, but they are primarily geared towards water and liquid soaps. They have only one pump with buna-N parts in it, and I am not convinced that it will pump properly when running very slow. I needed something more positive.
Given that I didn’t have anything on the shelf that I could cobble together, I started really thinking about what I actually needed to make the system work. I guessed at the needed flow rate, so I settled on 0.05 to 5 mL/min. The viscosity near that of water, pump components compatible with petroleum or water based liquids, adjustable flow over a wide range, and positive displacement.
Next I evaluated a number of different pump types and settled on a peristaltic pump. A peristaltic pump is a positive displacement pump and the flow rate is a function of the tubing size and the rotor speed. Fluid compatibility is a function of the tubing used. Good peristaltic pumps are generally expensive, especially the reasonably accurate lab grade pumps with controllers. Junk peristaltic pumps are available on FleaBay cheap, but you get what you pay for.
I also have another application for a very tightly controlled pump that must be very consistent. The pumps I am currently using for that application are about $6000 each, and will dispense as little as 0.005 mL. They are a tiny progressing cavity pump, coupled to a tiny servo gear motor. One of the problems with existing peristaltic pumps is that the output pulses, OK for most applications, including coolant pumps for a machine tool, but not for my dispensing application. For some time I have been thinking about how to build a non-pulsing peristaltic pump that would meet the needs of my dispensing application.
So killing two birds with one stone and in the hobby machinist tradition of ‘’why buy it when you can build it’’, it’s time to build a peristaltic pump that will run my coolant system, and use as a test bed for my dispensing application. If I can get the pump to work for the dispensing application, I can do a nice cost reduction on the assembly.
The first order of business is to draw up a basic design, then scrounge up the parts to build it. I needed a small NEMA 23 size gear box, found a 15:1 gear box with NEMA 23 stepper motor for $61.00 on FleaBay. I designed the housing, rotor, and controls around materials I had in stock. Then order the small bits & pieces from McMaster and others.
I also had to order another stepper controller because when trying to test the FloJet, I miss-wired the power plug on one of my stepper drives and fried it.
 Watch what you are doing, it can get expensive in a hurry. That one was my 4th axis drive. I have also purchased a few cheap stepper drives for non-critical applications, like pumps, just in case I do something stupid again.
So what is a digital pump? It will be controlled from the computer over a RS232 line (serial port), so I guess that makes it digital. The stepper drives I am using will operate in 3 different control modes, Pulse & Direction, Analog Voltage, and Serial Communication. All I need to do is turn it on and off, and control the speed, so serial comms will be perfect. That way it doesn’t tie up an axis on my motion controller. It could also be externally controlled in a couple of different ways for use on a manual machine.
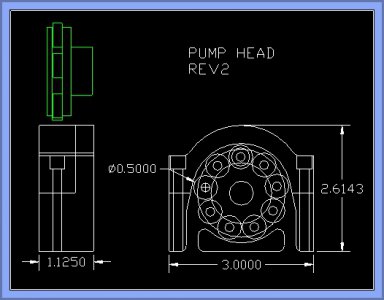
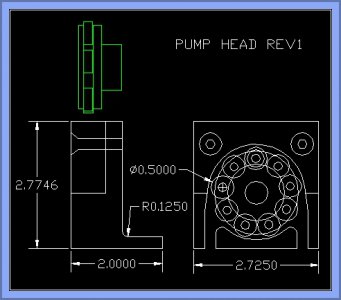
Here is a drawing of Rev1 (with the secret anti-pulse stuff removed)
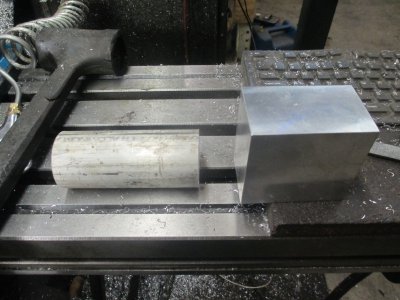
Here is the material, a piece of 2 inch 6061 round stock for the rotor, and a 2x2.75x3 6061 bar, squared up.
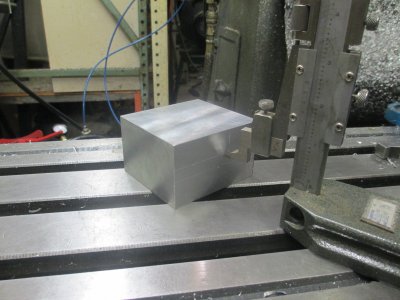
Laying out the band saw cuts, this is where I screwed up in the orientation.

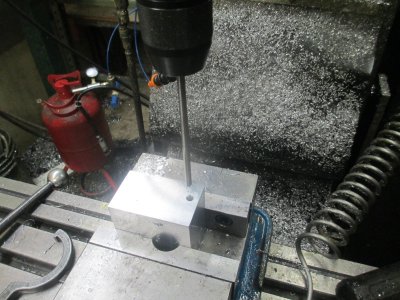
Drilling and reaming the 0.125 radius. I didn’t have a 0.250 ball end mill that would reach that deep
After the band saw cut, the drop will be used for the front cover.
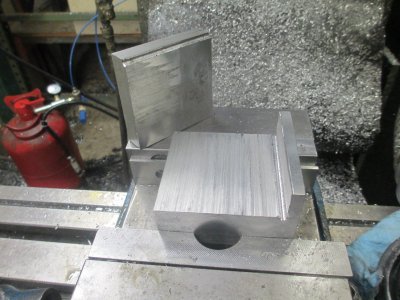
Cleaning up the back.
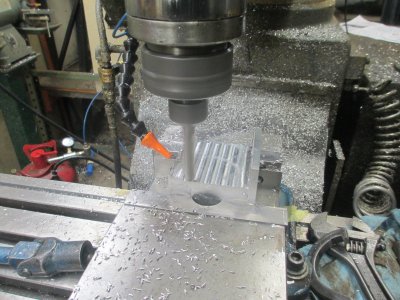
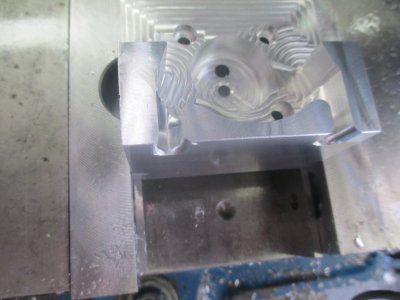
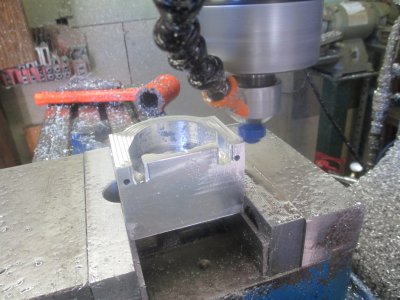
Pocketing the lower housing
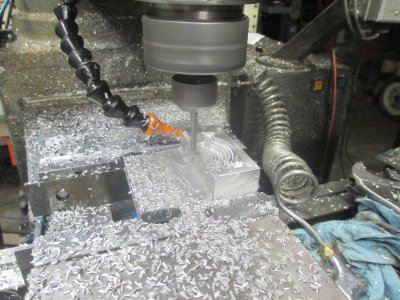
The cover bolted down and ready for machining
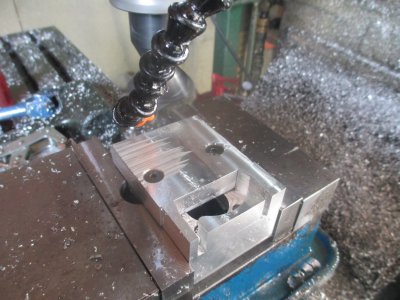
A little clean up
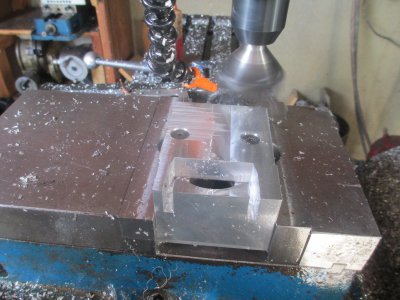
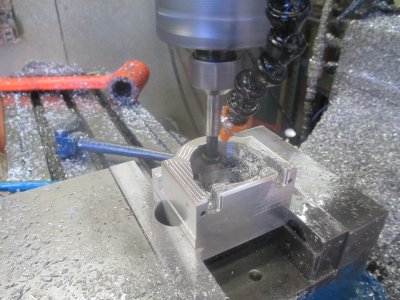
Pocketing the inner shape in the cover
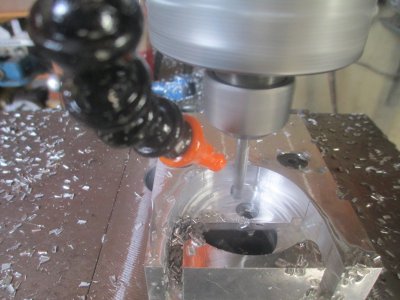
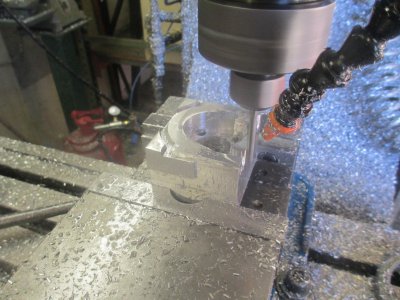
Cutting the path where the tube will sit. Normally I would not have the tool stick out this far, but this tool has had the shank cut down for another project.
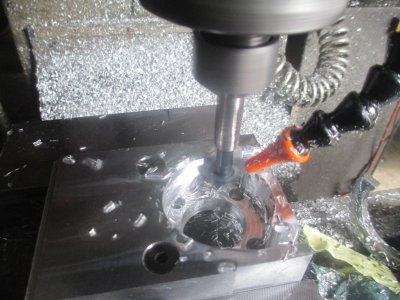
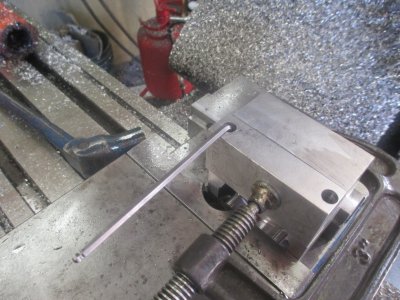
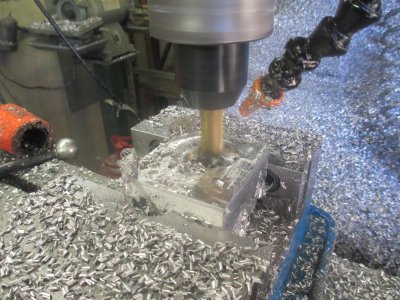
Getting ready to clean up the top. I stuck this piece of shafting in there vice jaw would clear the mounting foot on the bottom of the housing
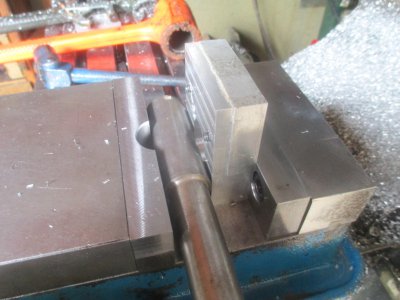
And drilling the holes in the mounting foot.
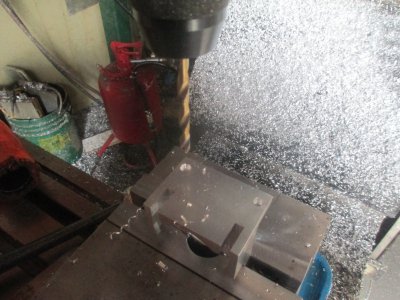
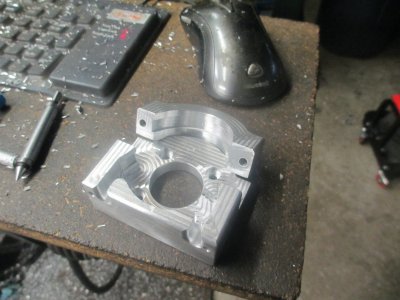
The completed housing
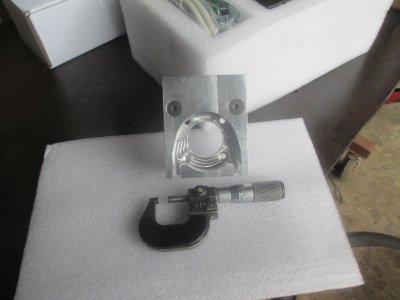
Next the rotor
Turned and bored, ready for cutoff. I don’t own a cutoff tool for my lathe, so over to the band saw
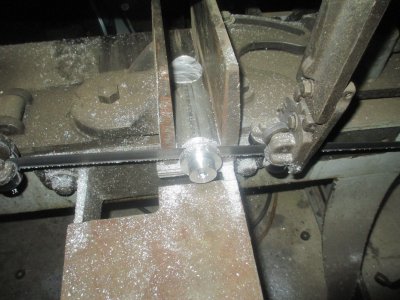
I turned the hub to fit the pocket I already had in my vice soft jaws, so all I had to do was drop it in place. I drilled & tapped the 8-32 screw holes……
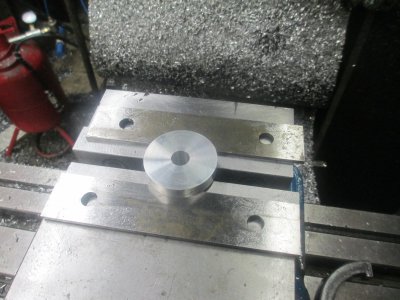
….then used it as a fixture to hold the cover plate
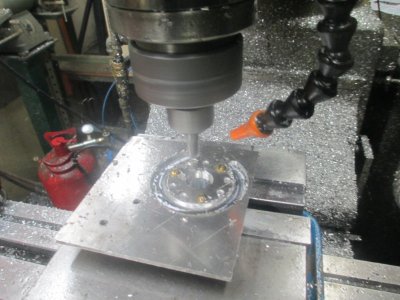
The rotor assembly after machining for bearing clearance.
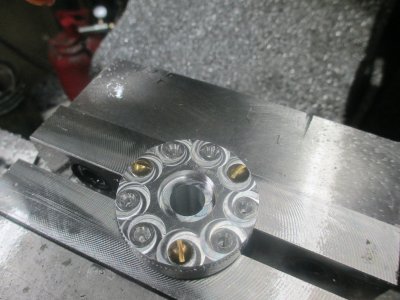
This is REV2 of the rotor, I added a nose to support the cover plate and take some of the load off of the shoulder screws
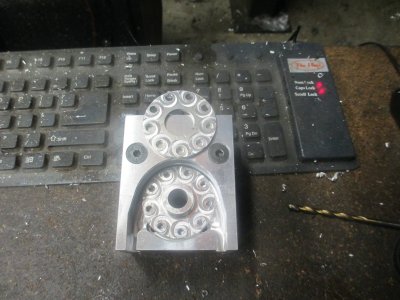
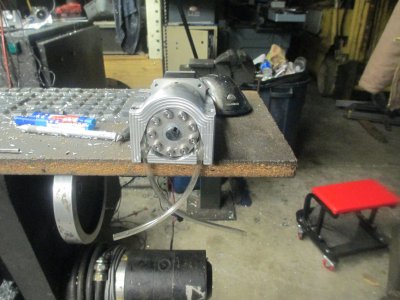
The assembled rotor. 3/16 x 5/16 shoulder screws. I may use dowel pins in the next version.
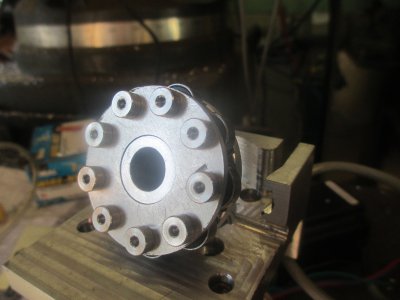
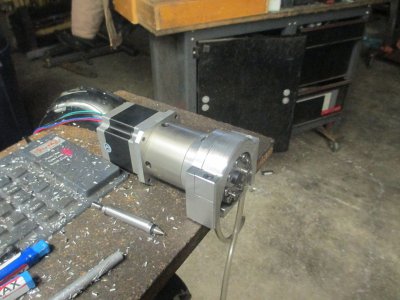
The finished assembly mounted on the motor.
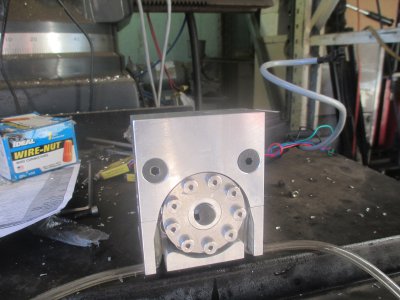
………..More to come!
.
.
So to eliminate the orifice I decided that a controllable flow, positive displacement, low volume pump is the answer. I had a FloJet carpet cleaner pump on the shelf so I started there. These are a dual diaphragm,1.8 GPM pump. Way too much for mist coolant, so it needs to be slowed down…… A lot! So I removed the original motor and installed a NEMA 23 stepper motor. That didn’t work very well. A few problems: The Viton parts inside don’t like WD-40 very much, that particular pump has had some very strong oxidizers run through it for extended periods so the valves leak a bit, and it’s obsolete so I can’t get the petroleum compatible buna-N seals and valves for it. So back on the shelf it goes, probably for another 20 years. FloJet is still in business, and have lots of different pumps, but they are primarily geared towards water and liquid soaps. They have only one pump with buna-N parts in it, and I am not convinced that it will pump properly when running very slow. I needed something more positive.
Given that I didn’t have anything on the shelf that I could cobble together, I started really thinking about what I actually needed to make the system work. I guessed at the needed flow rate, so I settled on 0.05 to 5 mL/min. The viscosity near that of water, pump components compatible with petroleum or water based liquids, adjustable flow over a wide range, and positive displacement.
Next I evaluated a number of different pump types and settled on a peristaltic pump. A peristaltic pump is a positive displacement pump and the flow rate is a function of the tubing size and the rotor speed. Fluid compatibility is a function of the tubing used. Good peristaltic pumps are generally expensive, especially the reasonably accurate lab grade pumps with controllers. Junk peristaltic pumps are available on FleaBay cheap, but you get what you pay for.
I also have another application for a very tightly controlled pump that must be very consistent. The pumps I am currently using for that application are about $6000 each, and will dispense as little as 0.005 mL. They are a tiny progressing cavity pump, coupled to a tiny servo gear motor. One of the problems with existing peristaltic pumps is that the output pulses, OK for most applications, including coolant pumps for a machine tool, but not for my dispensing application. For some time I have been thinking about how to build a non-pulsing peristaltic pump that would meet the needs of my dispensing application.
So killing two birds with one stone and in the hobby machinist tradition of ‘’why buy it when you can build it’’, it’s time to build a peristaltic pump that will run my coolant system, and use as a test bed for my dispensing application. If I can get the pump to work for the dispensing application, I can do a nice cost reduction on the assembly.
The first order of business is to draw up a basic design, then scrounge up the parts to build it. I needed a small NEMA 23 size gear box, found a 15:1 gear box with NEMA 23 stepper motor for $61.00 on FleaBay. I designed the housing, rotor, and controls around materials I had in stock. Then order the small bits & pieces from McMaster and others.
I also had to order another stepper controller because when trying to test the FloJet, I miss-wired the power plug on one of my stepper drives and fried it.

 Watch what you are doing, it can get expensive in a hurry. That one was my 4th axis drive. I have also purchased a few cheap stepper drives for non-critical applications, like pumps, just in case I do something stupid again.
So what is a digital pump? It will be controlled from the computer over a RS232 line (serial port), so I guess that makes it digital. The stepper drives I am using will operate in 3 different control modes, Pulse & Direction, Analog Voltage, and Serial Communication. All I need to do is turn it on and off, and control the speed, so serial comms will be perfect. That way it doesn’t tie up an axis on my motion controller. It could also be externally controlled in a couple of different ways for use on a manual machine.
Here is a drawing of Rev1 (with the secret anti-pulse stuff removed)

Here is the material, a piece of 2 inch 6061 round stock for the rotor, and a 2x2.75x3 6061 bar, squared up.

Laying out the band saw cuts, this is where I screwed up in the orientation.


Drilling and reaming the 0.125 radius. I didn’t have a 0.250 ball end mill that would reach that deep

After the band saw cut, the drop will be used for the front cover.

Cleaning up the back.

Pocketing the lower housing

The cover bolted down and ready for machining

A little clean up

Pocketing the inner shape in the cover

Cutting the path where the tube will sit. Normally I would not have the tool stick out this far, but this tool has had the shank cut down for another project.

Getting ready to clean up the top. I stuck this piece of shafting in there vice jaw would clear the mounting foot on the bottom of the housing

And drilling the holes in the mounting foot.

The completed housing

Next the rotor
Turned and bored, ready for cutoff. I don’t own a cutoff tool for my lathe, so over to the band saw

I turned the hub to fit the pocket I already had in my vice soft jaws, so all I had to do was drop it in place. I drilled & tapped the 8-32 screw holes……

….then used it as a fixture to hold the cover plate

The rotor assembly after machining for bearing clearance.

This is REV2 of the rotor, I added a nose to support the cover plate and take some of the load off of the shoulder screws

The assembled rotor. 3/16 x 5/16 shoulder screws. I may use dowel pins in the next version.

The finished assembly mounted on the motor.

………..More to come!
.
.
Last edited:

 Rev1 didn’t work out so well, it had several problems: The mounting foot was in the wrong location, couldn’t be mounted on a flat surface, would not allow the tubes to exit. I cut the material in the wrong orientation so had no room for the cover bolts to be installed vertically. And the biggest problem, I cut the internal tube path too deep, so the rollers did not pinch off the tube inside and the pump didn’t work at all. And with the cap screws installed in the face, there was no way to adjust the height of the cover. There were a few other minor issued that needed to be addressed also. Machinists don’t make mistakes; we make prototypes.