[Lathe] Dalton B4 Lathe

Mark_f

Registered
Registered
Joined
Jan 16, 2020
Messages
5
I brought my Dalton lot 4 lathe home after 7 years stored in another shop. I have started cleaning it up and doing needed repairs. The lathe is in decent shape for a 100 year old lathe. I believe it is about that old. There is a tag on it dated 1914.
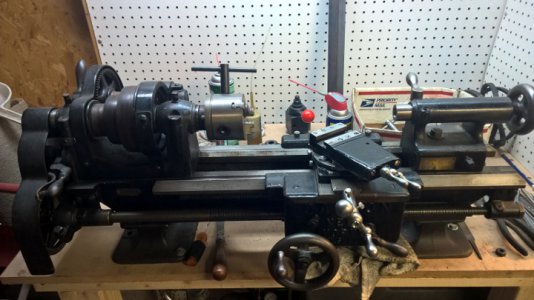
Dalton lathe.jpg


I have 6 of the change gears, but I think I can get the rest from Boston gear.
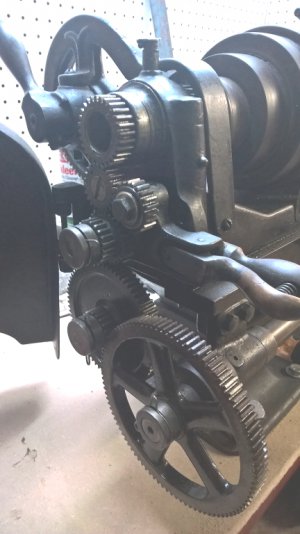
Dalton lathe1.jpg


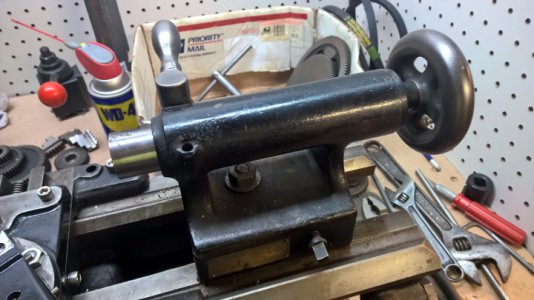
I cleaned the tail sock up and it is in pretty good shape. Has about .030" end play but that is in the screw and nut. Other than that , it is good.Dalton lathe2.jpg


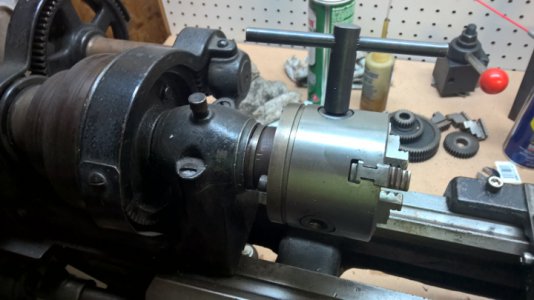
I had put this three inch chuck on it new 7 years ago and it hasn't been used since.Dalton lathe3.jpg


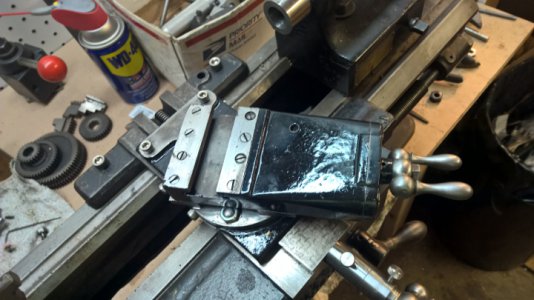
I took the cross slide and compound completely apart turned the shoulder on the screws to take out the back lash, put new screws and bolts anywhere I could, polished it up a little and it is nice and tight and ready to go.
Dalton lathe4.jpg

Dalton lathe5.jpg


I will be working on it for a while getting it cleaned up and running. I intend to use it mostly for threading. I am going to add a thread dial. I will have to put an indicator on the compound somehow , because there is no dial on the compound so no way to know how much it is moved. That is not real good for threading.
 
I got a lot done on the Dalton lathe today. I had intended to just clean it up and use it but there are too many home rigged repairs and a few problems that I am doing a half restoration. I will rebuild it in sections, getting the worst problems taken care of and do the rest as it is being used. I have some work i want to do on this lathe.
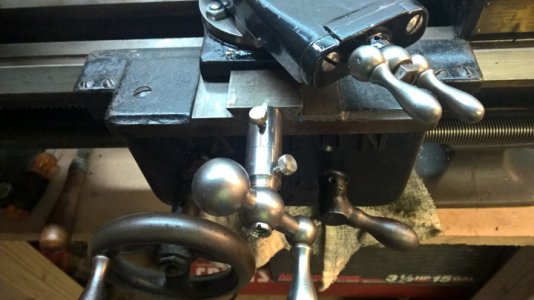
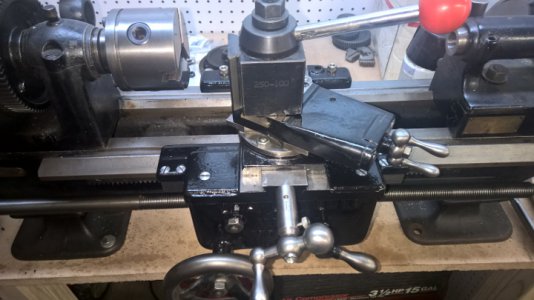
dalton apron and carriage.jpg I took the apron, carriage, lead screw and cross slide completely apart, cleaned everything up, painted the parts and reassembled. the half nuts were too tight to move so I cleaned them and refitted everything. they work great now. All the handles got polished and fitted. I removed all the back lash on the slides, put new gib screws and bolts every where and made new bolts where needed because of damage. I used a few modern bolts , but am making a lot because i wanted the bolts to be exactly like the original cheese head screws and thick headed hex bolts. Later I will make a new cross slide dial. The above photo is the completed apron and carriage.

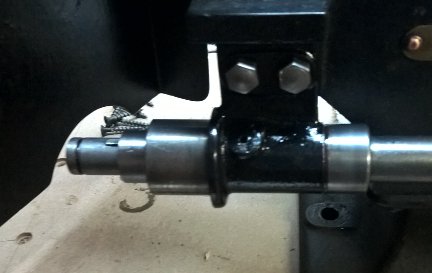
Dalton lead screw backet.jpg The lead screw brackets were cleaned , painted , and a couple new bolts made.

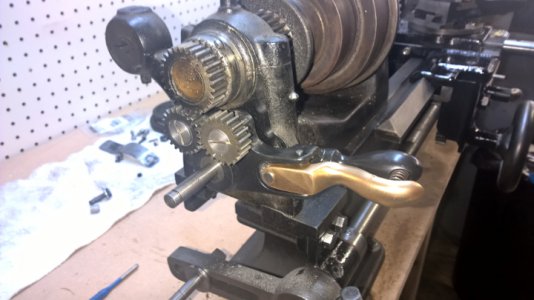
Dalton reverse lever and gears.jpg The reverse lever was worn and sloppy and the gears were mounted with regular bolts instead of the large cheese head screws. I polished and painted the parts, made a new pin to tighten things up, and made the new cheese head screws for the gears. It works smooth with no play now and is back to original design.

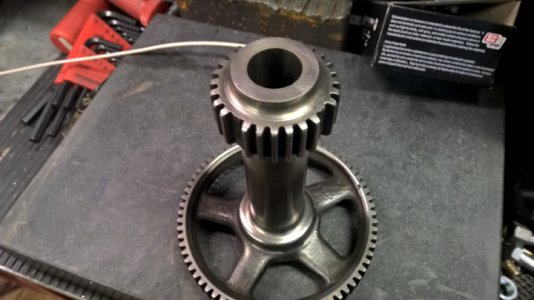
Dalton back gear broken.jpg The back gear has two teeth missing on one gear. I am taking it to a friend's shop tomorrow as he thinks he can weld it up and I can grind new teeth. If not I may have to make a new gear, machine this one off and press a new one on. Either way, I have to repair it as this lathe is 100 years old and there are NO parts around for them. Just about anything needed has to be made.

I will be cleaning up the head stock and painting this week end.
 
Dear Mark,

That's a fantastic lathe and your re-build is coming along quite nicely. I would machine off the damaged back gear teeth and would make a new gear and press it on with an interference fit of a couple of thou. While I'm quite happy with weld repairs, you may end up distorting something with the heat of welding. Many a South Bend and Boxer lathe has been repaired by machining off the back gear and then pressing on a ne gear. Keep the photos coming. We all like to see the before and after pictures.

By the way, a good friend of mine has the surname of Dalton. When I told him that there were Dalton lathes, he thought I was talking c**p. Nevertheless, I showed him some photos from Tony's site (www.lathes.co.uk) and he shut up. It must have been one of his ancestors who started making lathes. I have in the past come across a site that is dedicated to Dalton lathes, where the guys share spare parts and proudly show off their machines. Some of the older Dalton lathes are foot pedal operated. You should find this site and see what they have for your Dalton lathe and of course show yours off too. You may just get lucky for some hard to find castings, if you need any.

Geoffrey.
 
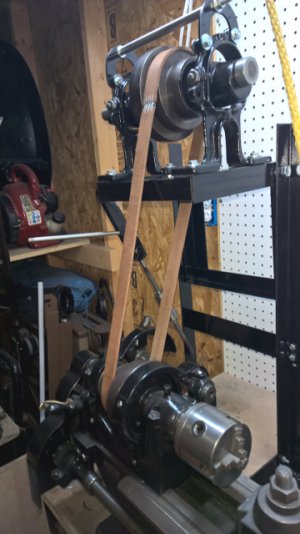
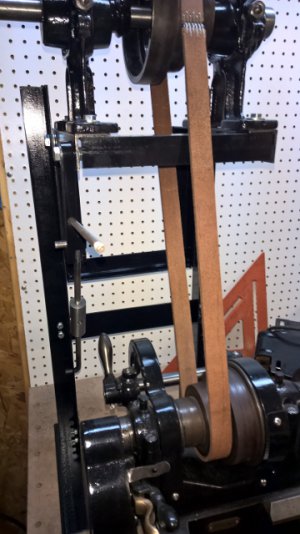
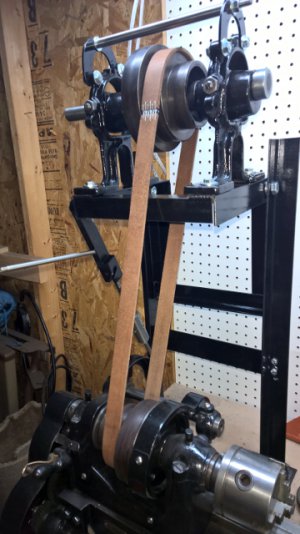
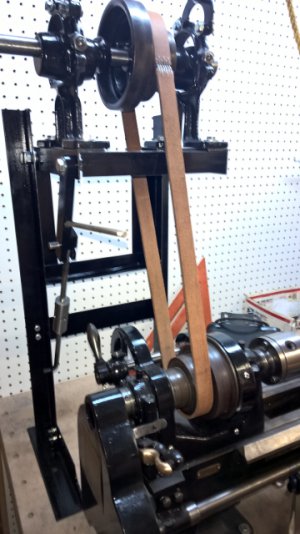
The Dalton lathe is pretty well done. I still have to fix the back gear, but the rest of the lathe has been gone through and anything needing repaired is fixed. The lathe is in good shape now and should do good work and last. the next thing is to make the drive. I decided to go with an overhead drive as I am cramped for space in my 8 x 16 shop. Bench and floor space is premium real estate in a shop this small but there seems to be plenty of wall space and overhead space.
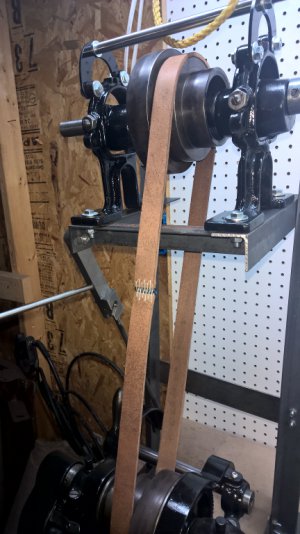
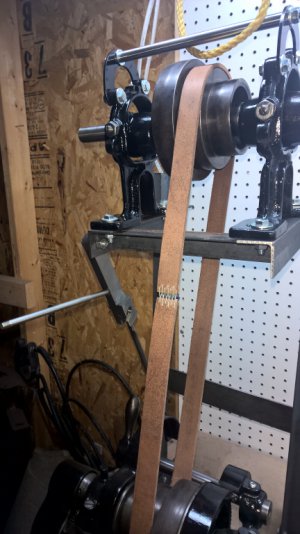
drive1.jpg After rebuilding the counter shaft assembly. I used some angle iron to make a frame. I made an over center bar and handle similar to what is on the South Bend lathe In the left side of the photo). This tightens and loosens the belt nicely. I still have to make a motor mount, tomorrow.
drive2.jpg I will take the drive apart and paint it also.
 
I got the drive built and painted. All that is left is mounting the motor. It is a tight fit for the belt near the back gear shaft. I hope it clears, but I won't know until I get it back from the welder. If it don't clear it will be a BIG problem.
drive 10.jpg drive 10.jpg

drive12.jpg drive13.jpg drive11.jpg
 
Hi Mark,

Iam trouble shooting my Dalton Lot 5. The rack and pinion gear binds up and stalls the lathe when I engage the friction clutch assembly on the apron ( turn the star shaped handle located next to the hand wheel). When the clutch is not engaged the Manuel feed wheel drives the apron back and forth along the ways very nicely.

Also in taking the apron apart just now, I noticed the worm drive gear that meshes with the friction clutch gear does not seat well against the apron - the cast housing that holds the worn gear does not easily bolt into place - so the bolt is binding up a bit and does not seat. Which means the housing is slightly out of alingnment.

However, it worked and fit when I took it apart a year ago for cleaning and re painting. So can't figure out if my reassembly missed a step, or something is bent/out of alignment somehow.

But I cant see anything damaged or bent, or amiss, except the worm gear bolt hole does not line up with the apron very well.

Any ideas on what might be wrong, and how to correct?

Thanks
Glenn
 
Back
Top