- Joined
- Sep 28, 2013
- Messages
- 4,300
Hi all,
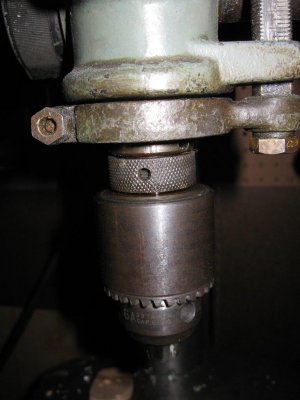
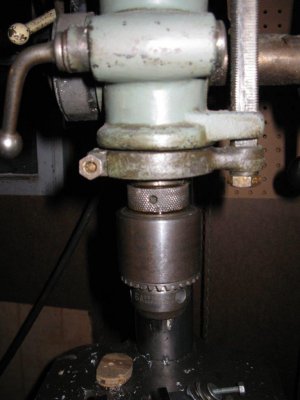
I'm starting out in this machining hobby and I've been very lucky to be given or acquire very cheaply a bunch of cool old machinery, including a mystery mini lathe and a Walker Turner 15in floor standing drill press. I like making LED lights, especially for mountain biking, and the other tool that would be super useful for this is a small mill. However, we'll be moving soon, possibly back to the UK (hopefully not though) so it doesn't make sense to buy another tool, even if I had the money which I don't
I was originally going to make a small milling attachment for my lathe before I got the drill press, but after that realised that an X-Y table would be a much better approach. I know that milling on drill presses isn't ideal, but it will be almost exclusively in aluminium, I can take light cuts (it's not like I'm getting paid for this!) and the WT at least has 4 radial bearings and a quill lock, so I should be okay. One thing that I'm worried about is holding end-mills in the chuck. It's a Jacobs 6A, but it's on an integral male JT3 or JT33 taper, so I'm worried about side loading causing the chuck to wander off the taper.
However, after reading about Masteryoda's very impressive drill press>mill conversions, I got to thinking. First thought was an ER collet chuck with a female JT taper and locking pin/ screw (I can grind a small flat on the JT taper to locate the screw), but I don't have any threading capability to make the collet nut and collets = money. My next thought is to make an end mill holder with a JT taper and a 5/8 bore with a set screw for the end mill flat. As I have a 6pc starter end mill set, I'd then make a set of sleeves for the smaller end mills, either retained with a small set screw or with a hole for the end mill holder set screw to go through. Changing end mills would then just require unscrewing the main set screw, drop out the end mill (sleeved or not) and put in another one.
I don't want to bugger up my drill press as it is one of the most awesome tools I've ever owned and I intend to get a small mill at some point in the future, but being able to do small milling jobs would really open up what I can do. I'm not all that worried about the spindle bearings as I'd like to tear down and rebuild the drill press at some point in the future, so I can replace them then if necessary.
What do you think? Any obvious flaws or improvements? What sort of steel would work best for this? If I can find steel pipe in roughly the right diameters that would save a whole lot of turning and boring.


