- Joined
- Dec 22, 2011
- Messages
- 310
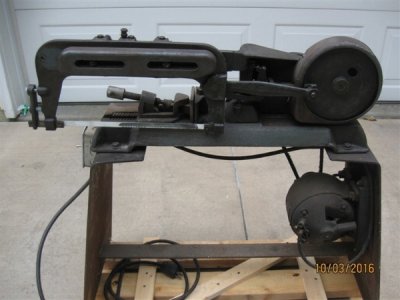
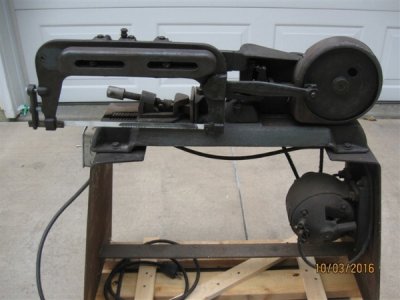
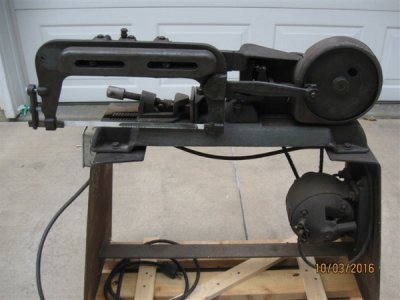
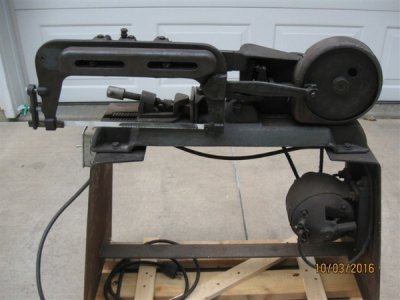
I picked up this Craftsman-branded power hacksaw a couple of weeks ago and thought I'd start a thread on rebuilding it. It was built by the Covel Manufacturing Co. for Sears. (Atlas later bought Covel and continued turning out the same saw under the Atlas and Craftsman labels.) It's pretty complete, but has seen a fair amount of use in its lifetime. It should be ideal for my small hobby shop. Here it is as I received it:
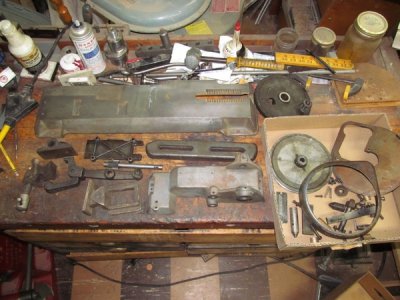
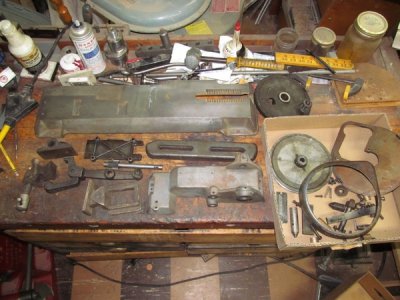
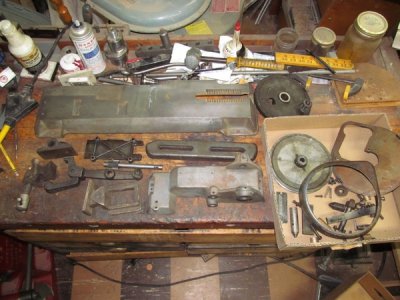
I started by taking it all apart. Here are all the parts on my bench, minus the lifting arm and frame which were in the electrolysis tank when I took the photo.
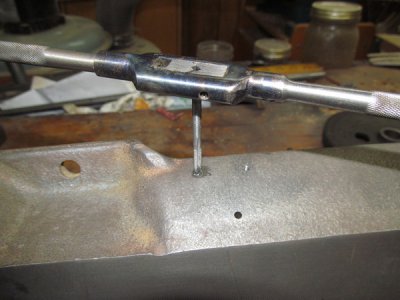
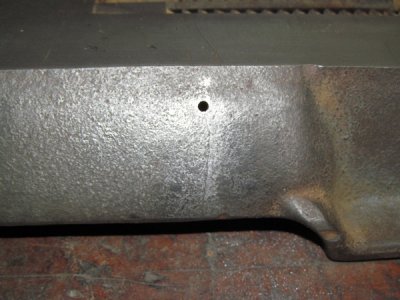
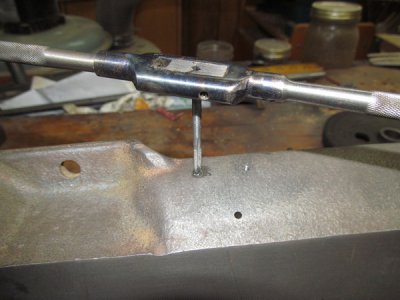
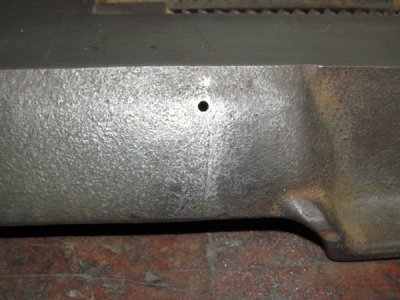
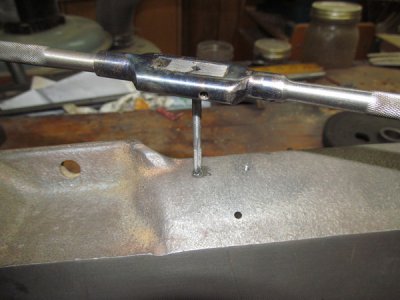
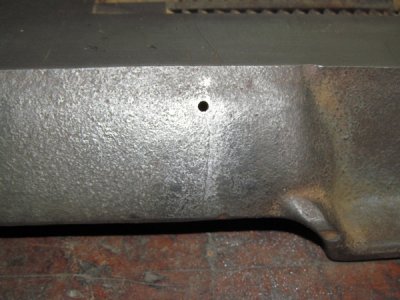
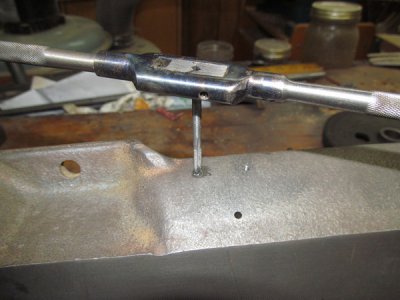
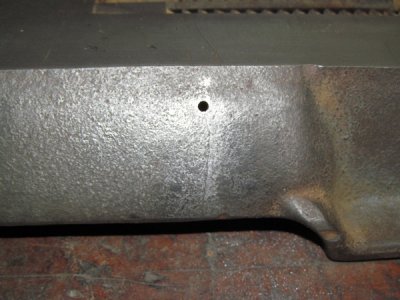
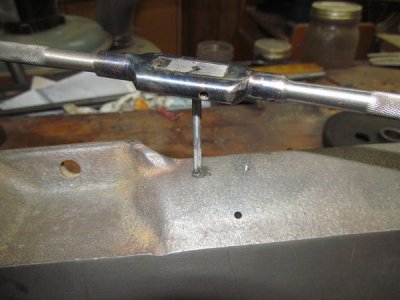
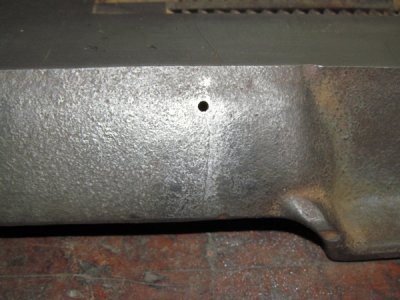
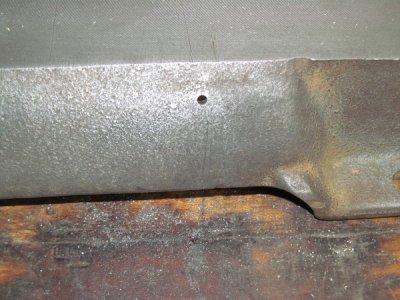
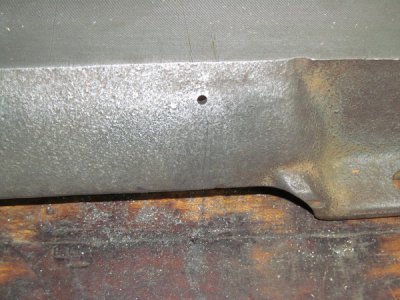
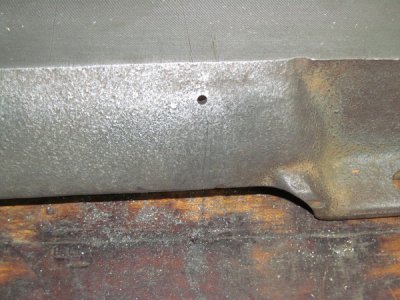
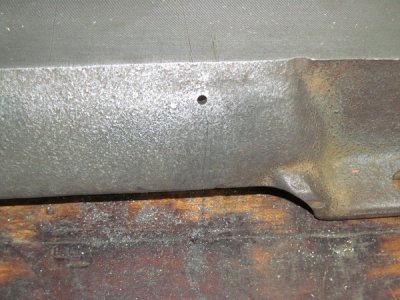
Aside from some wear, the only damage I've uncovered so far is a hairline crack in the base casting. I knew about this before I bought it, but after cleaning up the base I debated if I should just leave it alone or do something about it. I don't have any brazing experience, so I decided to drill a small hole at the end of the crack to stop it from spreading and hope that it will hold up.
I don't know how long it will take me to complete this project, but I'll try to update this thread as I go along. If anyone has worked on one of these before, I'd be happy to hear your experiences on what to look out for as I go along. Thanks.
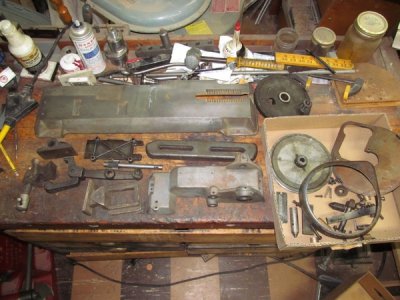
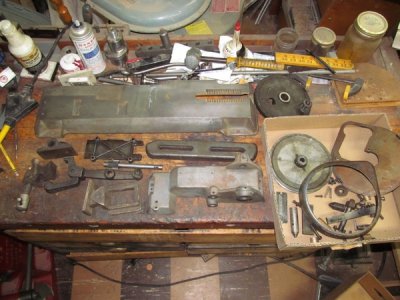

I started by taking it all apart. Here are all the parts on my bench, minus the lifting arm and frame which were in the electrolysis tank when I took the photo.

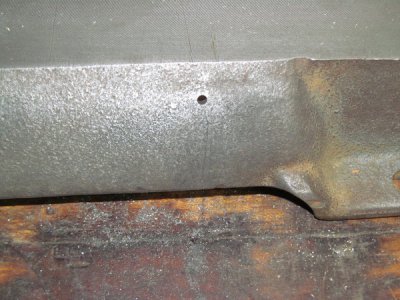
Aside from some wear, the only damage I've uncovered so far is a hairline crack in the base casting. I knew about this before I bought it, but after cleaning up the base I debated if I should just leave it alone or do something about it. I don't have any brazing experience, so I decided to drill a small hole at the end of the crack to stop it from spreading and hope that it will hold up.

I don't know how long it will take me to complete this project, but I'll try to update this thread as I go along. If anyone has worked on one of these before, I'd be happy to hear your experiences on what to look out for as I go along. Thanks.


