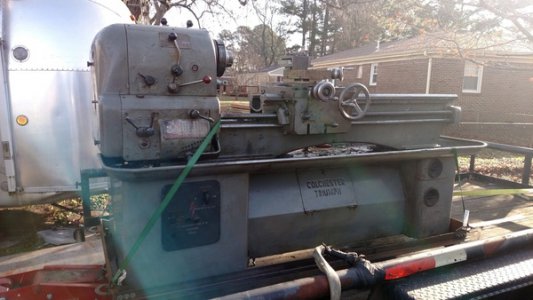
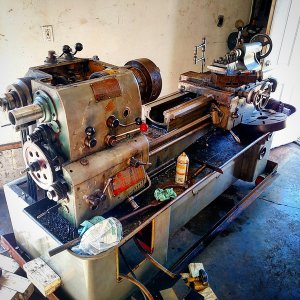
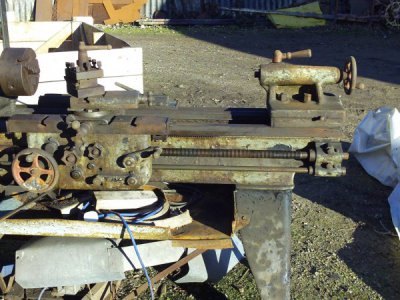
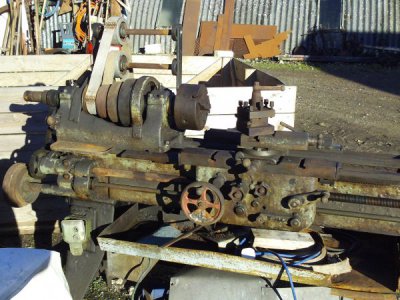
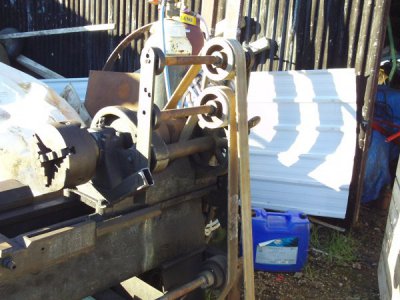
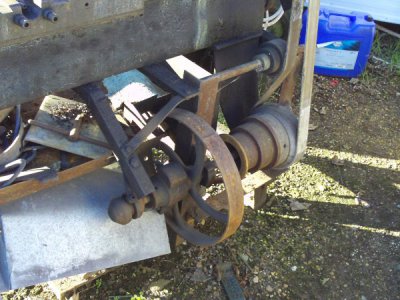
Well, I finally was able to pick up my new to me Colchester Triumph. I had been working with an Atlas 12" Craftsman single phase 1/2 HP machine... So going to this 15" (with a gap bed too) 5 HP machine is literally a 1000% HP increase. The purchase was a little cumbersome. The machine was 4 hours north of me, and across a 17 mile long Bridge tunnel that is $17 each way truck, $22 truck and trailer; so I have $78 just in tolls because I went up and looked at the machine the weekend before thanksgiving and then now retrieved the machine this past weekend. If you live North of Richmond, then you know the fun weather of this past weekend too. Luckily I took the eastern shore route north and only ran into the southern edge of the freezing rain once I got to where the machine lived in Eastern Shore Md just east across the Bridge outside of Naptown (Annapolis).
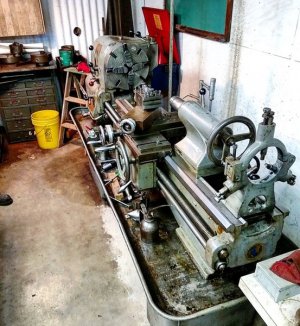
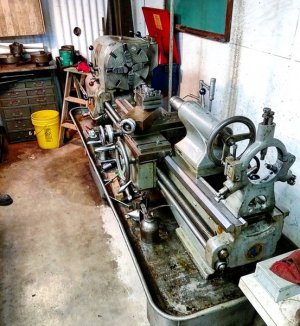
The lathe was being run on a Rotary Phase converter that the older gentleman was actually using to power his whole shop... and I tell you what, there was some nice stuff in there. He had a Prentis Camel Back Flat belt driven drill press in there he had just sold that was to die for. Beautiful machine! The lathe was one of the first things into the building as it was blocked in by a huge milling machine, another lathe, and lots of cabinets and also had to travel through a 4' wide door inside the building where a wall had been built since the machine was put in place. The seller struck me a deal on the premise of "I'll move on price, but it is up to you to get this machine out of this back corner, around those other machines, through that door, and out to the front shop door where I can help lift it with the farm tractor, one end at a time because its too heavy and awkward to pick it all at once.
I wish I had taken more photos of my carriage construction but I can still do that as the machine is still sitting on it for now as I am going to be cleaning it up some and want it more movable.
So, my plan to move it was to use a small porta power ram to lift the machine onto timber blocks about 6 1/2" off the ground. I purchased (4) 1k lb rubber lined swivel caster wheels from Northern Tool, and bolted them to some 4" x 4" x 1/4" steel angle that was cut 32" long each. I then cut and drilled some connection plates that were welded at the ends of the angle to both legs and then drilled subsequent holes in the end of some 2" x 2" x 3/16" angle at 84" long. The entire carriage is 84 1/2" inside edge to inside edge. I brought it in pieces and assembled it under the lathe and then removed the blocking and set the machine down. It steered through the shop with ease.
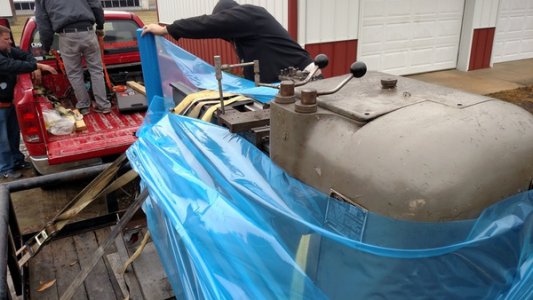
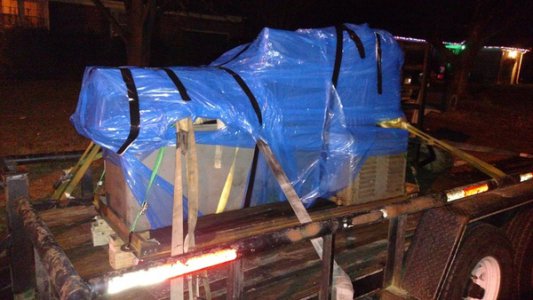
Loading the machine in the freezing rain was certainly interesting. A friend had given me a roll of construction type floor protection film and we wrapped everything up in that. The trailer deck had some soft timbers so I had brought some 2' x 4' x 1/4" steel plates to set the machine on and then we also lifted it off the casters and blocked it for transport so that we werent creating any weird eccentric shock loads on the caster wheels going down the road.
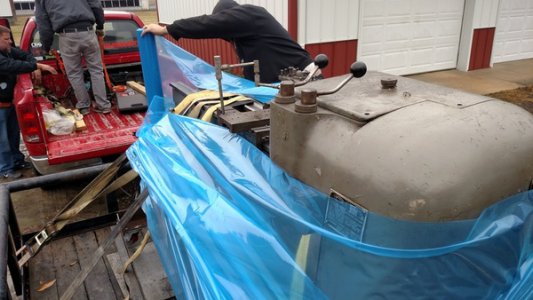
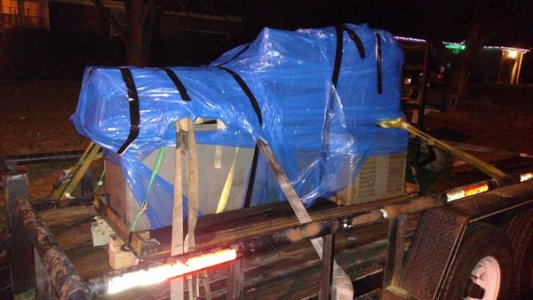
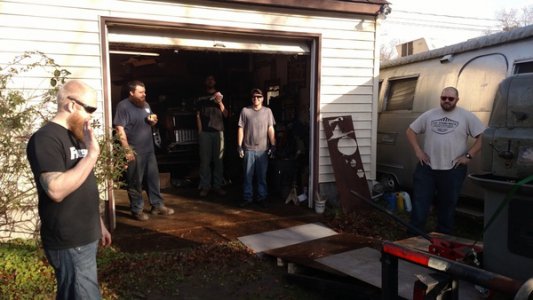
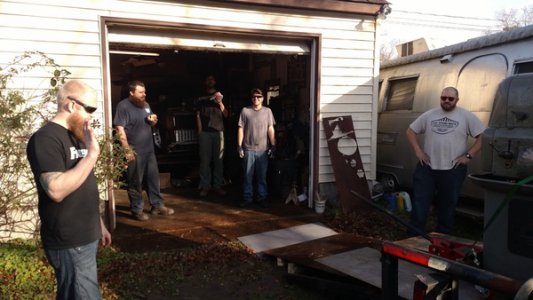
Got it home in the dark so decided to unload in the morning. I have a group of friends who are just as excited over the prospect of the new machining capabilities for their projects so I had an abundance of help. The trailer backed up to the shop, we set the plates on the ramps, and used some 3.3k ratchet straps at half a click as braking slings to lower the machine down the ramps. Worked really well.
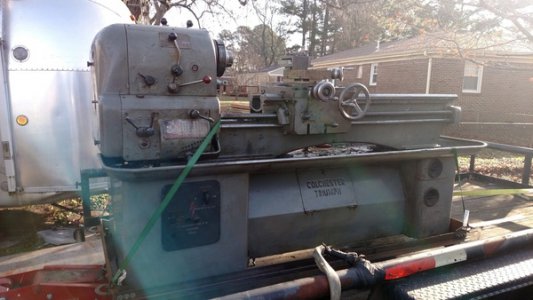
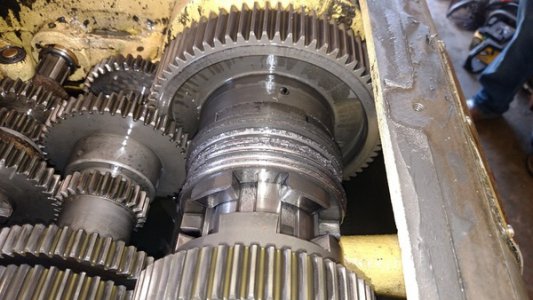
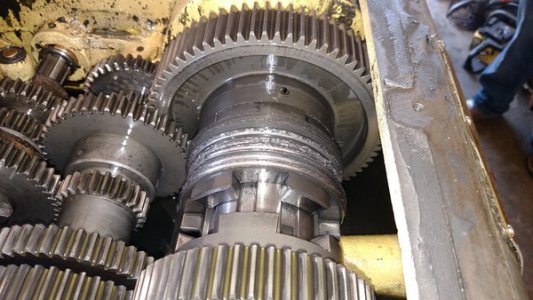
Started to finally get a chance to look at some things on it. The seller said (it shifts into high a little funny, there's only one spot that works but I never looked into it in the 15 years I've head it"). Well, first thing I did was take the top cover off.. and yep, looks like someone got a little too forceful with the shift... But it still shifts. I'm going to change the oil in it, clean the chunks out of the bottom and clean up the edges of this shift rail. If you watch the slider by eye you can line it up with the best spot for the shift to occur so I am thinking about making a clear cover for the gear box so I can just keep an eye on things.
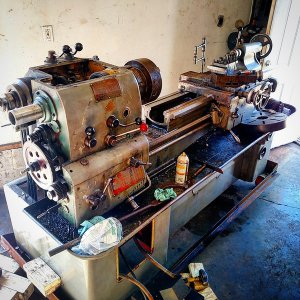
I have a buddy who was an electrician and he helped get the machine wired up and made sure the motor was in fact setup to run on 220V. The motor was tagged as being 230V/400V/440V... so he was stoked to know that it wasn't a 440V motor for sure as it indicated on the tag when we picked it up.
I had purchased a VEVOR brand (re-branded Huanyang or something is what it actually is) 5 HP (4KW) Single Phase to 3 Phase VFD converter back around Thanksgiving after I had committed to buy the machine. I will first off say that the setup manual is comically bad in the translation errors; like reading a menu at a really authentic Asian restaurant. In that sense however; setup options can be a bit troublesome. The motor is a 50 hz, so we got all of the voltage and freq parameters set but could not get the motor to light up. The VFD was only putting out 38V when it should be spinning at 220+ (line voltage at my house was almost 250) so we took it all back to 60hz per some random thread on Practical Machinist.. that got us a little more voltage and gave us a stalled motor sound.. Thought uh-oh.. So we once again messed around and looked through the book and saw where the motor pole value was 4 on default. I remembered some college classes and then looked up a motor pole calculation.. P = (120 x Freq)/Rpm... we did the math and came up with 4.2... and assumed close enough. One friend just decided to bump it to 5 poles and hit the Run VFD button and the motor fired and off we went.. Not sure if I am hurting it or not? Any thoughts on this? Currently we are leaving the contactor button and master power switch in the "On" position and have the contactor zip tied closed and using the VFD Run button as the on off switch (the clutch handle makes this so easy and nice). The motor is amazingly quiet and balanced. The head stock is not noisy at all either. Pleased with that.
Made a few passes and am happy so far. I am going to rewire the switches on the machine to enable the reversing switch and a remote run switch on the digital controls on the inverter.
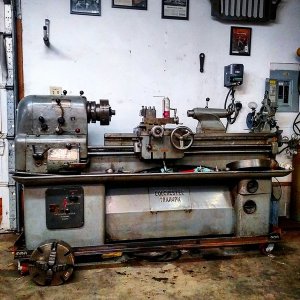
As it sits, still on the carriage cart. Sunday night ran late and Monday work came early. Waiting on weather to clear this AM so was able to start this thread.
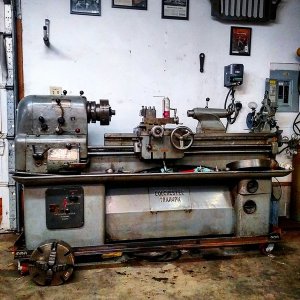

The lathe was being run on a Rotary Phase converter that the older gentleman was actually using to power his whole shop... and I tell you what, there was some nice stuff in there. He had a Prentis Camel Back Flat belt driven drill press in there he had just sold that was to die for. Beautiful machine! The lathe was one of the first things into the building as it was blocked in by a huge milling machine, another lathe, and lots of cabinets and also had to travel through a 4' wide door inside the building where a wall had been built since the machine was put in place. The seller struck me a deal on the premise of "I'll move on price, but it is up to you to get this machine out of this back corner, around those other machines, through that door, and out to the front shop door where I can help lift it with the farm tractor, one end at a time because its too heavy and awkward to pick it all at once.
I wish I had taken more photos of my carriage construction but I can still do that as the machine is still sitting on it for now as I am going to be cleaning it up some and want it more movable.
So, my plan to move it was to use a small porta power ram to lift the machine onto timber blocks about 6 1/2" off the ground. I purchased (4) 1k lb rubber lined swivel caster wheels from Northern Tool, and bolted them to some 4" x 4" x 1/4" steel angle that was cut 32" long each. I then cut and drilled some connection plates that were welded at the ends of the angle to both legs and then drilled subsequent holes in the end of some 2" x 2" x 3/16" angle at 84" long. The entire carriage is 84 1/2" inside edge to inside edge. I brought it in pieces and assembled it under the lathe and then removed the blocking and set the machine down. It steered through the shop with ease.
Loading the machine in the freezing rain was certainly interesting. A friend had given me a roll of construction type floor protection film and we wrapped everything up in that. The trailer deck had some soft timbers so I had brought some 2' x 4' x 1/4" steel plates to set the machine on and then we also lifted it off the casters and blocked it for transport so that we werent creating any weird eccentric shock loads on the caster wheels going down the road.


Got it home in the dark so decided to unload in the morning. I have a group of friends who are just as excited over the prospect of the new machining capabilities for their projects so I had an abundance of help. The trailer backed up to the shop, we set the plates on the ramps, and used some 3.3k ratchet straps at half a click as braking slings to lower the machine down the ramps. Worked really well.


Started to finally get a chance to look at some things on it. The seller said (it shifts into high a little funny, there's only one spot that works but I never looked into it in the 15 years I've head it"). Well, first thing I did was take the top cover off.. and yep, looks like someone got a little too forceful with the shift... But it still shifts. I'm going to change the oil in it, clean the chunks out of the bottom and clean up the edges of this shift rail. If you watch the slider by eye you can line it up with the best spot for the shift to occur so I am thinking about making a clear cover for the gear box so I can just keep an eye on things.


I have a buddy who was an electrician and he helped get the machine wired up and made sure the motor was in fact setup to run on 220V. The motor was tagged as being 230V/400V/440V... so he was stoked to know that it wasn't a 440V motor for sure as it indicated on the tag when we picked it up.
I had purchased a VEVOR brand (re-branded Huanyang or something is what it actually is) 5 HP (4KW) Single Phase to 3 Phase VFD converter back around Thanksgiving after I had committed to buy the machine. I will first off say that the setup manual is comically bad in the translation errors; like reading a menu at a really authentic Asian restaurant. In that sense however; setup options can be a bit troublesome. The motor is a 50 hz, so we got all of the voltage and freq parameters set but could not get the motor to light up. The VFD was only putting out 38V when it should be spinning at 220+ (line voltage at my house was almost 250) so we took it all back to 60hz per some random thread on Practical Machinist.. that got us a little more voltage and gave us a stalled motor sound.. Thought uh-oh.. So we once again messed around and looked through the book and saw where the motor pole value was 4 on default. I remembered some college classes and then looked up a motor pole calculation.. P = (120 x Freq)/Rpm... we did the math and came up with 4.2... and assumed close enough. One friend just decided to bump it to 5 poles and hit the Run VFD button and the motor fired and off we went.. Not sure if I am hurting it or not? Any thoughts on this? Currently we are leaving the contactor button and master power switch in the "On" position and have the contactor zip tied closed and using the VFD Run button as the on off switch (the clutch handle makes this so easy and nice). The motor is amazingly quiet and balanced. The head stock is not noisy at all either. Pleased with that.
Made a few passes and am happy so far. I am going to rewire the switches on the machine to enable the reversing switch and a remote run switch on the digital controls on the inverter.
As it sits, still on the carriage cart. Sunday night ran late and Monday work came early. Waiting on weather to clear this AM so was able to start this thread.


