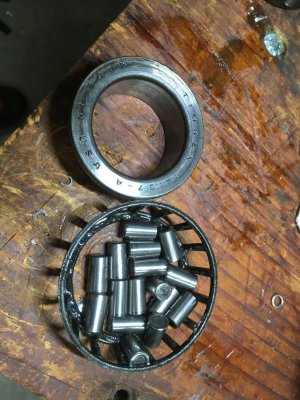
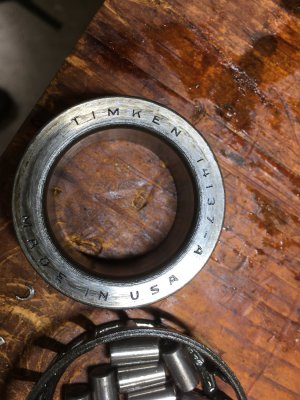
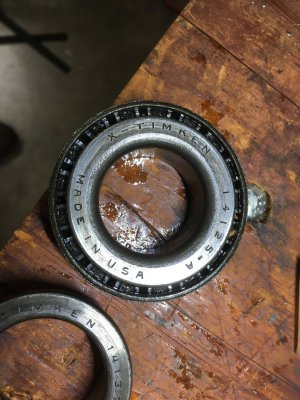
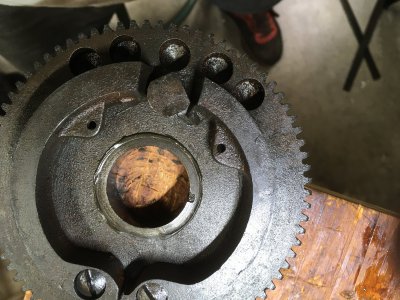
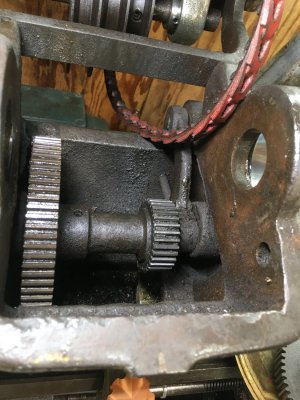
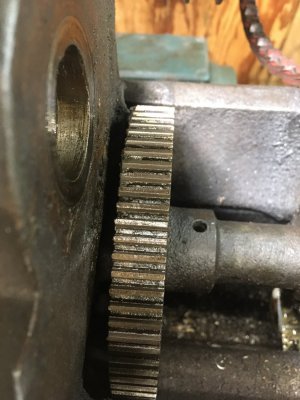
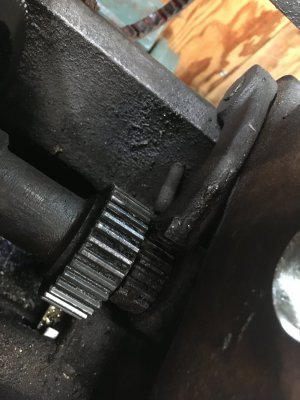
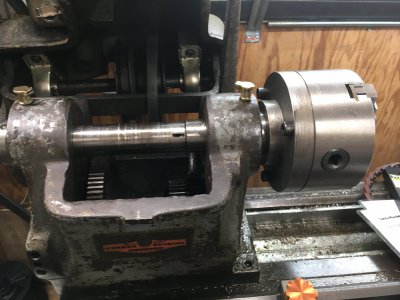
I'm starting this thread to document some repair items-issues on the Old Clausing 100 lathe. The documents that are in all the archives are not detailed enough to do a good job of identifying the necessary parts. For example, the Headstock/spindle has 2 Timken bearings. It is a common part number but the same number they use is also used as wheel bearings on some GM cars and Trucks however there is reason to know the spindle O/D on both the Chuck end and the Drive end therefore ordering the correct I/D bearings. I will include the part numbers and dimensions tomorrow. Today I did the disassembly of the spindle and took a few pictures of the pieces that make up the spindle. Feel free to add any information you may have on these old lathes so others may find it useful in the future. I left out the picture of the spring in photo #4 because It was boogered by someone else before my time. I have the dimensions for what I think is the correct spring and Have replacement ordered from McMaster car but do not want to post it until I get the new spring in hand and make sure it will work properly. The first picture is what the Bearing on the Chuck end looked like once I removed it from the Headstock. Shel fell off and all the rollers fell off and left the inner race on the shaft. I guess the bearing just had enough after 85 years of hard work. Thanks for stopping by.
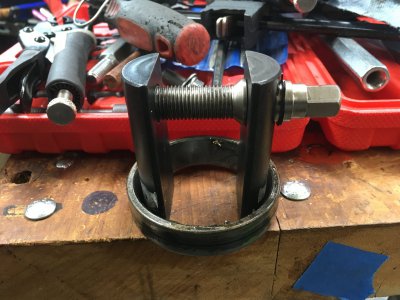
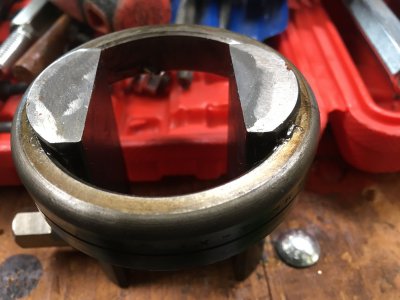
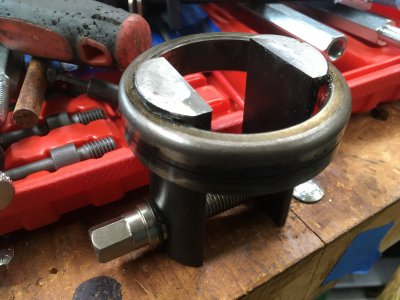
They sure did. Now I am trying to get the 85 year old bearing races out of the head stock. I've got this tool on order. I know I can weld them out but do not want to weld on the machine. Anyway, here is another video to document the bearing R&R. The person I am talking to in the video is my son.
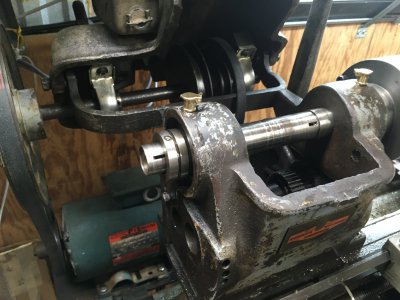
I finally got both races out of the head stock. The tool worked good on one of the races because it had a gap between the race and casting but the one nearest the chuck was a real PITA. I had to file/grinding the tool to get it to hold on to the edge of the race while I drove it out. But the good news is now I can go forward with putting new spindle bearings and races back in it.
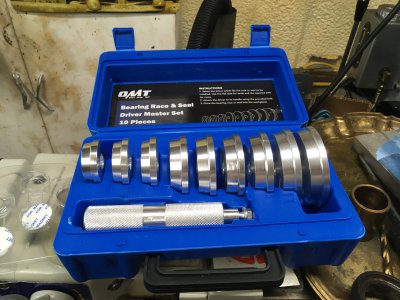
Got the new Timken bearings and races installed today. Now it is just doing the Assy of the belt sheaves and belt then she will be making chips again. The Race drivers were well worth the $25 I paid for them. Bearings -pullers and drivers I have about $300-$350. When restoring one of these old beauties you just have to put cost in the back seat, or you will never get them restored.
Here she is with the new bearings and all lined up. Just waiting for the Felt Wick to come in and then I will put the chuck back on and make some chips. The minor noise you hear in the video is from the VFD Fan not the lathe. She is as smooth as silk. Now to make some chips.
My first test piece after bearing replacement complete. It is such an improvement over the finish I was getting its even hard for me to believe. I'm pretty sure if I experimented with RPM's and feed rate I could get even better. This was done with me just manually feeding the tool towards the chuck. It will be interesting when I try using power feed. Just have this one picture because my I-Phone is full of pictures and videos, and I am not smart enough to free up space on the phone. I have been playing around with my Samsung Galaxy Tablet and my Kindle Tablet to see if I can use them for taking pictures and videos. Haven't quite mastered uploading from the tablets to You Tube.
After taking these measurements I put a piece of stock in it and realized that I had not tightened the socket head cap screws that hold the chuck to the backing plate. Once I did this the TIR was within .0025. I considered that good enough for a China Town 3-Jaw chuck. I machined the piece in the above picture, and it cut like butter and was smooth as silk. I have been blaming the less than desirable finishes I was getting before the bearing replacement on the Cheap-O carbide inserts. Well, I changed no inserts nor made any adjustments to the cutting tools, so it appears to have been the 85-year-old bearings. Now on to the next tweak of making the power feed smother than it is now. Thanks for stopping by.
This site uses cookies to help personalise content, tailor your experience and to keep you logged in if you register.
By continuing to use this site, you are consenting to our use of cookies.