Christmas present - Washer/Dryer riser.

rls1160

Registered
Registered
Joined
Oct 15, 2023
Messages
49
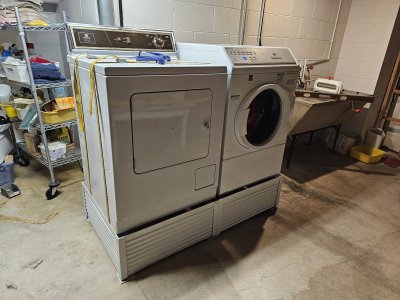
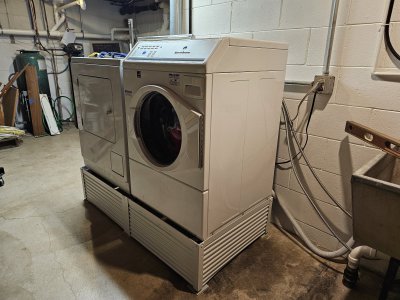
Today I finished the new washer dryer riser. It was Christmas present request.

I had to make a few refinements so it was back to the shop for some painting and an added retainer bar to lock down the front load washer which has a high spin rate.

It is a welded and bolted angle iron frame with 1/2" corrugated sheet metal panels.

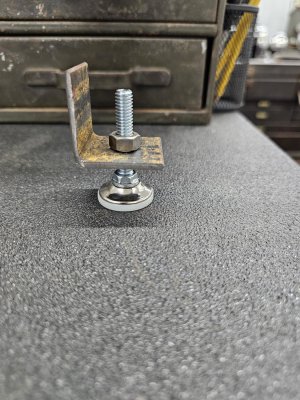
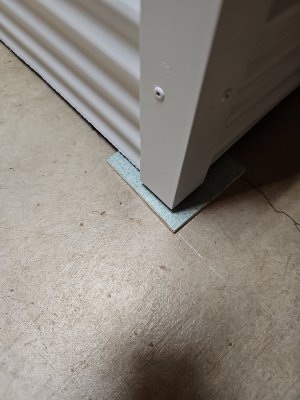
I also made the frame levelers and anti-skid pads.
 

Attachments

  • IMG_20231227_142958.jpg
    IMG_20231227_142958.jpg
    1.1 MB · Views: 26
  • IMG_20231227_210444.jpg
    IMG_20231227_210444.jpg
    679.9 KB · Views: 23
  • IMG_20231227_210505.jpg
    IMG_20231227_210505.jpg
    655.1 KB · Views: 15
  • IMG_20231227_210444.jpg
    IMG_20231227_210444.jpg
    679.9 KB · Views: 15
  • IMG_20231227_210505.jpg
    IMG_20231227_210505.jpg
    655.1 KB · Views: 15
  • 20231221_090738.jpg
    20231221_090738.jpg
    432.9 KB · Views: 16
  • IMG_20231227_211101_01.jpg
    IMG_20231227_211101_01.jpg
    301.1 KB · Views: 24
Nice! How was the noise and vibration level of the washer after installation?
 
Nice! How was the noise and vibration level of the washer after installation?


John, my initial assembly approach was to tap and screw the base frame together for ease of assembly/disassembly. The combination of a smooth sloping concrete floor and a high spin speed washer (1200 RPM), dictated a bit more ridgity.

So, I added weld joints to each leg and to the two cross members that run front to back beneathe the adjustable legs of the washer and dryer.

I then, for safety and security, added what I would call a retaining bar that basically captured the left side leveling feet of the washer, locking it the the frame.

Both the frame and the washer/dryer have leveling feet. I first leveled the frame in position. Then set the washer on the frame, leveled that then attached the retaining bar.

Next I placed the dryer in position and leved that.

To eliminate and possible shifting (skidding) on the sloped slab I made 1/4" x 3" x 3" wood blocks and glued 60 grit sandpaper to each face of the blocks.

The frame was easily lifted up using a wonderbar and I slipped the antiskid blocks under each leg support.

The washer and dryer are extremely stable. No vibrations, no noise and no skidding.

We ran floor rugs tgrough the wash and spin cycle with no issues at all.

Hope that helps,

Rick
 
Thank you all for the nice comments and likes.

Hope you all had a wonderful Holiday and New Years!

I am now working on a mobile welding cart for my Tig Runner set-up.

Will post pics once its further along
 
The way you put it together looks like it would be real easy to turn it into a couple of drawers too.
 
Yes you could add drawers if wanted.

The purpose of this was to get the machines to a height where we did not have to bend over.

If we were younger it might have had lower drawers.
 
Back
Top