- Joined
- Oct 20, 2014
- Messages
- 495
Hi All,
Well, I did it. I wasn't happy with some things about my Atlas horizontal mill, so I decided to tear it down and go through it.
I got this machine for free years and years ago. It had some broken parts, some missing parts, and some damaged parts. Being young and ignorant, I got it to a condition where it cut metal.
Fast forward 10 years.
I'm unhappy with the tram of the table to the spindle, the stiffness of movement, the missing parts, etc, etc, etc.
So, I decided to tear this thing down. I'm building a vertical head for it, and I need to use it to machine some parts for that. Now that I know a little more, I'm unhappy with how it was behaving. So.......
View attachment 91909
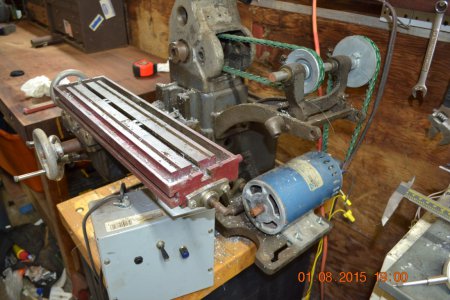
Savor that. It's got ugly handwheels because I was a newbie at foundry work. There's a Mark Of Shame on the table, because I grabbed the wrong handwheel. Backgear is non-existent, it has no locks for the overarm bar, I haven't used the horizontal arbor because I have no cutters, no spacers, and no nut for the arbor! The machine works, but it's sloppy, and if I turn off the radio, I can hear it whisper, "Make me right!"
So, I cleared off my workbench, and started removing parts. I got a stack of ziploc bags and a brand new sharpie!
I removed the LH handwheel, (rough cast) and took off the table.
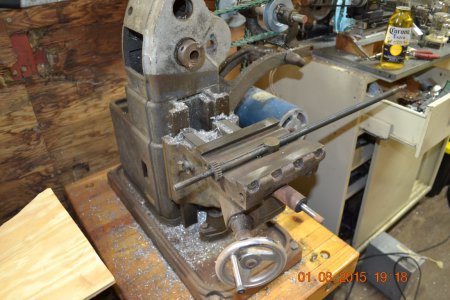
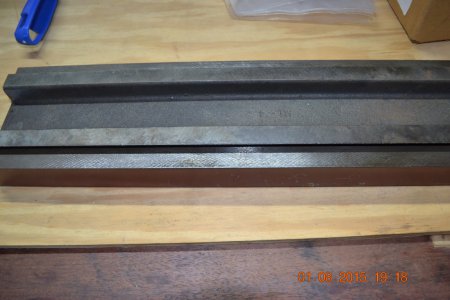
I'm cleaning as I go. There is a missing gib screw, and the lock handle is missing. I think I'll make new leadscrew nuts for this machine. It's worth the cost of an Acme LH tap to do so. The table is in good shape. The ways are not too torn up, but I don't know if there's wear in the middle of the table yet. The gib will get polished on a granite slab with fine grit paper and washed thoroughly before reassembly.
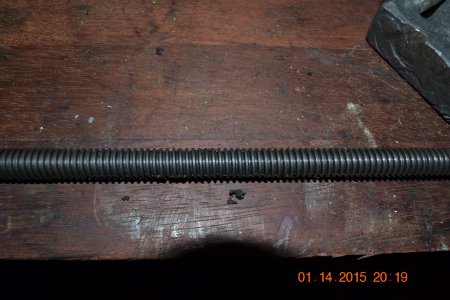
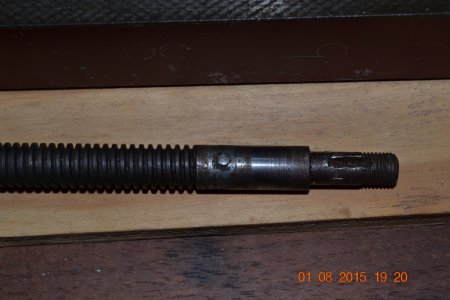
The X axis leadscrew has one end pinned into place. I'll have to grind that flat and drive it out before I can remove the nut. The opposite end of the leadscrew has the tail of the thread, and I can't pass the nut over it.
If I don't have the appropriate sized brass in my junk bin, I can either cast it, or buy it.
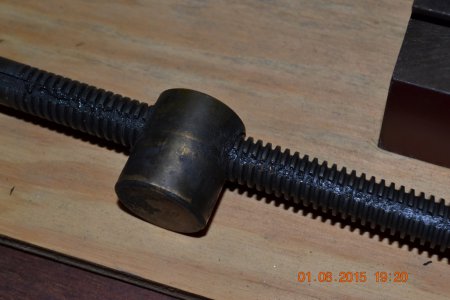
There's some backlash, so I figure I'll make a new nut, and check it on the screw. If it's too loose, I'll order some more Acme threaded rod, and make a new screw. This one will have to go back in if that's the case, because I'll need to use the mill to cut the grooves in the screw for the power feed gear.
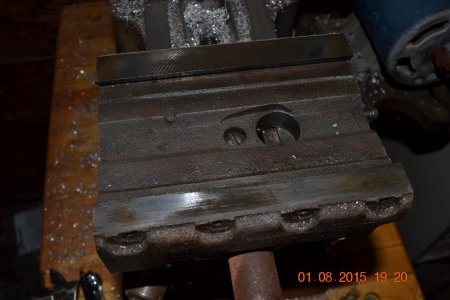
The saddle doesn't look too bad. It's missing one gib screw, and the locking handle. Not the end of the world.
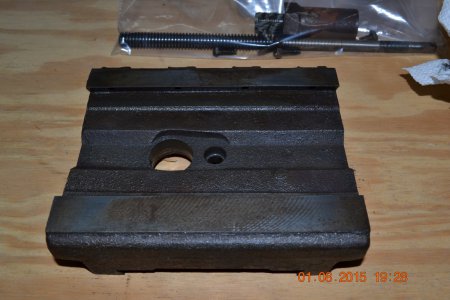
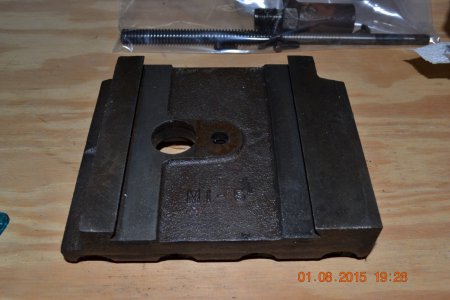
It's looking a little naked now. And yes, that's an adult beverage. I'm not machining, and I nursed that one for the entire disassembly. Not my favored brand, though. I prefer a good stout that etches the glass by the time you chug it down.
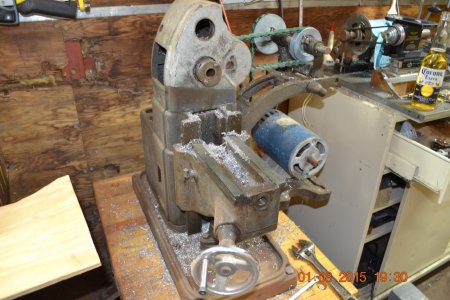
More work with the shop vac and a chip brush, and I find this.....
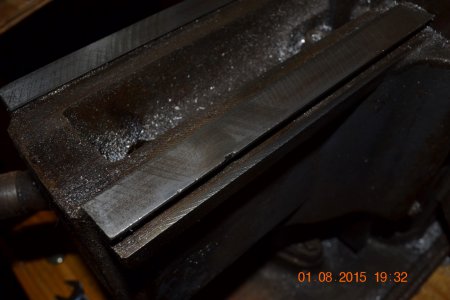
ouch. But, I don't think it'll be an issue. Hopefully it isn't a Monday or Friday mill. On Mondays, the QC team is hung over. On Friday, they want to get to the bar. I think this is a Monday Afternoon knee.....
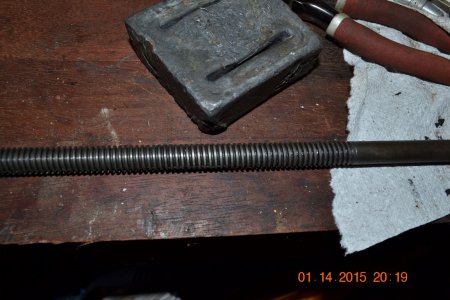
After much, much, much difficulty, I removed the nut assembly for the knee and got the elevation shaft loose. Holy Cojones On Fire, that was a task! I ended up using a pair of Channel Loc pliers after clamping the knee to the workbench. It was crudded/rusted/gunked in place, but I got it out. I'll admit, the flats are a little buggered, but I'll be buying a socket to turn down to fit when I re-assemble it. Here's the elevation shaft.
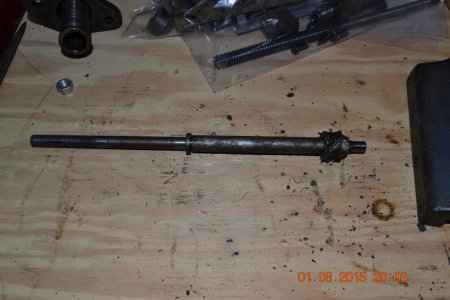
I'll disassemble it, and clean it up. It's sticky-filthy-nasty. :/
The Knee, in all it's glory. With the chunk of lead I use for hammering. If anybody has seen my lead hammer, please just melt it down. I warned it about running way. Now, it must know the error of it's ways. And yes, that's an old SCUBA weight....
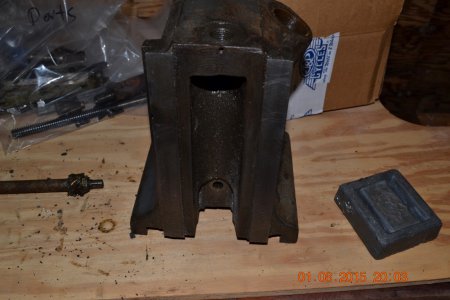
The wear surfaces don't look too bad. It's seen some use, but I think it's a long way from scrap.
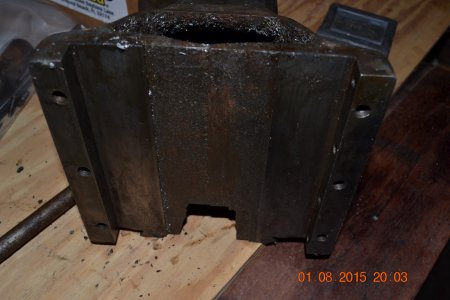
Can anybody tell me what the holes on the right side of the knee ways are for? They don't seem to be connected to anything.
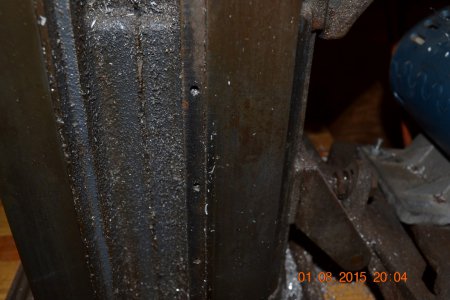
Even with the table, saddle, knee, and motor gear stripped off, this [censored] is [censored] HEAVY! I'm not a big guy. 5'6", about 145-155, I'm stronger than I look. And I both grunted and farted when I heaved the thing off the stand onto the bench. Little wonder it's a metal-hogging beast, it's built like the proverbial brick outhouse.
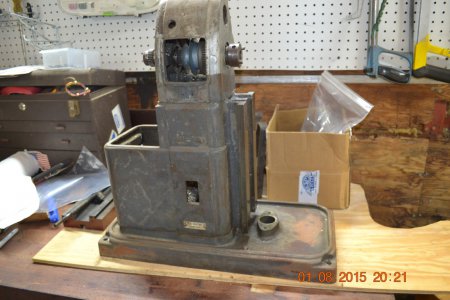
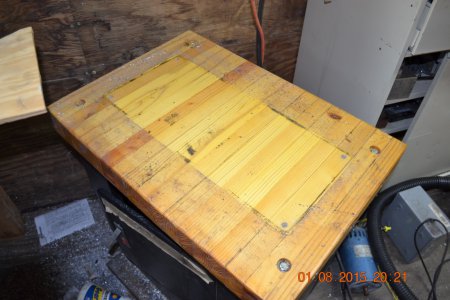
The bench top is laminated 2x4's, leftovers from a home project. There's three pieces of 1/2" all-thread clamping it longways, and it's rock solid. I belt sanded it smooth, then sealed it with clear poly.
You can obviously see where the mill was....
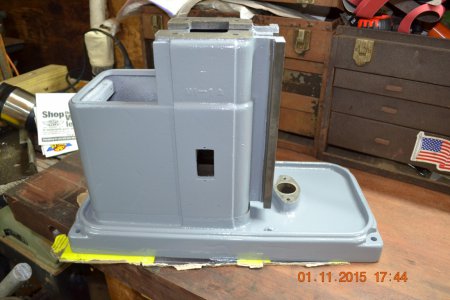
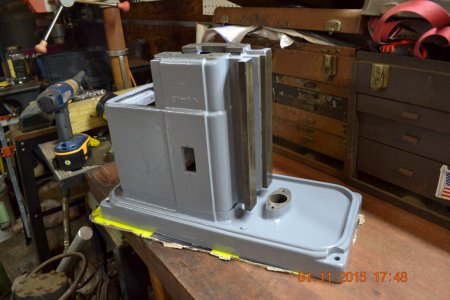
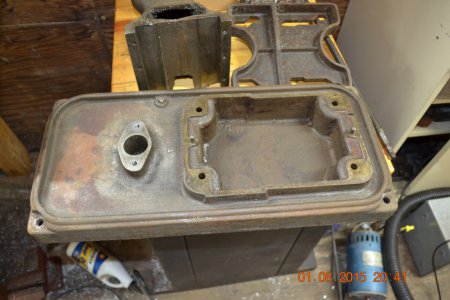
Got the base off. There's two alignment pins, a drain screw, and lots of crud. :/ Not nearly as much as when I scraped it out with a putty knife a decade ago, but still crud.
I don't care what it looks like, this thing is still heavy.
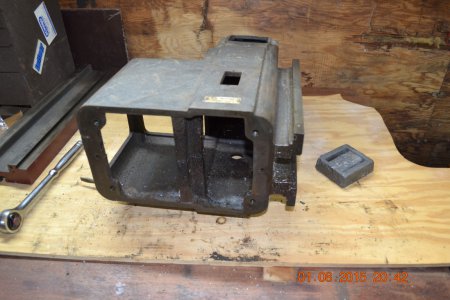
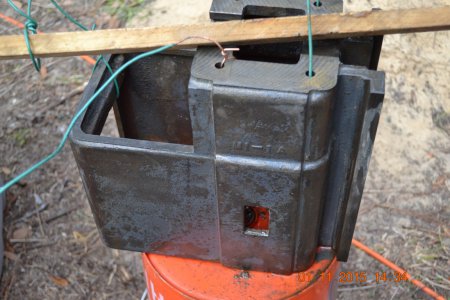
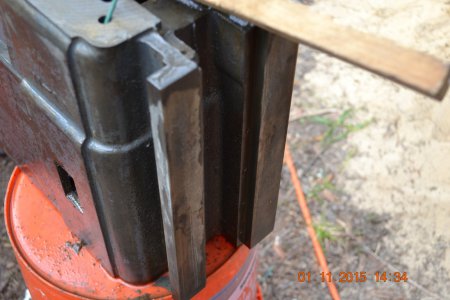
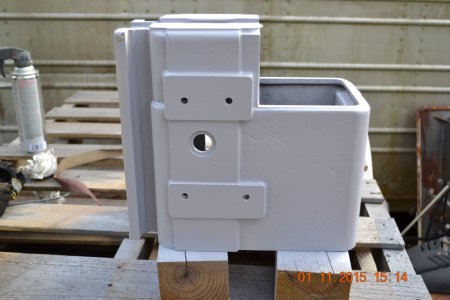
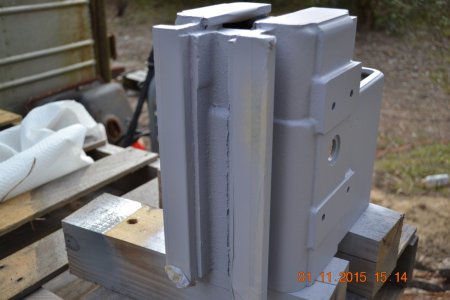
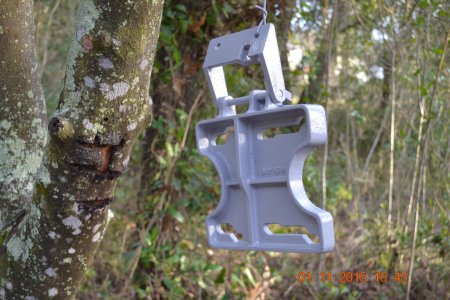
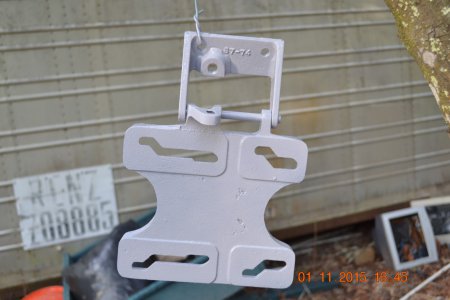
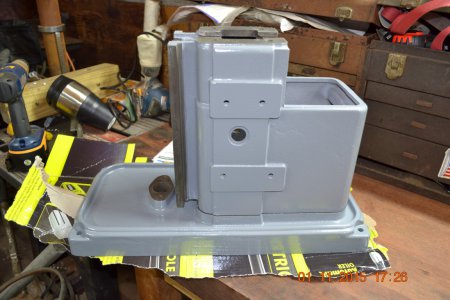
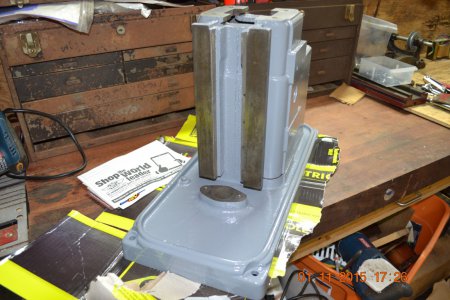
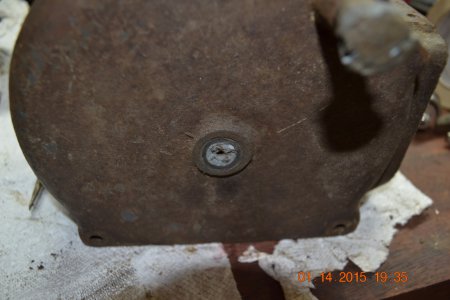
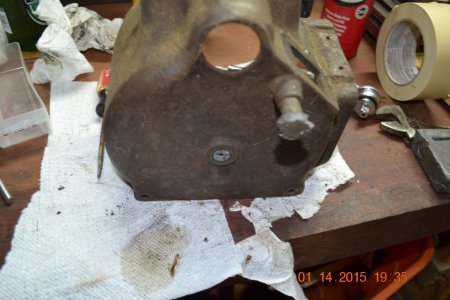
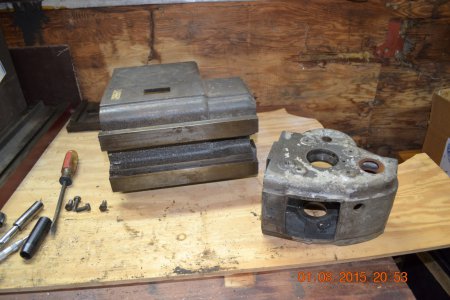
Got the headstock off. The spindle was already removed. The first time I took it out I noticed that it had been abused, and unfortunately it hasn't healed. I'll have to clean it up and remove the burrs before I reassemble it. I'd love a new spindle, but I haven't even started looking, and I got a feeling they're not terribly cheap. It's the same one as the Craftsman lathe, so I just need to start looking. Sorry, no pictures of that. My hands were beyond filthy. But, here's a good pictured of the beheaded MFC...
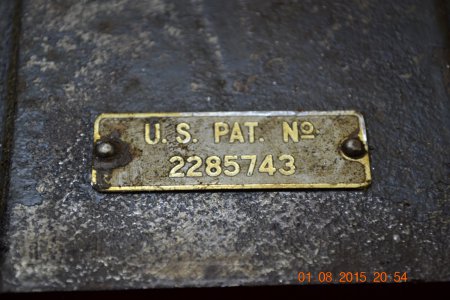
One question I have (and will search for), is how to remove these drive screws without destroying the tag...
Now, my other questions.
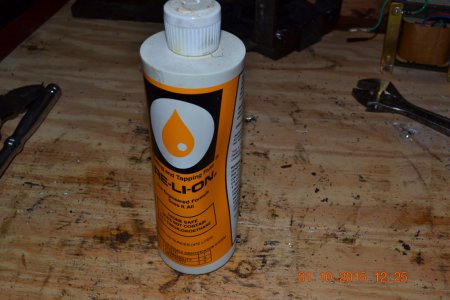
Is it safe for the ways if I submerge the parts in Evaporust? Will that damage the scraped or machined surfaces?
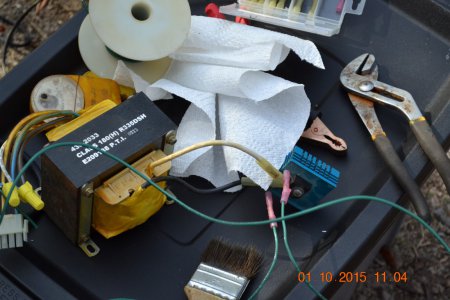
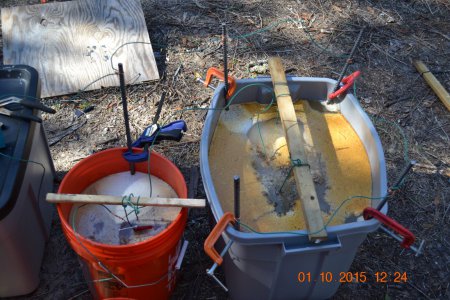
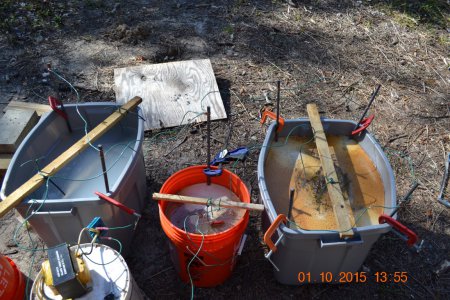
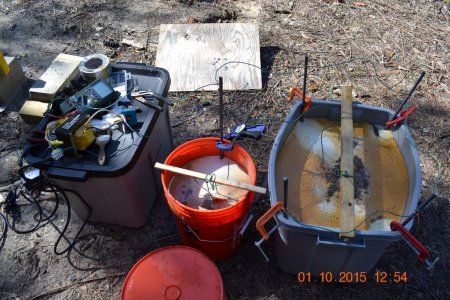
Since Evaporust isn't free, but I have everything I need to make a big tub 'o Electrolyte for electrolytic rust removal, will that damage the scraped or machined surfaces?
Bluntly, my compressor sucks. By the time it builds up enough pressure to run a tiny spray gun, the paint has hardened in the gun enough to be machined. This will have to be a rattle-can/roller/brush job. What primer and paint should I use? I'm going to paint the machine grey, whichever shade is truly grey and doesn't offend me. *important note!* I'm colorblind to light blue and light green. They look like grey to me. If the guy at the hardware store gives me blue or green tinted paint, and I find out, I'm gonna hamstring him with a church key.
Here's my list 'o Stuff I have to do, other than the obvious task of getting it ready to paint and reassemble -
Replace the handwheels. Those are crude as heck. They work, and I made 'em myself, but they're not that great. I'm buying handwheels for it.
Replace the spindle bearings. Just because it's apart, and I can. I had no trouble with runout or vibration, but if I already have it apart.....
Replace the leadscrew nuts. One will be a casting that'll have to be turned, the other either turned from a scrap casting, or from bought brass. If the backlash is still unacceptable, I'll replace the leadscrews.
Get backgear working. I have most all the parts, just need to make a few widgets for it. That's what my lathe is for, right?
Fit power feed to the table. Yes, it's an MFC. The power feed assemblies are not complete, or are broken. Eventually I'll fix or replace them, but for now, I'll use a gear reduction motor and a DC speed control. Electronics is another of my hobbies.
Fit digital calipers to it for a poor man's DRO. It's done wonders on the Taig, and I can't squeeze a real DRO into my hobby budget now. I have a 20% off coupon for Harbor freight, and this weekend is their big sale, so I can hopefully pick up the other two calipers I'd need there.
Hopefully this weekend I can start getting the parts de-crudded.


Well, I did it. I wasn't happy with some things about my Atlas horizontal mill, so I decided to tear it down and go through it.
I got this machine for free years and years ago. It had some broken parts, some missing parts, and some damaged parts. Being young and ignorant, I got it to a condition where it cut metal.
Fast forward 10 years.
I'm unhappy with the tram of the table to the spindle, the stiffness of movement, the missing parts, etc, etc, etc.
So, I decided to tear this thing down. I'm building a vertical head for it, and I need to use it to machine some parts for that. Now that I know a little more, I'm unhappy with how it was behaving. So.......
View attachment 91909

Savor that. It's got ugly handwheels because I was a newbie at foundry work. There's a Mark Of Shame on the table, because I grabbed the wrong handwheel. Backgear is non-existent, it has no locks for the overarm bar, I haven't used the horizontal arbor because I have no cutters, no spacers, and no nut for the arbor! The machine works, but it's sloppy, and if I turn off the radio, I can hear it whisper, "Make me right!"
So, I cleared off my workbench, and started removing parts. I got a stack of ziploc bags and a brand new sharpie!
I removed the LH handwheel, (rough cast) and took off the table.

I'm cleaning as I go. There is a missing gib screw, and the lock handle is missing. I think I'll make new leadscrew nuts for this machine. It's worth the cost of an Acme LH tap to do so. The table is in good shape. The ways are not too torn up, but I don't know if there's wear in the middle of the table yet. The gib will get polished on a granite slab with fine grit paper and washed thoroughly before reassembly.

The X axis leadscrew has one end pinned into place. I'll have to grind that flat and drive it out before I can remove the nut. The opposite end of the leadscrew has the tail of the thread, and I can't pass the nut over it.

If I don't have the appropriate sized brass in my junk bin, I can either cast it, or buy it.

There's some backlash, so I figure I'll make a new nut, and check it on the screw. If it's too loose, I'll order some more Acme threaded rod, and make a new screw. This one will have to go back in if that's the case, because I'll need to use the mill to cut the grooves in the screw for the power feed gear.
The saddle doesn't look too bad. It's missing one gib screw, and the locking handle. Not the end of the world.


It's looking a little naked now. And yes, that's an adult beverage. I'm not machining, and I nursed that one for the entire disassembly. Not my favored brand, though. I prefer a good stout that etches the glass by the time you chug it down.

More work with the shop vac and a chip brush, and I find this.....

ouch. But, I don't think it'll be an issue. Hopefully it isn't a Monday or Friday mill. On Mondays, the QC team is hung over. On Friday, they want to get to the bar. I think this is a Monday Afternoon knee.....
After much, much, much difficulty, I removed the nut assembly for the knee and got the elevation shaft loose. Holy Cojones On Fire, that was a task! I ended up using a pair of Channel Loc pliers after clamping the knee to the workbench. It was crudded/rusted/gunked in place, but I got it out. I'll admit, the flats are a little buggered, but I'll be buying a socket to turn down to fit when I re-assemble it. Here's the elevation shaft.

I'll disassemble it, and clean it up. It's sticky-filthy-nasty. :/
The Knee, in all it's glory. With the chunk of lead I use for hammering. If anybody has seen my lead hammer, please just melt it down. I warned it about running way. Now, it must know the error of it's ways. And yes, that's an old SCUBA weight....

The wear surfaces don't look too bad. It's seen some use, but I think it's a long way from scrap.

Can anybody tell me what the holes on the right side of the knee ways are for? They don't seem to be connected to anything.

Even with the table, saddle, knee, and motor gear stripped off, this [censored] is [censored] HEAVY! I'm not a big guy. 5'6", about 145-155, I'm stronger than I look. And I both grunted and farted when I heaved the thing off the stand onto the bench. Little wonder it's a metal-hogging beast, it's built like the proverbial brick outhouse.

The bench top is laminated 2x4's, leftovers from a home project. There's three pieces of 1/2" all-thread clamping it longways, and it's rock solid. I belt sanded it smooth, then sealed it with clear poly.
You can obviously see where the mill was....

Got the base off. There's two alignment pins, a drain screw, and lots of crud. :/ Not nearly as much as when I scraped it out with a putty knife a decade ago, but still crud.
I don't care what it looks like, this thing is still heavy.


Got the headstock off. The spindle was already removed. The first time I took it out I noticed that it had been abused, and unfortunately it hasn't healed. I'll have to clean it up and remove the burrs before I reassemble it. I'd love a new spindle, but I haven't even started looking, and I got a feeling they're not terribly cheap. It's the same one as the Craftsman lathe, so I just need to start looking. Sorry, no pictures of that. My hands were beyond filthy. But, here's a good pictured of the beheaded MFC...

One question I have (and will search for), is how to remove these drive screws without destroying the tag...

Now, my other questions.
Is it safe for the ways if I submerge the parts in Evaporust? Will that damage the scraped or machined surfaces?
Since Evaporust isn't free, but I have everything I need to make a big tub 'o Electrolyte for electrolytic rust removal, will that damage the scraped or machined surfaces?
Bluntly, my compressor sucks. By the time it builds up enough pressure to run a tiny spray gun, the paint has hardened in the gun enough to be machined. This will have to be a rattle-can/roller/brush job. What primer and paint should I use? I'm going to paint the machine grey, whichever shade is truly grey and doesn't offend me. *important note!* I'm colorblind to light blue and light green. They look like grey to me. If the guy at the hardware store gives me blue or green tinted paint, and I find out, I'm gonna hamstring him with a church key.
Here's my list 'o Stuff I have to do, other than the obvious task of getting it ready to paint and reassemble -
Replace the handwheels. Those are crude as heck. They work, and I made 'em myself, but they're not that great. I'm buying handwheels for it.
Replace the spindle bearings. Just because it's apart, and I can. I had no trouble with runout or vibration, but if I already have it apart.....
Replace the leadscrew nuts. One will be a casting that'll have to be turned, the other either turned from a scrap casting, or from bought brass. If the backlash is still unacceptable, I'll replace the leadscrews.
Get backgear working. I have most all the parts, just need to make a few widgets for it. That's what my lathe is for, right?

Fit power feed to the table. Yes, it's an MFC. The power feed assemblies are not complete, or are broken. Eventually I'll fix or replace them, but for now, I'll use a gear reduction motor and a DC speed control. Electronics is another of my hobbies.
Fit digital calipers to it for a poor man's DRO. It's done wonders on the Taig, and I can't squeeze a real DRO into my hobby budget now. I have a 20% off coupon for Harbor freight, and this weekend is their big sale, so I can hopefully pick up the other two calipers I'd need there.
Hopefully this weekend I can start getting the parts de-crudded.


