- Joined
- Sep 28, 2013
- Messages
- 4,395
Hi all,
this is a summary of my recent project to install a treadmill motor on my Atlas 618 (see http://www.hobby-machinist.com/threads/wiring-up-a-treadmill-motor-i-know-i-know.37159/ for the full experience!). It got a bit lost in that thread and Nels thought it would be worth posting it here so it was a little easier to find.
I have (had?) a perfectly nice 1/3hp reversible motor on my 618 but I found myself wishing for on the fly variable speed, especially when facing large disks or dealing with chatter. A long story short involving me, a thrown out treadmill, my wife and Jake from East Texas and I had an Icon 1hp motor and MC68 (update of the MC60?) controller.
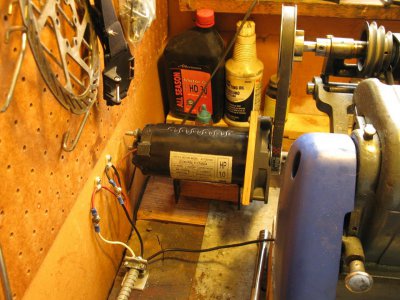
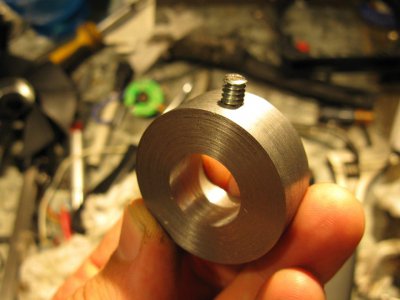
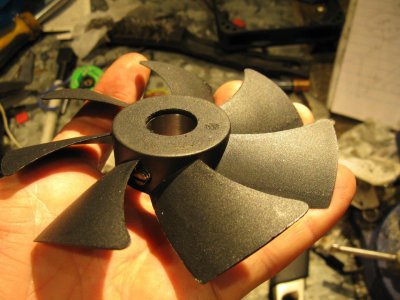
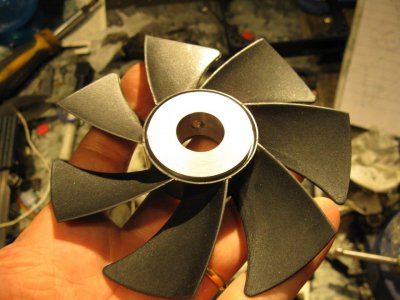
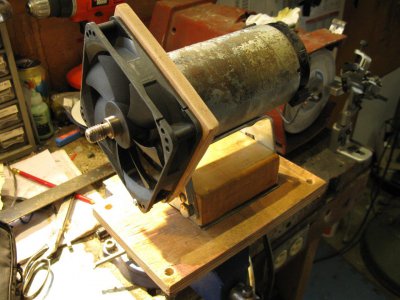
I chose to remove the flywheel as I didn't want to figure out a way of dealing with it unscrewing when I reversed the motor (1/2-13 LH threads), so I adapted a rather nice 120mm PC fan instead by making a hub that was a slip fit onto the shaft with a set screw to hold it in place
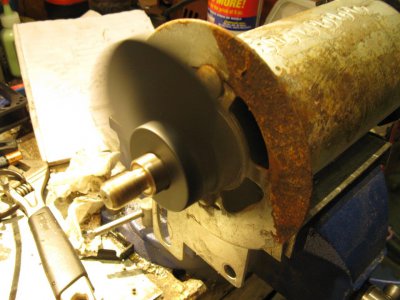
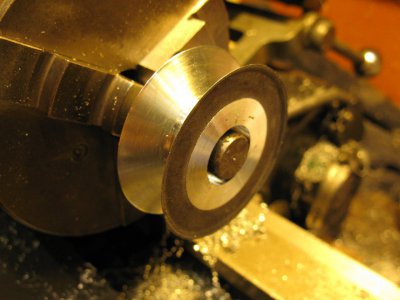
bored out a 2" pulley to fit the shaft (17mm from memory) and then trued up the V. Actually, I did this twice - once on my 3 jaw chuck with runout (doh!) and then again on my 4 jaw with no runout.
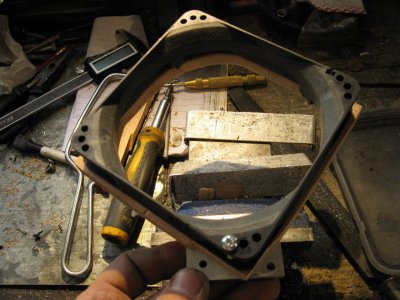
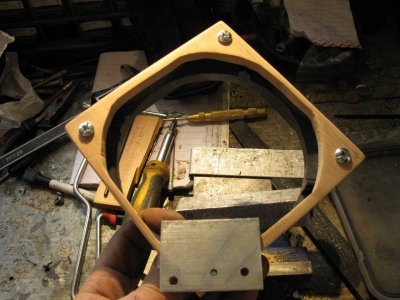
I now remember why PC fans have shrouds - without them, most of the air goes out sideways, which isn't what you want. So I cut up the original shroud and mounted it to a piece of wood that was then mounted to the motor with an adapter plate
works waaaay better now!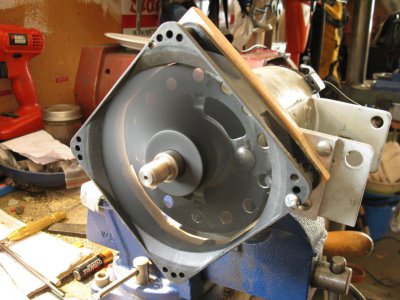
drilled some holes in the motor flange to reduce backpressure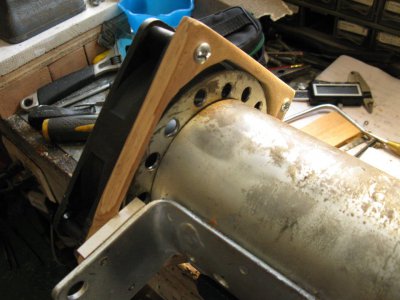
wooden mount. I ended up taking the base off, but I might need to put it back on again - still fiddling with vibration isolation (the motor also resonates a bit, which = whine through the bench) vs. belt tension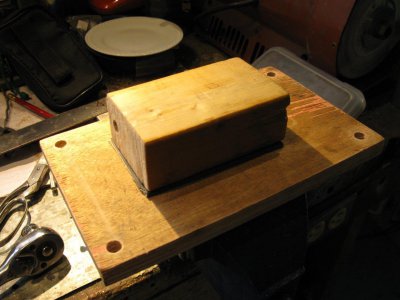
controller adapted to a BUD industries box that I got off Amazon
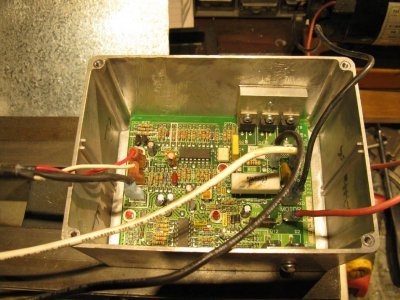
the KEY to defeating the "return dial to zero so you don't kill yourself when restarting the treadmill" feature. Cut the resistor that is directly connected to the white rheostat terminal (the center "wiper"), called R19 and/ or RPS3. Now the motor will restart at the same speed you stopped it at.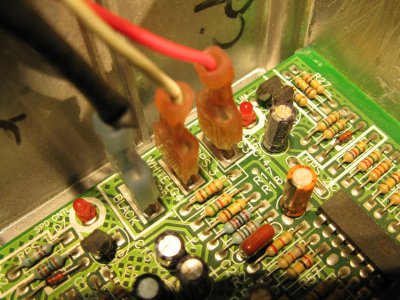
lick of paint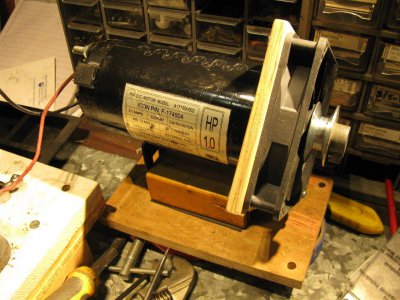
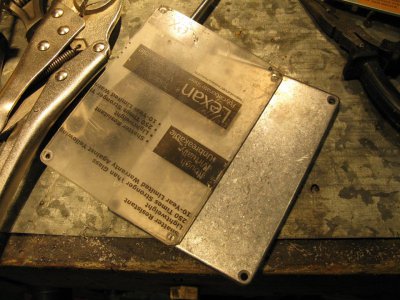
making a lexan cover for the control box, so I could see the status lights on the controller board. Bit of the PITA and I won't be doing it for the next one on my drill press
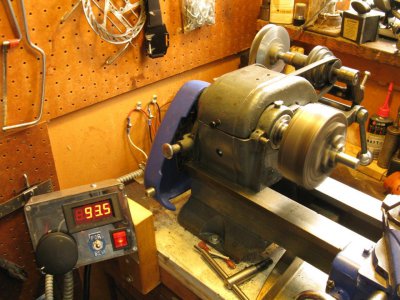
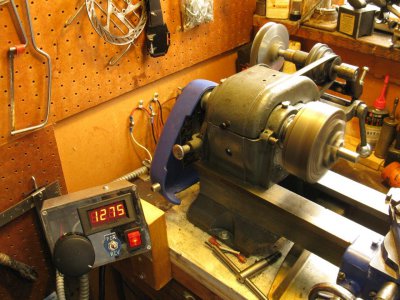
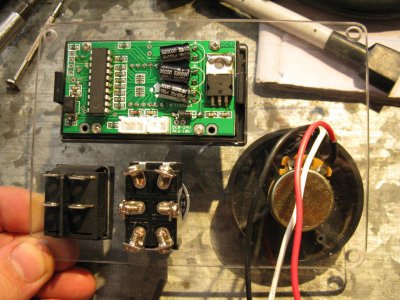
cover populated with tach display, speed dial, forward/ reverse DPDT switch and on/off SPST switch (both 15A). Annoyingly I deleted the pic that showed how to wire the forward/ reverse switch. Basically, the motor wires from the controller go to the two central terminals on the switch. You then connect the diagonally opposite outer terminals (ie an X shape) and then connect the wires to the motor to one set of outer terminals. Switching from one side through off to the other side will reverse the polarity of the current to the motor and make it reverse direction. If you get it wired the wrong way round like I did, just reverse the connections on the controller board!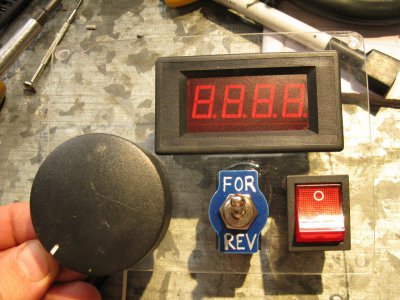
power cable and 15A fuse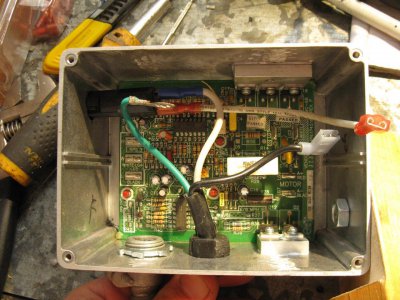
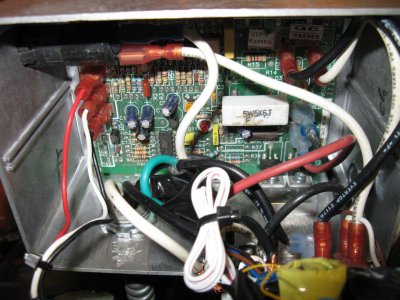
wired up! This was before I discovered that I'd wired the reversing switch the wrong way round Space is tight in there - if you can find 1/4" right angle connectors, I strongly recommend it!
here you can sort of see how the reversing switch is wired up, as well as the power wires to the 9VDC wallwart that powers the tach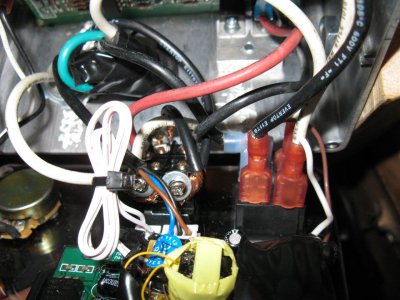
this is a summary of my recent project to install a treadmill motor on my Atlas 618 (see http://www.hobby-machinist.com/threads/wiring-up-a-treadmill-motor-i-know-i-know.37159/ for the full experience!). It got a bit lost in that thread and Nels thought it would be worth posting it here so it was a little easier to find.
I have (had?) a perfectly nice 1/3hp reversible motor on my 618 but I found myself wishing for on the fly variable speed, especially when facing large disks or dealing with chatter. A long story short involving me, a thrown out treadmill, my wife and Jake from East Texas and I had an Icon 1hp motor and MC68 (update of the MC60?) controller.
I chose to remove the flywheel as I didn't want to figure out a way of dealing with it unscrewing when I reversed the motor (1/2-13 LH threads), so I adapted a rather nice 120mm PC fan instead by making a hub that was a slip fit onto the shaft with a set screw to hold it in place


bored out a 2" pulley to fit the shaft (17mm from memory) and then trued up the V. Actually, I did this twice - once on my 3 jaw chuck with runout (doh!) and then again on my 4 jaw with no runout.

I now remember why PC fans have shrouds - without them, most of the air goes out sideways, which isn't what you want. So I cut up the original shroud and mounted it to a piece of wood that was then mounted to the motor with an adapter plate


works waaaay better now!

drilled some holes in the motor flange to reduce backpressure

wooden mount. I ended up taking the base off, but I might need to put it back on again - still fiddling with vibration isolation (the motor also resonates a bit, which = whine through the bench) vs. belt tension


controller adapted to a BUD industries box that I got off Amazon

the KEY to defeating the "return dial to zero so you don't kill yourself when restarting the treadmill" feature. Cut the resistor that is directly connected to the white rheostat terminal (the center "wiper"), called R19 and/ or RPS3. Now the motor will restart at the same speed you stopped it at.

lick of paint

making a lexan cover for the control box, so I could see the status lights on the controller board. Bit of the PITA and I won't be doing it for the next one on my drill press

cover populated with tach display, speed dial, forward/ reverse DPDT switch and on/off SPST switch (both 15A). Annoyingly I deleted the pic that showed how to wire the forward/ reverse switch. Basically, the motor wires from the controller go to the two central terminals on the switch. You then connect the diagonally opposite outer terminals (ie an X shape) and then connect the wires to the motor to one set of outer terminals. Switching from one side through off to the other side will reverse the polarity of the current to the motor and make it reverse direction. If you get it wired the wrong way round like I did, just reverse the connections on the controller board!


power cable and 15A fuse

wired up! This was before I discovered that I'd wired the reversing switch the wrong way round

here you can sort of see how the reversing switch is wired up, as well as the power wires to the 9VDC wallwart that powers the tach


