Another buggy

Quite a project! Where are you in the process now?
Aaron

I got a rolling frame, but then i changed jobs and free time was non existent, so after looking at it for couple of months i decided to give up on it, not enough time in the day. I cut up the frame and used up what material i could savage. The little niva took its place year later.
 
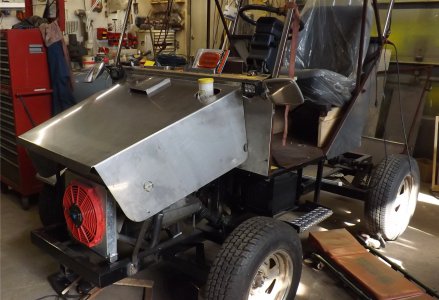
Well, I've been progressing on multiple fronts. Spent more than a week doing most of the wiring. Have the engine pretty much done and under dash with fuse panel and some light control switches.

To begin with it seemed daunting to get everything ordered and fused. I drew 5 or 6 diagrams, each one a little less messy and with less wires crossed over. Lots of scribbled over 'better ideas'.
DSCF4245.JPG

I started with a MAXI fuse at the starter connection to battery and then to under dash where there are 2 main relays controlled by the key switch. One powers the main engine circuits, the other various power outlets and wires at remote locations. There is also a horn relay with the 2 others.

DSCF4244.JPG

The key controls lots of things directly in the run position and a few in the accessory position.
DSCF4246.JPG
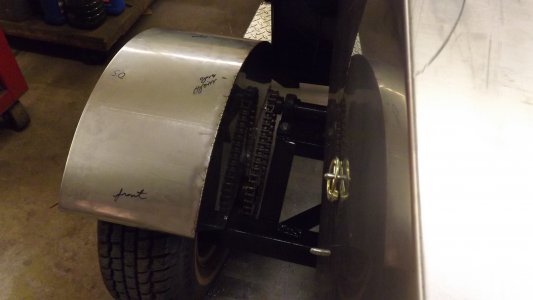
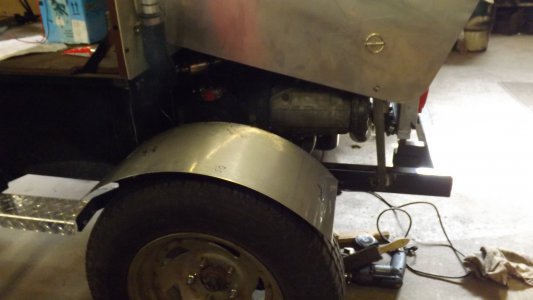
No matter what I tried, I could not get those 2 pics to rotate right!

I used some semi truck cable that I had on hand. It is 7 conductor 14 gauge with a very heavy duty rubber sheath. There are 3 of these cables run through the firewall and one to the back of the vehicle for lighting.

I purchased a 12 position fuse panel and took it apart to cut the main feed bus into 3 sections that could be fed individually.
DSCF4238.JPG

Took me about 1/2 day to figure out how to make the WS wiper work and park with a DPDT toggle switch. I remembered doing this same thing about 30-40 years ago.
DSCF4247.JPG

Also took a good stretch of time to figure out how the multi function switch in the steering column worked and decode the wires.

So until all the exterior lights are installed I'll take a break from electrical.

Thanks for your interest
Aaron
 
Aaron,

I always find that drawings like that help me ......twice.
First when putting things together is goes much faster and there is much less re-doing things.
Second, a few years down the line when I need to troubleshoot something.

My problem is keeping those drawing organized and accessable.
I waste too much time re-drawing things when I cannot find the original......and that really slows down the repairs.

-brino
 
Last edited:
Flying thru this build after starting . I ended up with punctured lung at that last pain Dr visit so I'm kinda still fighting my way back to even think about my wheelchair build. So glad to see this beautiful build going on . And I really haven't been on here very much , losing hope sucks.
 
I really wanted to make my own door latches. The doors came out so nice and sturdy that I thought DIY latches would set them off nicely.

I used the same stainless tubing as the cab frame and doors. Milled a sliding latch to fit inside and a cable to unlock.
DSCF4253.JPG

I milled 4 knobs out of Mycarta and used a slitting saw to make a 1/8" groove half way around with a hole for a cable barrel.
DSCF4250.JPG

The knobs are on a 3/8" through shaft.

This is the finished product and I'm happy with them. I did spend a lot of time designing and building them though!
DSCF4259.JPG

DSCF4260.JPG

They are Shoe Goo'd to the skin with a SS 'U' strap for extra strength.

Getting down to the end of the road soon. Today I plumbed the radiator and filled with coolant. Only 1 leak (a clamp).

Next week I should install the rest of the clear Lexan panels and remainder of outside lights.

Only hold up I see is 6 feet of snow outside the overhead door where it slid off the metal roof.

Thanks for looking
Aaron
 
I was looking at the previous post (on February 4th) It's now February 28th,
Next week I should install the rest of the clear Lexan panels and remainder of outside lights.
and realized that those things are still not 100% completed. It always amazes me how much more time things take that what is thought they would before starting. Although I have worked some on other things also.
Aaron
 
A few more picture updates. I need to get a SS bowl to glue over the brake master cylinder and then the bonnet will be complete. The rectangle cover on the right side is the heater air inlet. Also will install a radiator protector grill.

The plow and blower undercarriage is mostly done but not installed yet. It will be a 'drive on' type with only the need to install keeper pins and hook up the lift chain after driving on. Also connect hoses for blade turn.

The fenders turned out nice. Used the homebuilt slip roll to bend the upper section and the new circle cutter guide to cut the vertical inside piece. These are mainly to keep the mud off the chains and underbody. Just need to add a little bracing yet. I'm almost out of the 18 gauge SS sheet that has come in handy for the cab etc. but have a piece saved for the plow blade. That will be a summer project as it is not needed till next snow season.

The 12 volt hydraulic unit, valve etc. mounted under the drivers seat are ready to be plumbed to the front cylinders.

Just a little more snow to melt before I can get it out of the shop for testing. Been sprinkling ashes on the snow to help it melt faster!:D
 

Attachments

  • DSCF4288.JPG
    DSCF4288.JPG
    886.5 KB · Views: 30
  • DSCF4284.JPG
    DSCF4284.JPG
    2.5 MB · Views: 31
  • DSCF4285.JPG
    DSCF4285.JPG
    2.5 MB · Views: 30
  • DSCF4287.JPG
    DSCF4287.JPG
    1.3 MB · Views: 33
  • DSCF4289.JPG
    DSCF4289.JPG
    2.6 MB · Views: 33
About a week ago I could wait no longer and chiseled out the door opening. See previous post picture.
DSCF4290.JPG

So the 1st test was done and I was partly surprised by the feeling of the steering having never operated a center articulated vehicle. You could say slightly disappointed. But over the next few days and a little more experience the biggest problem seemed to be the slowness of the steering. It was designed with 16 turns lock to lock of the steering wheel to gain power advantage for not having power steering.

The cure was to add a spinner made from nylon I believe. It's what was lying around.
DSCF4299.JPG

A radiator protector grill was added which dresses up the front nicely.
DSCF4298.JPG

Also have been working on the plow and blower 'drive on undercarriage'. It only has to be slightly lined up and guides itself to engagement perfectly. A drop-in pin on each side secures it
DSCF4300.JPGDSCF4301.JPG

So the next project is to build the snow plow. I've drawn a full scale cross section of the blade with push and 'blade trip' sections on the rolling weld table. Kind of a blueprint.
Today , cut the plow blade ribs with plasma
DSCF4305.JPG

Thanks for looking!
Aaron
 
Back
Top