- Joined
- Jul 26, 2011
- Messages
- 4,142
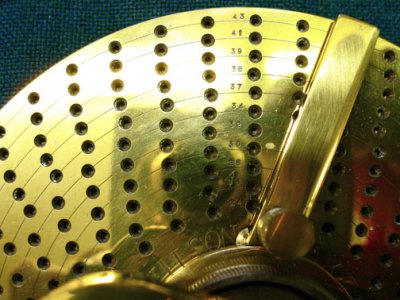
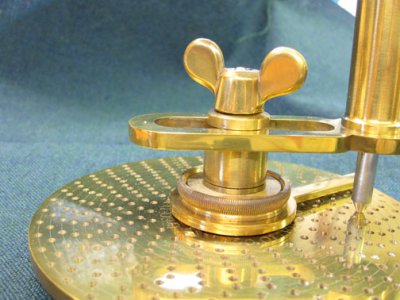
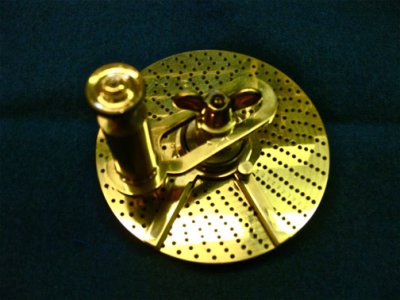
This was made,believe it or not,by using ordinary dividers to step off the spaces for the holes. Light,concentric lines were turned into the brass to provide lines to use for stepping off the distances. This was done in the lathe. I soon got very quick at it. A tiny tightening of the knob coming very close to the required number of holes for the next circle,and a second adjustment,and I'd be right on. This disc is made for 90:1 ratio of the rotary table,not the 40:1 of regular dividing heads.
The small numbers you see on the brass plate are 1/32" high,with serifs. I spent many years looking for old stamp sets with serifs. To make a nice item,and use the regular"Gothic" stamps you can get today is just not suitable.
Pump drills,which I made quite a few of years ago,were used to drill the holes initially. Then,I used a small center drill(as used in the lathe) in a drill press,to drill the holes deeper,and to add the countersinks that help guide the indexing pin into place.
I am not recommending the use of brass for index plates,but I have used this device carefully for about 35 years without scarring it up. This is what comes of working in a museum!! Beautiful,but not the most practical metal.
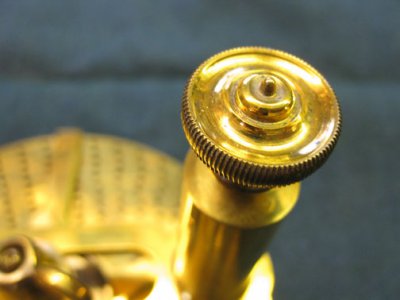
The knobs were made and knurled with old fashioned rounded knurls that I have made by running blank knurls against taps. I need to post knurl making here,but I am a bad photographer,and really need to re shoot some of my pictures first.
The brass disc is 1/4
thick,and 5"in diameter. The color shown in these pictures is the true color of the brass. I only handle it with nitrile gloves to not disturb the patina. The brass is 260 alloy.
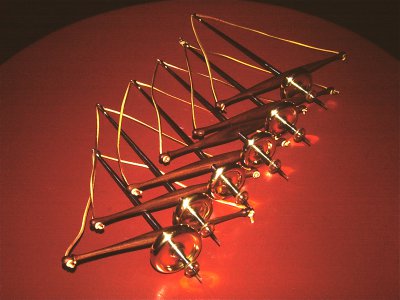
P.S.: I have decided to include a picture of pump drills I made,as you may not know what they are. They work on the same principal as the old child's game of whizzing a button back and forth between the fingers,suspended on strings. The leather strip is wound onto the steel shaft with a quick twist of the little brass wheel that tightens the drill bits in. Only takes a second. Then,the drill is placed on the punch mark,and the wooden handle is pressed down,starting the drill spinning. The inertia of the brass flywheel carries the steel shaft around till the leather cord is wrapped around the steel shaft again. The wooden cross bar is raised up higher when the leather is all wrapped up. Then,you push down on the cross bar to spin the flywheel the other way,and so on.
This whole operation takes just a few seconds to do. The thing is,you can drill exceedingly accurately placed holes with a pump drill,and some clock makers or jewelers still use them. If you see that the hole is a little off center,just tilt the drill to bring it back. Only good for small holes,usually of 1/16" or less.
I made the bits. They have a 1/8" shank,and the cutting ends are hammered flat,and filed to a vee shaped tip,the lips filed to cut like an ordinary drill. The drill bits are 1/8" drill rod,hardened and drawn to dark straw.


