- Joined
- Feb 23, 2012
- Messages
- 43
Hello All,
I have been reading about all the great projects described on this site. Also I have been watching the tubalcain videos. After all that downloading, here is my first project.
Backstory
I was checking out ebay and came across a 10" skinner chuck for $5 with no bids on it.. didn't think I would get it, but I put a bid in anyways.. long story short, a couple of days it showed on my doorstep, no adapter though.. was thinking of making an adapter for my clausing (1.5" x 8tpi) , but ended up ordering it from shars. a week later it showed up and the fun begins.
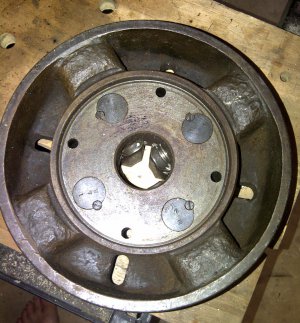
I maybe adding a lot more detail then necessary, but being a beginner I had to think through some of things that more experienced folks take for granted. and maybe it will help another beginner
Steps:
Once I mounted the adapter plate, first thing to do was to measure the run out.
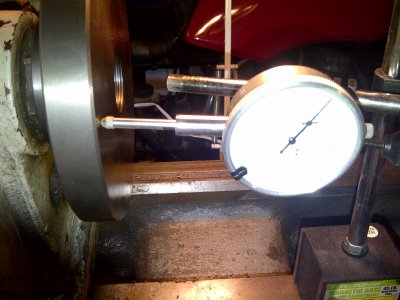
Runout near the edge was .002 inches, time to face the adapter:
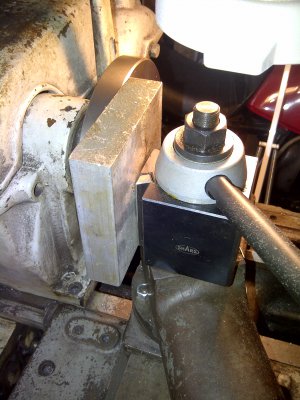
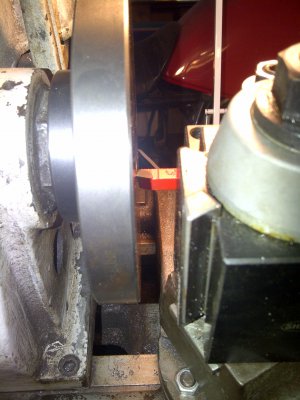
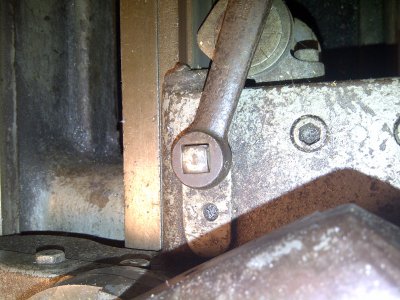
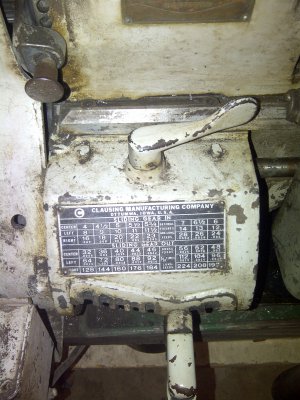
squared the qctp with a piece of aluminum, centered the bit, locked the carriage assy (per tubalcain) and set the feed rate to 224 tpi (figured 1-2 cuts at most so better to get a good finish).
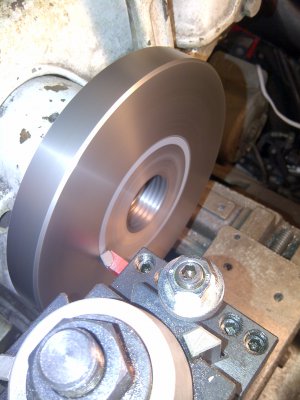
pic of facing operation.
Next step was to get the diameter down so I could fit it in the boss. the adapter was 6.5 inches, the boss is 6 inches.. it was hard to measure exactly as my caliper only goes to 6. ended up using an inside caliper and transferred the measurement to another caliper so I could get it close, then I figured I would finish it by trying after each cut. note: unlock carriage assy..
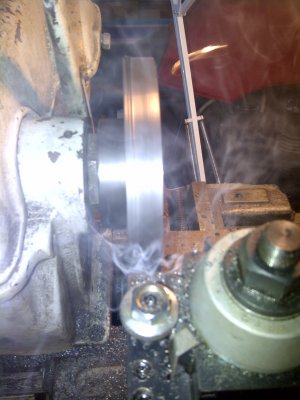
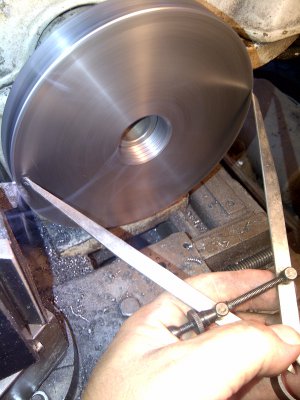
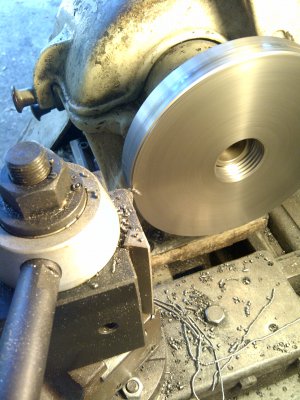
ran the lathe in backgear so I could take heaver cuts.. couldnt do more than .04 each cut as it would stall out. also changed the feed rate to 112 tpi for the heavy cuts.. still took forever
first pic: dont use motoroil, smells like crap.. bacon oil is so much more pleasant.
2nd pic: checking the diameter to see how close i am.
3rd pic: chips flying.
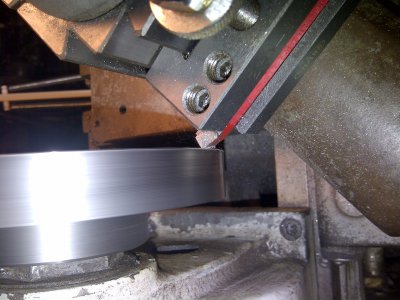
I thought I would it easier by putting a chamfer on the face..
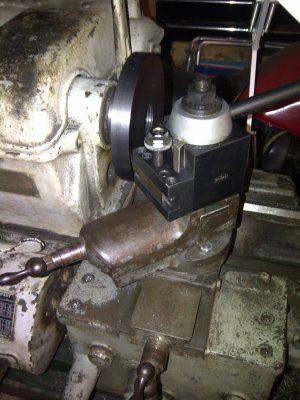
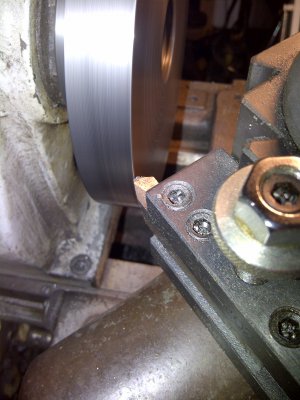
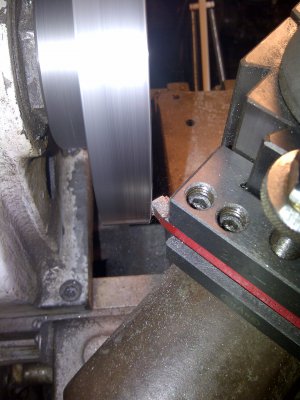
first problem, getting the top slide to 45 degrees (135 degrees is not indicated on the slide), ended up mounting the tool on back side.
2nd problem, I was using a hss bit, the adapter cut into the bit, not what I wanted.. exchanged it for a carbide bit, much better.
a few cuts later..
got very close to the 6inch mark, so I wanted to do a trial fit. Next problem, from the all the cutting the adapter was stuck on the spindle with nothing to grab on to.. used a clamp to get it off.
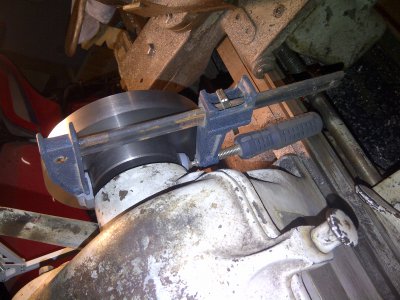
couple more cuts and the adapter slid nicely into the boss
Note: don't let the adapter heat up too much before testing fit.. almost cut it too small.
Finish: drilling and tapping:
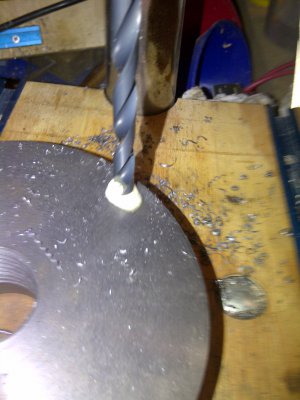
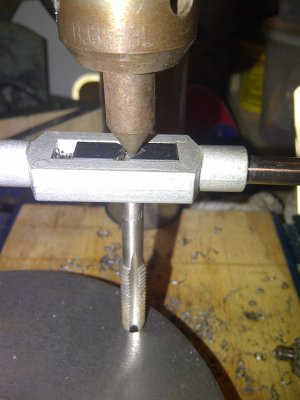
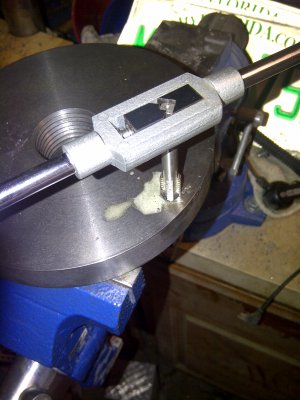
used a transfer punch to put a mark for only 1 of the holes (thanks billy g). center punch to define it better(forgot to take pics of these operations), then drilled (3/32 for pilot, 1/4, p and q drill) and tapped for 3/8 x 16. I used the drill press to start the tap and finished on the vise so I could get better torque.
how hard are you supposed to tap the punches? I tried lightly, but no mark. tried whacking it and the point went away (they are hf specials)..
repeat for the other 3 holes.
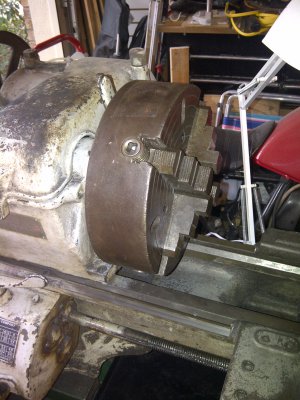
and finally 4 jaw chuck mounted on the lathe.. now off to make some turners cubes..
-- Roger




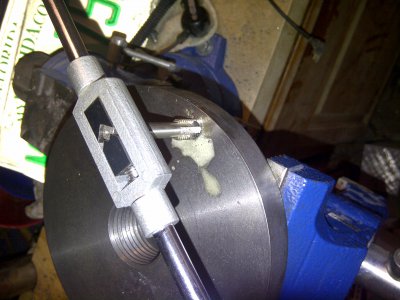


I have been reading about all the great projects described on this site. Also I have been watching the tubalcain videos. After all that downloading, here is my first project.
Backstory
I was checking out ebay and came across a 10" skinner chuck for $5 with no bids on it.. didn't think I would get it, but I put a bid in anyways.. long story short, a couple of days it showed on my doorstep, no adapter though.. was thinking of making an adapter for my clausing (1.5" x 8tpi) , but ended up ordering it from shars. a week later it showed up and the fun begins.

I maybe adding a lot more detail then necessary, but being a beginner I had to think through some of things that more experienced folks take for granted. and maybe it will help another beginner
Steps:
Once I mounted the adapter plate, first thing to do was to measure the run out.

Runout near the edge was .002 inches, time to face the adapter:


squared the qctp with a piece of aluminum, centered the bit, locked the carriage assy (per tubalcain) and set the feed rate to 224 tpi (figured 1-2 cuts at most so better to get a good finish).

pic of facing operation.
Next step was to get the diameter down so I could fit it in the boss. the adapter was 6.5 inches, the boss is 6 inches.. it was hard to measure exactly as my caliper only goes to 6. ended up using an inside caliper and transferred the measurement to another caliper so I could get it close, then I figured I would finish it by trying after each cut. note: unlock carriage assy..


ran the lathe in backgear so I could take heaver cuts.. couldnt do more than .04 each cut as it would stall out. also changed the feed rate to 112 tpi for the heavy cuts.. still took forever
first pic: dont use motoroil, smells like crap.. bacon oil is so much more pleasant.
2nd pic: checking the diameter to see how close i am.
3rd pic: chips flying.
I thought I would it easier by putting a chamfer on the face..


first problem, getting the top slide to 45 degrees (135 degrees is not indicated on the slide), ended up mounting the tool on back side.
2nd problem, I was using a hss bit, the adapter cut into the bit, not what I wanted.. exchanged it for a carbide bit, much better.
a few cuts later..
got very close to the 6inch mark, so I wanted to do a trial fit. Next problem, from the all the cutting the adapter was stuck on the spindle with nothing to grab on to.. used a clamp to get it off.

couple more cuts and the adapter slid nicely into the boss
Note: don't let the adapter heat up too much before testing fit.. almost cut it too small.
Finish: drilling and tapping:


used a transfer punch to put a mark for only 1 of the holes (thanks billy g). center punch to define it better(forgot to take pics of these operations), then drilled (3/32 for pilot, 1/4, p and q drill) and tapped for 3/8 x 16. I used the drill press to start the tap and finished on the vise so I could get better torque.
how hard are you supposed to tap the punches? I tried lightly, but no mark. tried whacking it and the point went away (they are hf specials)..
repeat for the other 3 holes.

and finally 4 jaw chuck mounted on the lathe.. now off to make some turners cubes..
-- Roger


