220 Motor Wiring Question

coolidge

Active User
Registered
Joined
Dec 18, 2013
Messages
2,012
I need some assistance with wiring this motor. UPDATE I figured this out and have deleted most of this point as I had made some incorrect assumptions. See my post below for the correct wiring.


Here's how the Grizzly motor is wired.


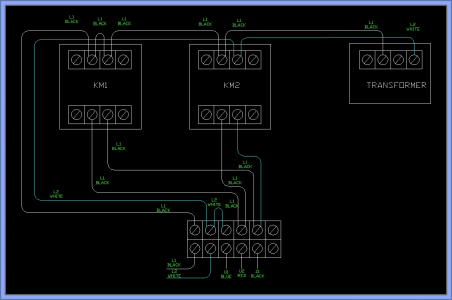
Here's the two contactors, U1 and U2 do not change, you see U2 here is L on both contactors, U1 is connected directly to N elsewhere in the panel. Only Z1 and Z2 flip flop between L and N.
 
Last edited by a moderator:
See if this makes sense

upload_2016-1-22_22-52-10.png
 
DELETED due to my assumptions being wrong, see my final post below for the correct wiring.
 
Last edited:
I did this on Alloy's lathe. I think I posted the wrong diagram for your current setup. I think this one was for the Jet motor, I need to look for the HF motor diagram. It's the same as the Baldor. I'll see if I can find it. I think it's on a piece of paper in the shop...somewhere....maybe.

If you don't get it worked out, I'll look for my diagram.
 
Okay I got this motor wiring figured out finally, here's the info to maybe save others time and head scratching. I will delete my above posts since they were all wrong lol. This was a great opportunity to learn more about motors and how to wire them. So here we go...

Supply Power 220vac e.g. there are two hot wires I'll call them Line 1 Hot and Line 2 Hot

Primary Run Winding - in the diagram below for wiring a 220v motor (for Forward direction) you see the primary run windings terminals 1,2,3,4. There are actually 2 windings hence 4 terminals so that was something new I learned. Line 1 Hot connects to terminal 1 and Line 2 Hot connects to terminal 4, simple.

Secondary Start Winding - again there are two windings hence 4 terminals 5,6,7,8. Terminals 5 and 8 are the ones that determine which direction the motor will turn forward/reverse. For forward rotation terminal 8 is connected to Line 1 Hot and terminal 5 is connected to the junction of 2,3 on the primary run winding (see diagram below). For reverse just the opposite terminal 5 is connected to Line 1 Hot and terminal 8 is connected to the junction of 2,3 on the primary winding. Again simple now that I see this diagram below.

Switching Forward/Reverse - Jim is going to laugh...Friday I drove 2.5 hours to downtown Portland in rush hour traffic to buy 4 conductor power cord to wire this up...and I actually need 5 conductor cord (face palm). So some machines use a barrel switch for forward/reverse. My lathe uses relays and contactors. Both do pretty much the same thing, flip terminals 5 and 8 between Line 1 Hot or join them to the junction of terminals 2,3 on the primary winding.


This is the diagram for wiring the motor for Reverse, all they did was flip terminals 5 and 8.
 
Last edited by a moderator:
Jim is going to laugh...Friday I drove 2.5 hours to downtown Portland to buy 4 conductor power cord to wire this up...and I actually need 5 conductor cord (face palm).
:laughing:

I guess I might have used a piece of flex conduit and discrete wires. ;)
 
That's good thinking Jim but the motor (both factory and Baldor) are a tight fit and the conduit doesn't flex very well, the electrical panel cords and cord grips exit the bottom of the panel, right above the motor I mean its right on top of the motor. I half considered re-drilling the panel and moving it up another couple of inches. I suppose I could use a right angle conduit fitting in the panel. Or I can just hold off for a couple of days and get the proper power cord. Ha if I used conduit it would just bug me every time I looked at it and I'd rip it off and redo it. lol
 
Channeling Scotty's Scottish accent from Star Trek...Jim really install ugly aluminum flex conduit on my lathe? Nope, not happening, forget that...OH WELL FINE ALRIGHT THEN...(Coolidge stomps off to cut some flex conduit he got at Home Depot)
 
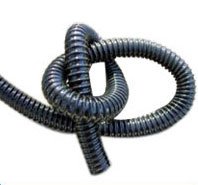
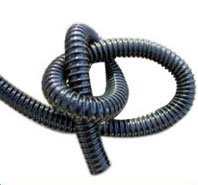
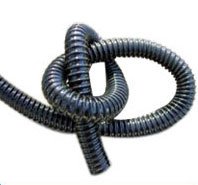
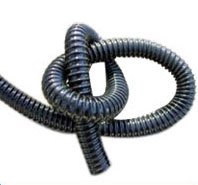
Ugly aluminum??? How about some nice black PVC plastic, really flexible, oil tight? Home Depot used to (still does?) carry this.

pvc-wire-rein-force-flexible-conduit.jpg

pvc-wire-rein-force-flexible-conduit.jpg

pvc-wire-rein-force-flexible-conduit.jpg

pvc-wire-rein-force-flexible-conduit.jpg

pvc-wire-rein-force-flexible-conduit.jpg

pvc-wire-rein-force-flexible-conduit.jpg
 
Back
Top