-
Welcome back Guest! Did you know you can mentor other members here at H-M? If not, please check out our Relaunch of Hobby Machinist Mentoring Program!
You are using an out of date browser. It may not display this or other websites correctly.
You should upgrade or use an alternative browser.
You should upgrade or use an alternative browser.
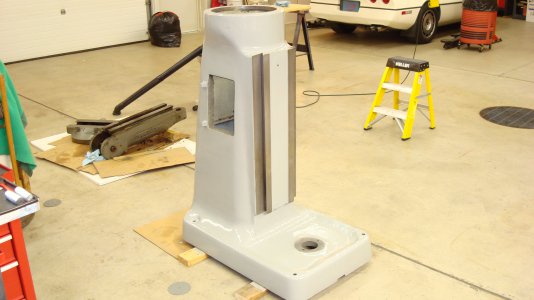
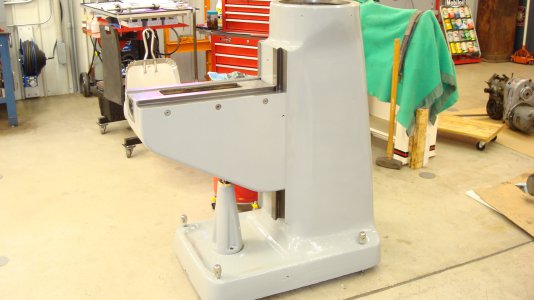
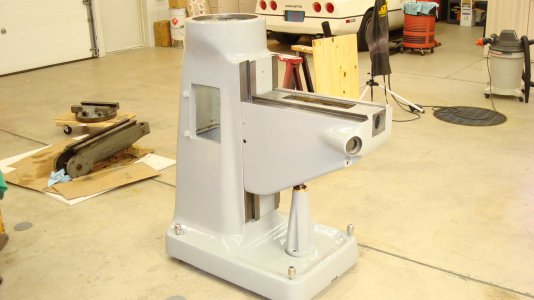
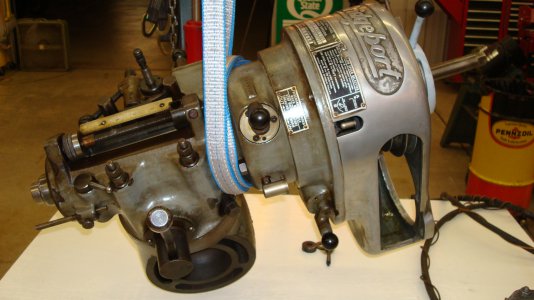
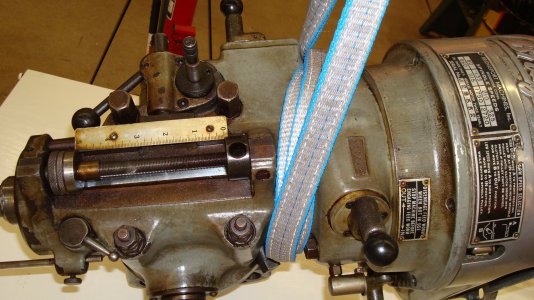
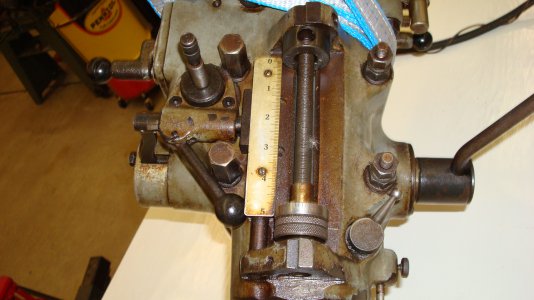
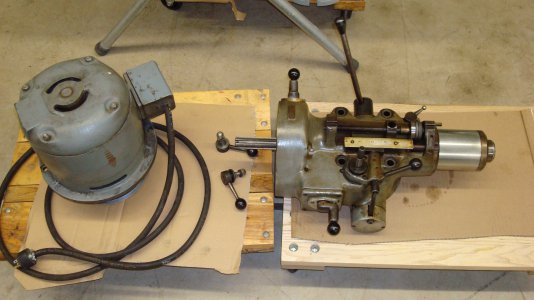
1958 Bridgeport Series 1 J Rebuild
- Thread starter RandyM
- Start date
- Joined
- Apr 12, 2011
- Messages
- 3,472
- Joined
- Apr 12, 2011
- Messages
- 3,472
oscer link=topic=1793.msg11897#msg11897 date=1303741263 said:Nice job Randy, what did you do to the bottom end of the threaded rods if any thing? I havn't leveled mine yet.
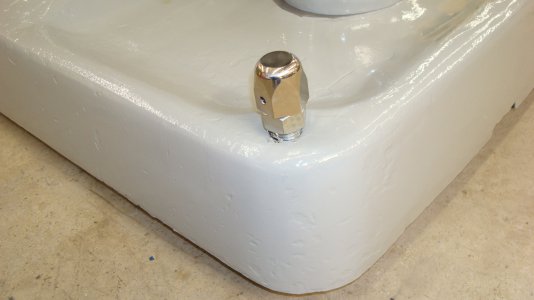
Thanks Oscer, the threaded rod is just cut off square with generous chamfers for now. I may add feet later. They work out really well, no machine wobble and everything is all level. I also like the fact that the base is up (1 inch) off the floor for cleaning and moisture.
Last edited by a moderator:
- Joined
- May 1, 2011
- Messages
- 484
oscer link=topic=1793.msg11550#msg11550 date=1303498257 said:Hey Randy I like your hat ! My machine shop is very small and has to share space with JD 4110 and implements. I just went through part of what of what you are doing. I didn't strip everthing down to bare metal before painting. only stripped the ram and turret they were flaking pretty badly. The rest of the mill got a good cleaning and two coats of Massey Ferguson grey. I have a set of feednuts for the X and Y axises, they are both shot . If you are going to need a set they are surprisingly cheap, only $33 per set From Gosinger 866-385-2798. You probably have dealers alot closer though. the other thing I found was that the bottom of the saddle is scoffed up some. I don't know how this is going to affect the operation of the mill but it does bum me out some cause everything else seems to be in very good shape.I'm waiting for the paint to dry so I can put it back together and try it out.
How is the bottom of the saddle on your mill? I supose this is a common wear spot.
Good luck with your rebuild.
Oscar-I have a 4110 also
Randy invited me here from the DT site-please post up some pictures of your tractor over there as well
Last edited by a moderator:
- Joined
- Apr 12, 2011
- Messages
- 3,472
It is going together
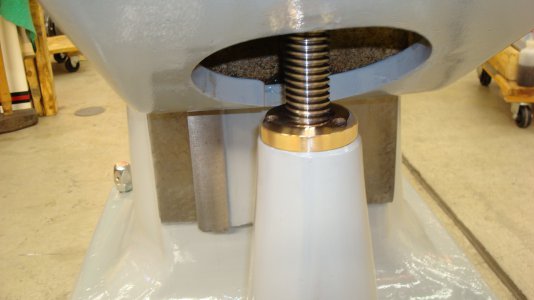
Sorry for the delay Guys. You know how life can get in the way sometimes. The main machine is getting very close now, basically I only have the ram left to paint. I decided to go with a two tone paint scheme. The blue is powder coated by myself. The raised letters are matched paint done with a foam trim roller. I also have made a couple of upgrades, a power table feed, and a metal shelf in place of the fiber board. Still chuggin' along. Enjoy!
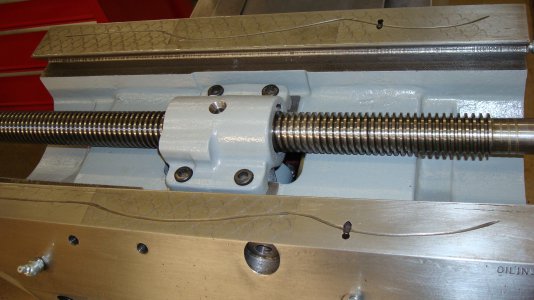
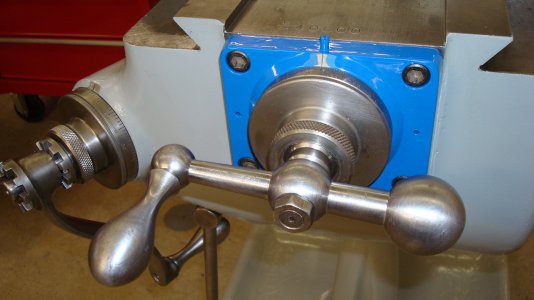
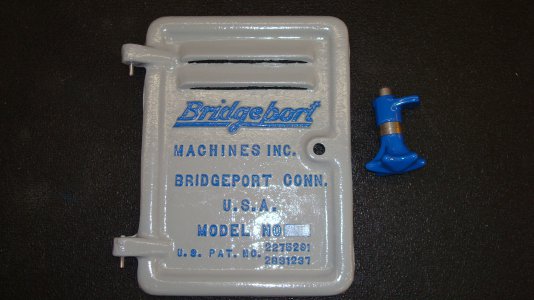
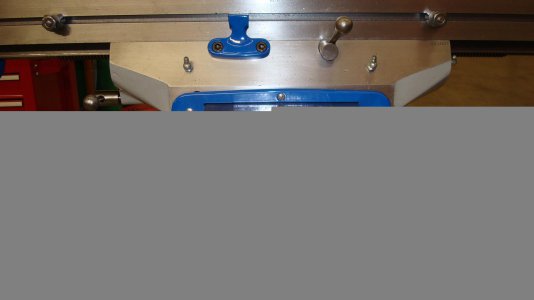
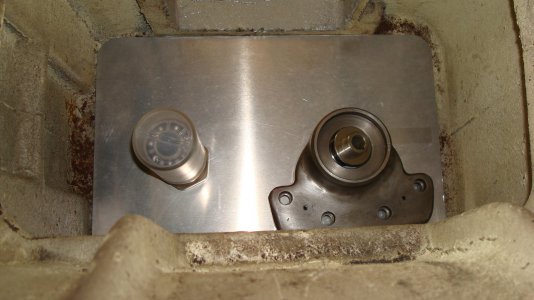
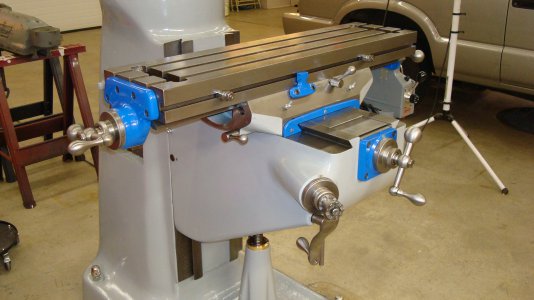
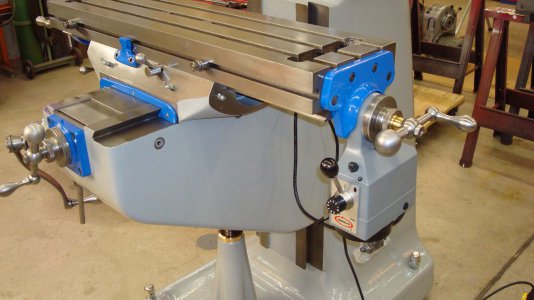
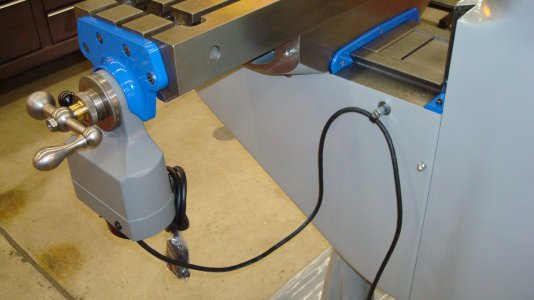
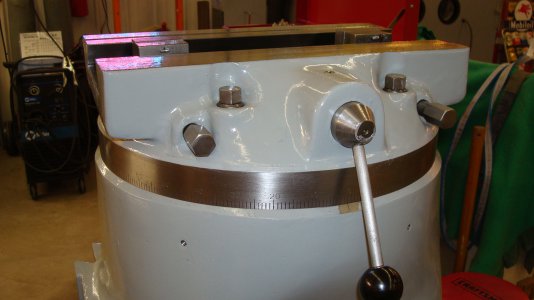
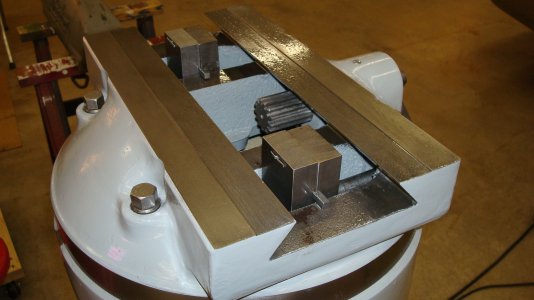
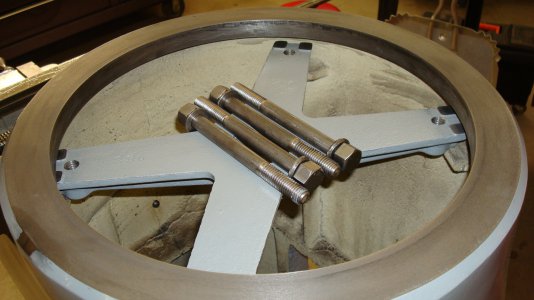
Sorry for the delay Guys. You know how life can get in the way sometimes. The main machine is getting very close now, basically I only have the ram left to paint. I decided to go with a two tone paint scheme. The blue is powder coated by myself. The raised letters are matched paint done with a foam trim roller. I also have made a couple of upgrades, a power table feed, and a metal shelf in place of the fiber board. Still chuggin' along. Enjoy!


Last edited by a moderator:
- Joined
- Jan 22, 2011
- Messages
- 8,031
Very nice, Randy. I wish all the 58's were as nice as yours turned out.
- Joined
- Apr 12, 2011
- Messages
- 3,472
Thanks Tony, it is killing me to not be making chips. I have been wanting a mill for a long time and I guess a few more weeks won't hurt anything. And I am hoping that once this is finished it should be minimal maintenance from here on out.
- Joined
- Apr 12, 2011
- Messages
- 3,472


