1958 Bridgeport Series 1 J Rebuild

RandyM

Mr. Deliberate
H-M Supporter Gold Member
Joined
Apr 12, 2011
Messages
3,415
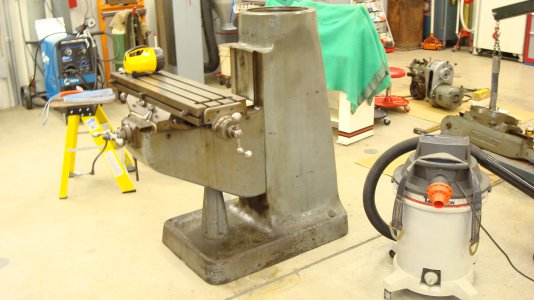
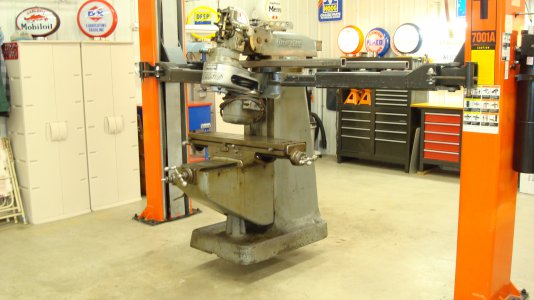
At the encouragement of others on this site I am going to expose my lack of knowledge and goofy ideas on the refurbishing of my 1958 Bridgeport series 1J. I am not completely green to machine tools but lack experience. I am very adept to tinkering with mechanical things. So here is my story. I got lucky last month and purchased my mill off of Craig's list. Probably over paid for it considering what I have learned since ($3500). I really like the fact it is single phase 110v. Once I got it home and off the trailer using my 2 post auto lift. I proceeded to move it into position by using several pieces of ¾ inch conduit under the base and just rolled it into position. I already knew the turret and ram were rusted solid to each other before the purchase. Here are the photos of day one.


View attachment 41821

View attachment 41820

View attachment 41822

View attachment 41819

View attachment 41818
Mill-1.JPG Mill-2.JPG Mill-3.JPG Mill-4.JPG Mill-5.JPG
 
Last edited by a moderator:
So now as I really start to look at it the machine is really quite dirty with 50 year old oil that has turned to varnish, and probably over a coating of light rust to boot. The way wipers are completely wore out. And chips are in places they shouldn’t be. Someone sure enough injected grease into the oil passages, time for a rebuild. I proceeded to purchase the “Renovating the Bridgeport Series 1 J Milling Machine†manual from Industrial Control and Automation. http://icai-online.com/ This is a great book! I highly recommend this manual to anyone wanting to know the intimate details of their machine. In my opinion it is perfectly done. It walks you through everything about this machine. Then when you have friends come and inspect they interject their 2 cents, “You really should put a coat of paint on that thing.†Ok, maybe you have a point, now is the time to do that. Once I get it back together the last thing I want to do is tear it apart again.

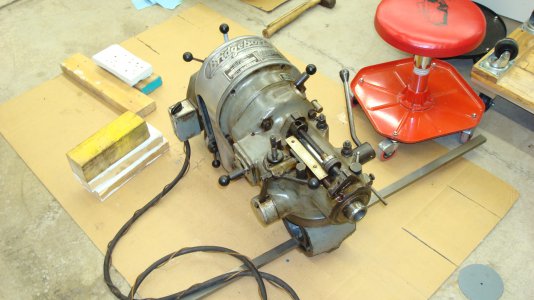
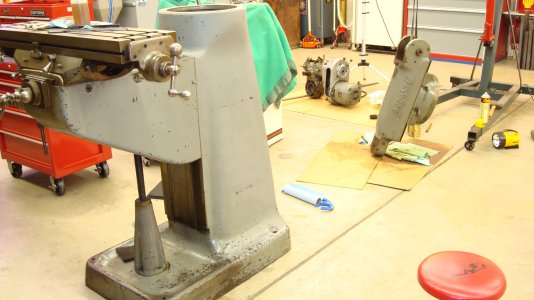
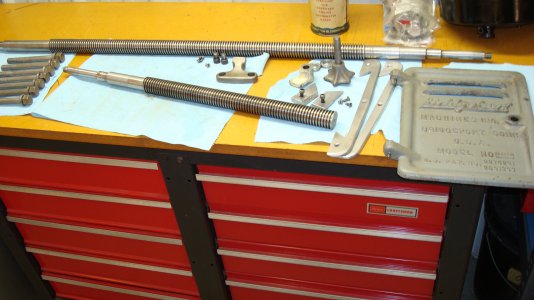
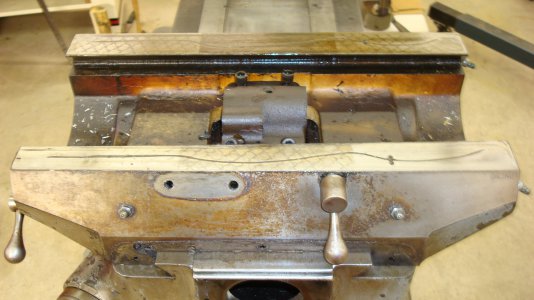
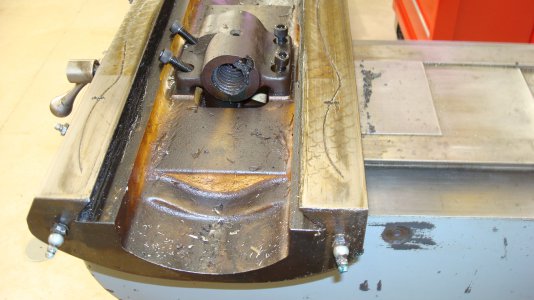
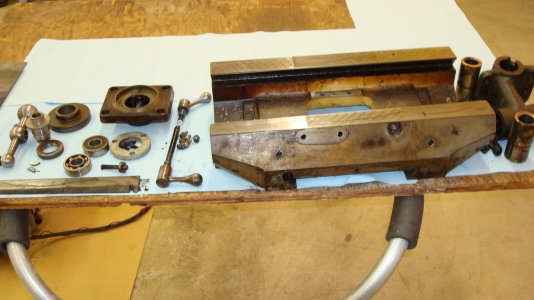
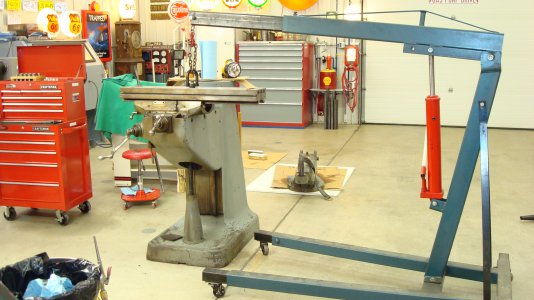
At this point I made the decision to do this rebuild in two steps, the basic machine and the spindle head. Trying to keep track of all the parts in their various groups was going to be hard enough. I am starting with the basic machine as I am planning on re-attaching the spindle head to aid in the evaluation and disassembly. Here are the photos of the basic machine disassembly.

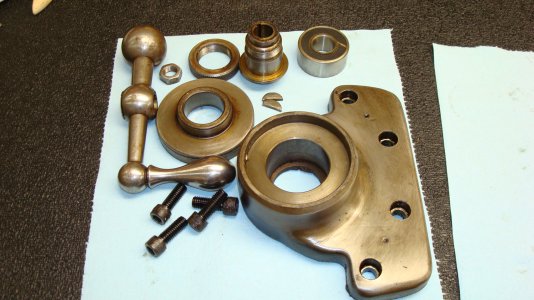
Screws and Misc.JPG Saddle-1.JPG Saddle-2.JPG Saddle Parts.JPG RH Crank Parts.JPG Table Removal.JPG
 
Last edited by a moderator:
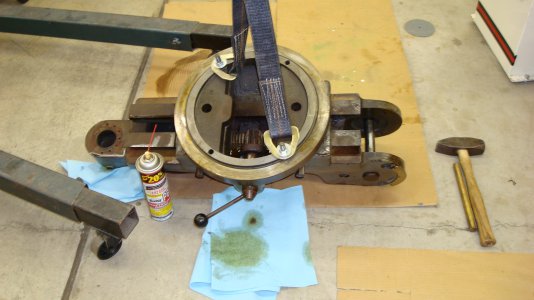
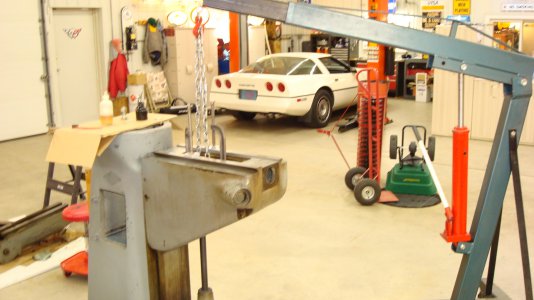
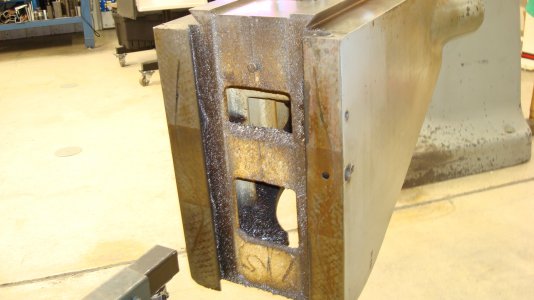
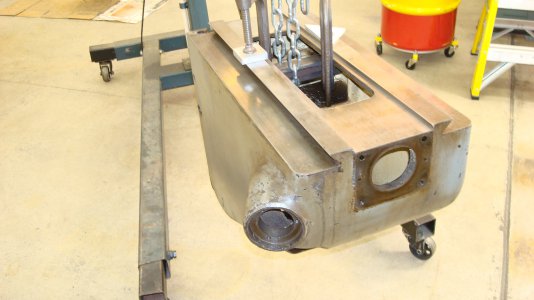
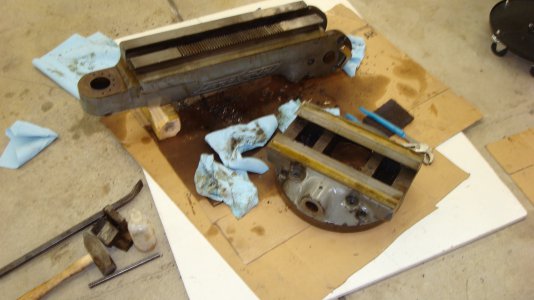
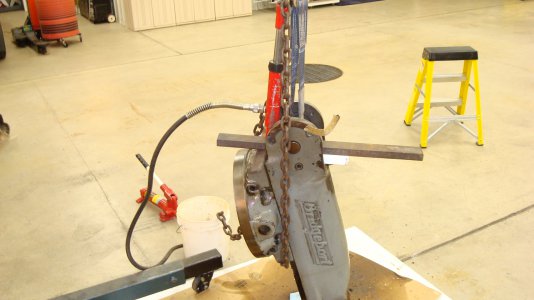
The turret and ram required two good weeks of soaking in PB Blaster, a little sledge hammer persuasion (with a block of wood), and port-a-power ram. But I got her. The cause of this mess, mice had built a very cozy home in the ram and well, you know.

Ram and Turret.JPG Ram-Turret Teardown-1.JPG Ram-Turret Teardown-2.JPG
 
Last edited by a moderator:
Oh, man - a freakin' car lift! I'm lucky if I can get my old Horrible Fright cherry picker to work!

I'm jealous, and you sir - SUCK!

Brian
Taxachusetts
 
Largo link=topic=1793.msg11184#msg11184 date=1303249156 said:
Oh, man - a freakin' car lift! I'm lucky if I can get my old Horrible Fright cherry picker to work!

I'm jealous, and you sir - SUCK!

Brian
Taxachusetts

LOL. Sorry, didn't mean to distract you. LOL. Maybe this will help, just try and stay focused on the topic. ;) Just trying to help. Taxachusetts? I think we are all in the same boat there.
 
Last edited by a moderator:
Hey Randy I like your hat ! My machine shop is very small and has to share space with JD 4110 and implements. I just went through part of what of what you are doing. I didn't strip everthing down to bare metal before painting. only stripped the ram and turret they were flaking pretty badly. The rest of the mill got a good cleaning and two coats of Massey Ferguson grey. I have a set of feednuts for the X and Y axises, they are both shot . If you are going to need a set they are surprisingly cheap, only $33 per set From Gosinger 866-385-2798. You probably have dealers alot closer though. the other thing I found was that the bottom of the saddle is scoffed up some. I don't know how this is going to affect the operation of the mill but it does bum me out some cause everything else seems to be in very good shape.I'm waiting for the paint to dry so I can put it back together and try it out.
How is the bottom of the saddle on your mill? I supose this is a common wear spot.
Good luck with your rebuild.
 
Oscer,
I am not stripping all the paint either. Just some sanding and then two coats with a foam roller. It is working out pretty well. You are correct, the bottom of my saddle has the most wear, but not bad. The screw nuts are in good shape, except that I damaged one taking it apart, socker just did not want to come out of the bracket. I am pretty sure I can salvage it.

Us JD guys need to stick together, come join us on DeereTalk.com, link in my sig.
 
Thanks for the link Randy, I just checked it out and registered. I put the bridgeport back together yesterday, when I was finished I had 2 ,1/4-20x 1/2" round head screws left over :-\ I don't remember where they came from. they wre in the bin with the saddle parts so they must go on the saddle somewhere. Where there little clips that hold the oil lines out of the way of the feed nut assembly? I don't have any parts left over to attach with these screws so I'm not sure where they came from.
My feed nuts pushed out of the casting with very little help from the arbor press, the new ones are slightly different, they are 2 peice set to adjust backlash and you have to drill the oil holes and turn the groove for the oil to get down to the lower nut. I should take more pic. but I never think of it when I'm working.
 
oscer link=topic=1793.msg11794#msg11794 date=1303658980 said:
Thanks for the link Randy, I just checked it out and registered. I put the bridgeport back together yesterday, when I was finished I had 2 ,1/4-20x 1/2" round head screws left over :-\ I don't remember where they came from. they wre in the bin with the saddle parts so they must go on the saddle somewhere. Where there little clips that hold the oil lines out of the way of the feed nut assembly? I don't have any parts left over to attach with these screws so I'm not sure where they came from.
My feed nuts pushed out of the casting with very little help from the arbor press, the new ones are slightly different, they are 2 peice set to adjust backlash and you have to drill the oil holes and turn the groove for the oil to get down to the lower nut. I should take more pic. but I never think of it when I'm working.

Boy, extra parts, not sure I would like that. I don't think I can help you with that one. My machine does not have remote oiling, so no clips or bolts. I too have a hard time remembering to take pictures, seems get in my way of progress.
 
Last edited by a moderator:
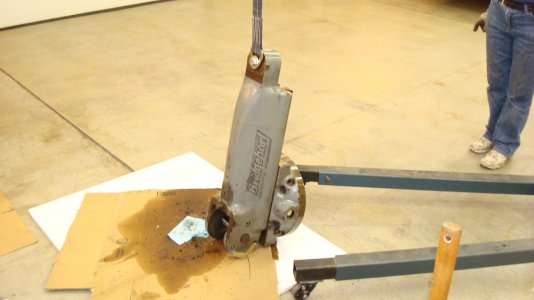
Knee Removal

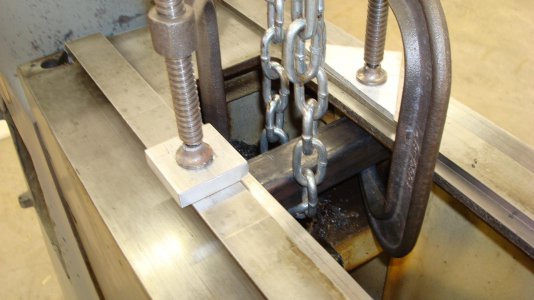
More disassembly, here is the knee coming apart.

Knee Removal 1.JPG Knee Removal 2.JPG Knee Removal 3.JPG Knee Removal 4.JPG
 
Last edited by a moderator:
Back
Top