1940 South Bend 11" 111B 105014 IQR Rebuild By Ulma Doctor

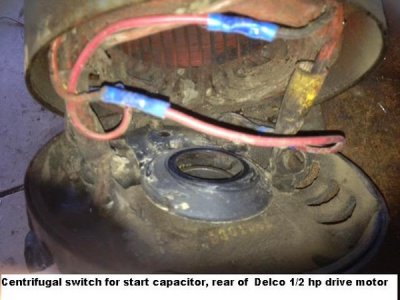
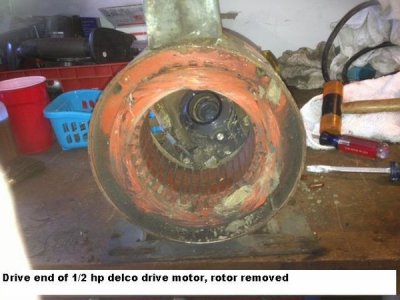
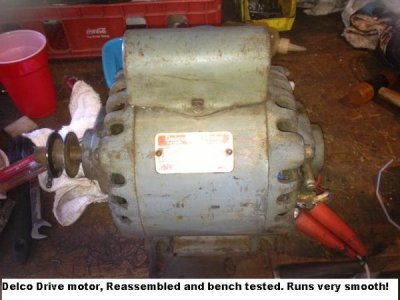
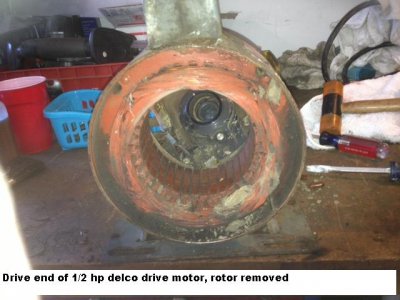
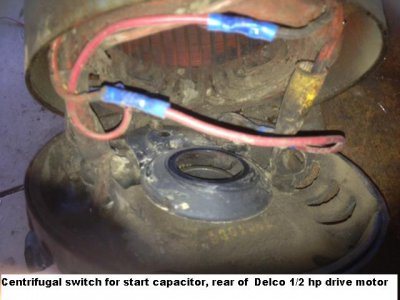
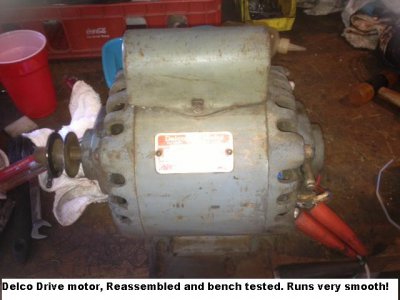
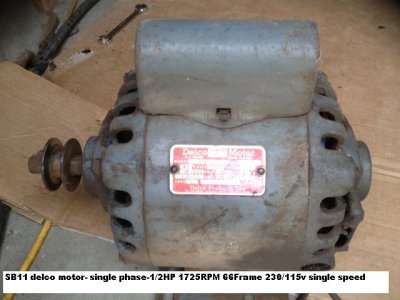
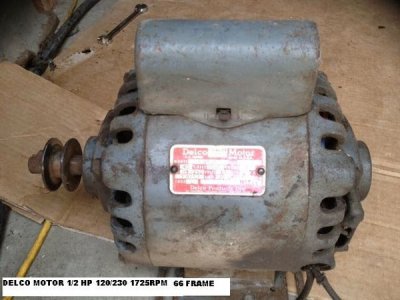
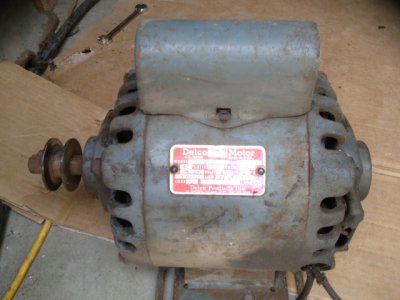
One of the first operations i attempted was to start the drive motor.
IWtg7Q1XOnojFYIOMVrvBng-EWxzsmiiEt6g9zcHsPG28L-wOcmhRSQ97F6cB7-A-K8yOx2_NHHomzk_eAI=w640-h480-no.jpg
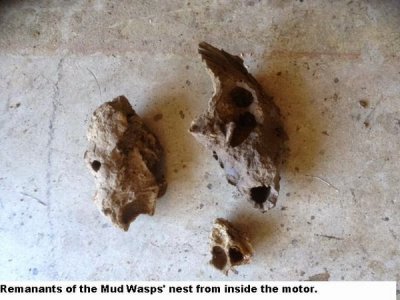
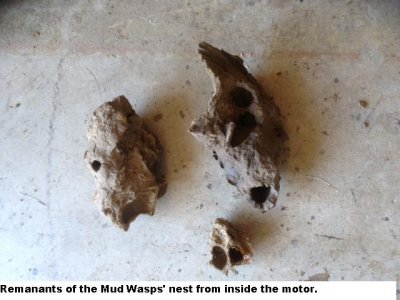
the motor didn't want to turn and sounded like rocks were inside the motor. on the bench i saw what appeared to be dirt clods inside the motor. i disassembled the motor and this fell out among other smaller pieces and dust.
vnDzYl7v1xpYYCI4t-WIfgwvqQ1snpZQk4keCEuJ1nUs3xS_Szx_OVvOWUNfrKL8goLM-JSEBE6sSuN3dm4=w640-h480-no.jpg
PXW4C0i6VyEwJ6XAe8uJy315kY-nI5Kr5t_KvVHG9-Sdmh5TWYpRNa5jPH7BUXPXCC7Fzk9F7m6V-rvLA18=w640-h480-no.jpg
UApkthNAciqpQ5ZWibr_Mv-lYOnkVbShzFg-xlk2SYUymEKAGry4Hvs4u6bHuvo0HaHTC2390NfT997Osm8=w640-h480-no.jpg
yvgP7kmKUmWf1HCB5VgILXhemyyTfLgUod9KTLvdF8QAntHRUybBrZilr8VOFG2SVH2c14BKmNf_koUTWHA=w640-h480-no.jpg
I'll be sure to but heart back in as soon as i clean up the motor mounting.
thanks for looking, and supporting this build!
delco motor.JPG Waspnest.JPG Delcoteardown1.JPG Centrifugalswitch.JPG delcodrivemotorrassembled.JPG SB11delco motor.JPG
 
Last edited:
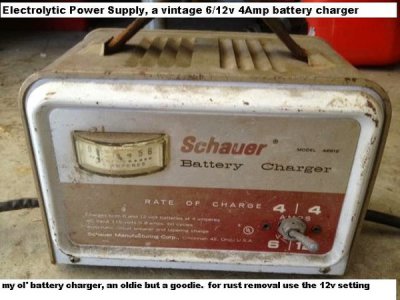
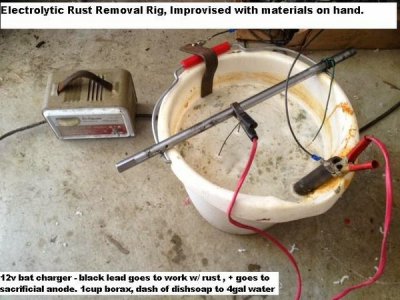
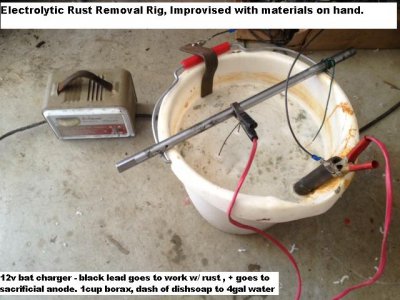
i wanted to take a minute to talk about rust removal and a method i had learned a long time ago but haven't used much due to my mostly working with metals that don't rust easily.
the process is called electrolytic rust removal.
it is best performed on metal (steel/iron) that is free of oil.
the process can be used on oily items but it doesn't do the job as quickly or thoroughly . if a picture is worth a thousand words,
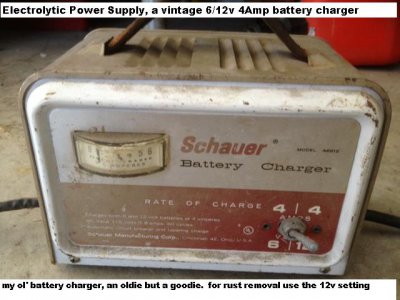
here's 2 pictures...
333nns6o9tJuL4iCzLw9Pq7qujvGYda8vSj44--2iHMvL7tNlwluM5mKlOh-Suh8VNKmk7m0-8kGQfDd1TY=w640-h480-no.jpg
SBRyf0-dG34m7MNHxUET-q6m4bkw-jNWaj7z5QwKI0gxF5uDshUsylqhZWadE2bjU2kLNKHyecrWjfOwQYs=w640-h480-no.jpg
you can leave the battery charger plugged in for hours without damage on older units, some newer units will shut themselves off if a short circuit is detected.
i have left parts going overnight in extreme cases, they turn out beautifully!
rinse parts with clean water and brush any scale off with a steel or nylon brush.
i always blow dry with compressed air and coat with oil immediately. the iron/steel parts will literally begin to rust in seconds exposed to air.
thanks for looking!

ol'batterycharger.JPG electrolyticrustrmoval.JPG
 
Last edited:
It's always good to watch someone else do all the dirty work...lol. Should be an interesting thread.
 
The dirt clods look like the work of mud dauber wasp. They get in the darndest places.
 
i wanted to take the time to thank George Wilson for his input on another thread regarding penetrating fluids.
the recipe is quite simple:
1 part Automatic Transmission Fluid
1 part Acetone
mix them up and apply to the intended surfaces, be careful it loosens paint as a side effect
if you are patient, and apply the mixture for a few days it works miracles.
i was able to remove the chuck on Henrietta without any cussing involved
i made the mixture, applied it to the spindle/chuck connection gave the assembly a few taps with a soft faced hammer. and repeated the process for 3 days.
on the third day, it was a matter of slightly holding the spindle with a strap wrench. the chuck took less than 20ft lbs to back it off.
no damage to gearing or the chuck or spindle.
thanks George!!!
:man:
 
I rebuilt a SB lathe somewhat larger than that in the 70's. I took it all to pieces and with a friend,carried everything into the shop. After I got it rebuilt,I sold it to a motorcycle repair shop. About 8 real large guys came in and CARRIED the whole,assembled lathe out!!
 
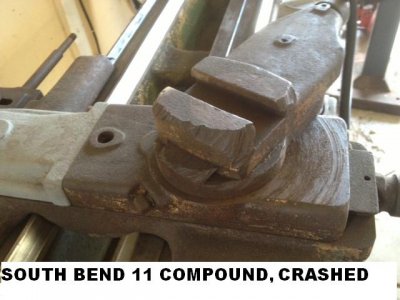
One of the most disturbing of the findings came from the compound rest
sb11compound-jpg.50754

as you can see the damage to the compound is severe, but not out of the range of repair.

i slathered a mixture of George Wilson's ATF/Acetone and let her set for about a week.
i applied the mix daily at night and in the morning. it goes a long way if you mix in small batches.
I removed the compound dovetail bolts and pins and was able to lift the compound from the base
with relative ease even though the machined tolerances were tight and the compound hasn't been removed in decades i fear.
i deposited the parts a few at a time to the electrolytic bath and let the Borax,dishsoap, electricity,and water go to work.
in a short period of time i was very impressed by the results. i'm still toying with the length of time to keep in the slurry but it appears the longer the better. i'm sure there are limitations to the process but i'm liking the results so far.
i have oiled the parts in between soaking cycles to keep from rusting.
a quick blast of carb cleaner or brake clean does wonders for oil removal, before re soaking in the electrolytic tank.
i'll post more pictures of the finished pieces on a later post.
thanks for viewing the work in progress!

SB11COMPOUND.JPG
 
Last edited:
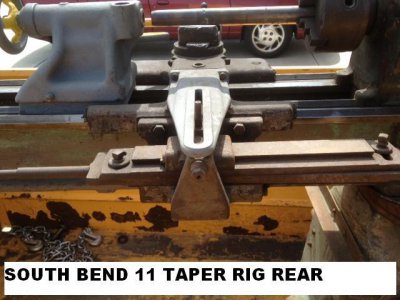
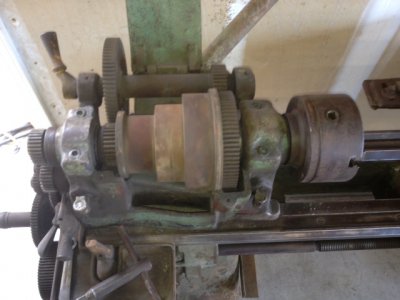
A taper rig was included with Henrietta, sans the rear bed guide
taperrigrear-jpg.50755

it's mostly rusted but no pitting is evident, in time the taper rig will get the rust bath treatment like a whole bunch of other parts.
the taper rig is an amazingly heavy duty piece of work, i'll be excited to put the old girl to the test!
I'm on the look out for taper attachment parts, shoot me a message if you have a source, i'd Greatly appreciate it!!
thanks for the continued interest in the project!

TAPERRIGREAR.JPG
 
Last edited:
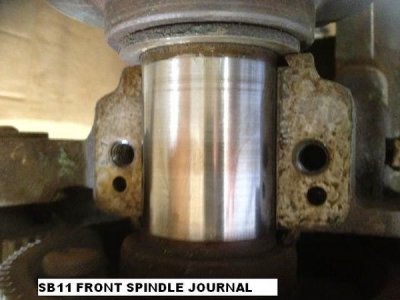
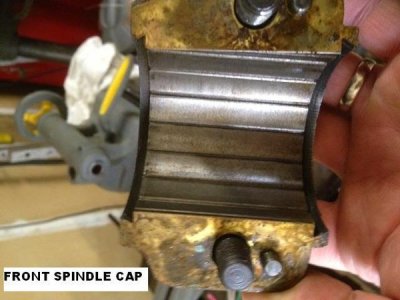
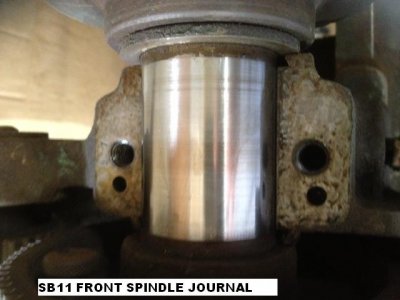
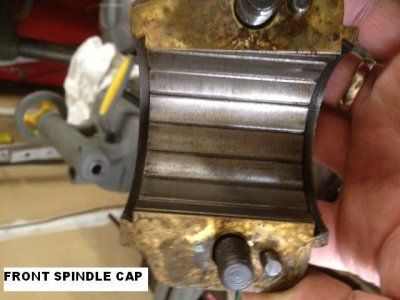
George Wilson had asked on the old post how much up and down clearance was present at the chuck and mentioned that there was not much you could do with it if it was to be too worn ...:panic:.
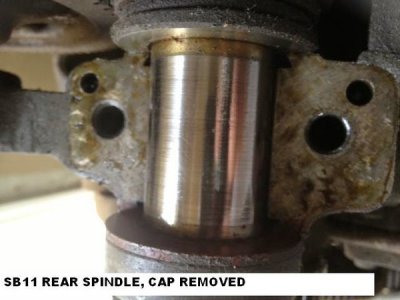
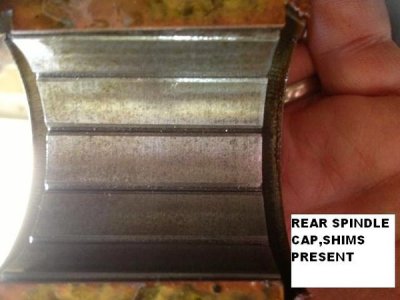
i went quickly to get the Dial Indicator , a chunk of rod and the chuck wrench. to my relief there was only .002" of deflection
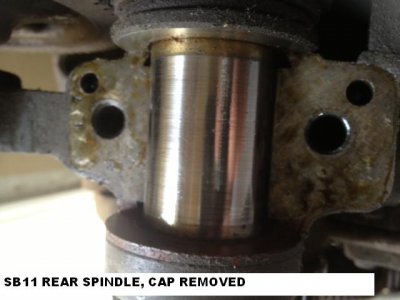
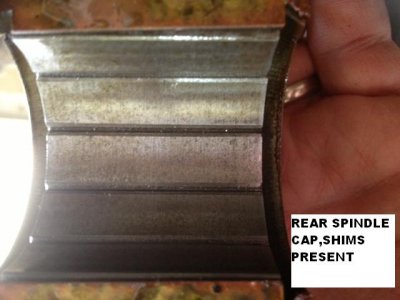
here are some pictures of the spindle and caps...
5zGyOUVdV2X6G7K5Ek5_Mj_SiS-dLWiD9Rrqfr0Qdu779WsYon4y-E5GJpGcwUIKz_hzycHNmo78x9h0bKk=w640-h480-no.jpg
5u5GuYba3D3Umda17agqeTGNkjpGZcNDrelV2NIVcUkWW6BWFGDKvWll5J2NWxYmx-Cm7lQk8NBLrkSUsMI=w640-h480-no.jpg
R29S8Y-haRtOUbsqdMwAAT3XnT05qV6wiaw6c0rt-juWolN_LwjkRZp3DGwjrU1k2-DV5KtYBMhktdoppuU=w640-h480-no.jpg
YUr9yHD839q2NXpKiyIgn0RxaCKtivXuo_sAc0uYOIP0vdRocerPVAJ97rLICH726p4ioq77tIZ3JB_j9hs=w640-h480-no.jpg
me0WWGRpw2mkHOizMZl6h478YjyDWInrIKCeeCIZvAP9fO6C1MwSGgDTkFywhquKagaZ3ODCpRH1zM3LZ_o=w640-h480-no.jpg

the spindle is in excellent condition, as well as the caps. this alleviates a lot of area of concern as far as the headstock is concerned.

SB11FRONTSPINDLE.JPG SB11FRONTSPINDLECAP.JPG SB11REARSPINDLE.JPG SB11REARSPINDLECAP.JPG SB11HEADSTOCK.JPG
 
Last edited:
Back
Top