I wasn't sure if I should post this here since it's for a PM machine, or the project section, but decided the people this might benefit are here.
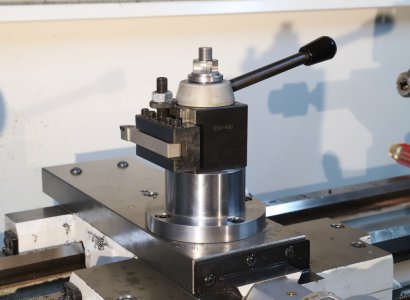
I got around to replacing my compound with a solid plinth on my PM1236T. I don't thread with the compound, rather use the cross slide, so I shouldn't need the features of the compound that often, and it gets it out of the way of the tail stock.
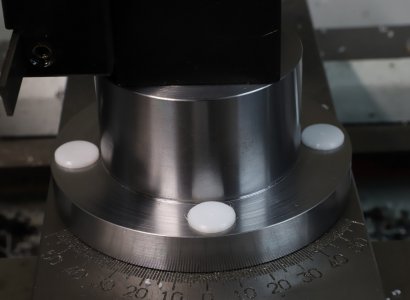
I decided to do it differently than most, instead of making a square block that bolts to the cross slide, I decided to make a round one and use the existing compound bolts to secure it. I added two more bolts to increase the rigidity of the setup for a total of four. I did not add an anti-rotation bracket since I might want to rotate the tool post for some operations. I might also add a relief under the tool holder so that chips don't build up, but I want to make sure it doesn't need any other modifications first.
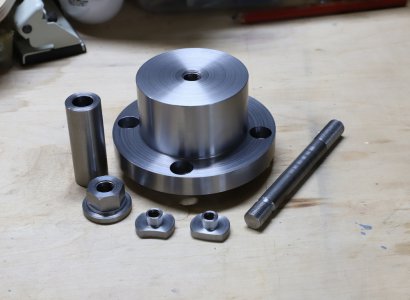
This photo shows all the parts I needed to make. I have a knockoff AXA toolpost that uses a 14mm stud in the center. I'm thinking of getting a Dorian or Aloris toolpost which use a 1/2-20 stud. Since I don't want to make another plinth if this works well, I had to make a new stud, flange nut, and insert bushing for the 1/2" stud.
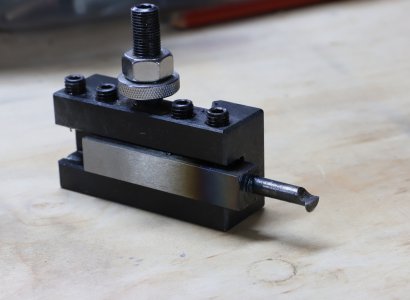
I didn't want to buy a tap for this since I probably will not need to tap 1/2-20 again, and instead of buy a threading tool for a bore this small, I made a threading tool using 1/2" square O1 tool steel. I didn't take any in process pictures of making it since I honestly didn't think it would work, but it cut the threads on the flange nut and plinth and still appears sharp enough to keep using in the future. I made a left hand tool so that I could thread away from the chuck for the blind hole. I made the threading part off center, but in hindsight, it could have been done in the middle and worked fine. I heat treated it by heating with a torch until it lost magnetism, and then quenched in oil. I have an old toaster oven and tempered at 400F for about a half hour. I'm not brave enough to use the oven in the kitchen for metalworking projects.
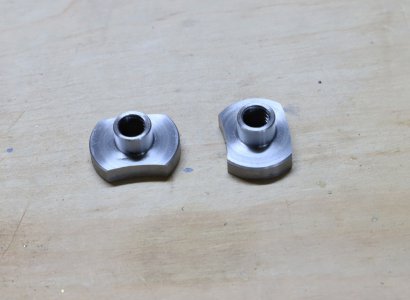
Most of the parts are self explanatory, so did not take pictures of making them, but the T nuts needed in the cross slide needed to have two sides radiused to fit in the circular slot. My first attempt did not go well, I screwed the T nut into an aluminum block on my rotary table, but as soon as the end mill touched it, it unscrewed itself. I didn't think that one through enough.
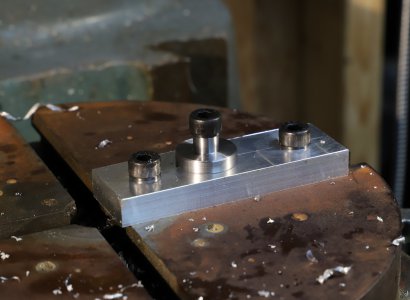
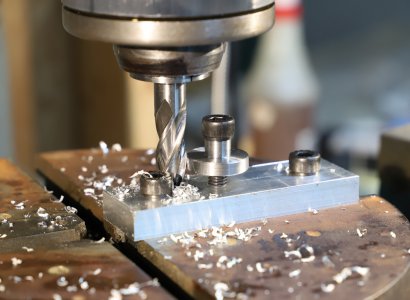
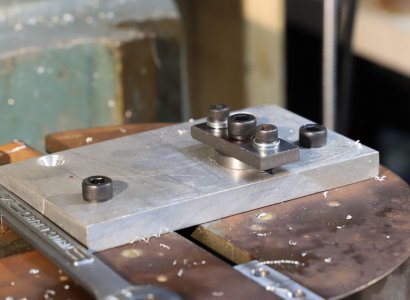
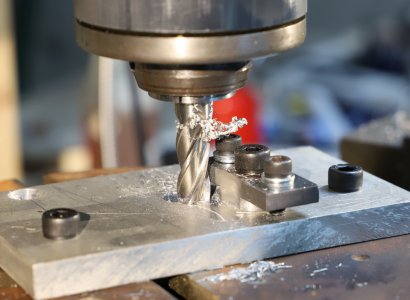
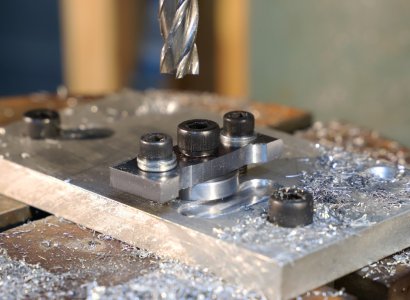
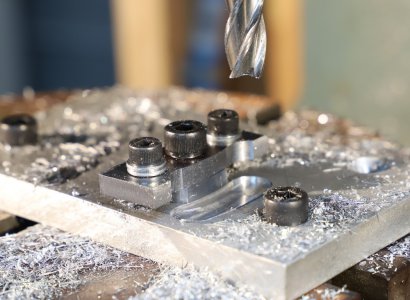
The second attempt worked well, I screwed the T nut into the block again, but added a clamp on top so that it could not unscrew again. I cut the inner radius, then the outer and it fit perfectly in the cross slide.
I did some quick test cuts and it works well so far, but I haven't put it through it's paces yet to determine how much of an improvement it is. One potential problem of having the toolpost centered is that it might not reach for short chucks. My shortest chuck is the ER40 collet chuck and this works fine for that.
I got around to replacing my compound with a solid plinth on my PM1236T. I don't thread with the compound, rather use the cross slide, so I shouldn't need the features of the compound that often, and it gets it out of the way of the tail stock.
I decided to do it differently than most, instead of making a square block that bolts to the cross slide, I decided to make a round one and use the existing compound bolts to secure it. I added two more bolts to increase the rigidity of the setup for a total of four. I did not add an anti-rotation bracket since I might want to rotate the tool post for some operations. I might also add a relief under the tool holder so that chips don't build up, but I want to make sure it doesn't need any other modifications first.

This photo shows all the parts I needed to make. I have a knockoff AXA toolpost that uses a 14mm stud in the center. I'm thinking of getting a Dorian or Aloris toolpost which use a 1/2-20 stud. Since I don't want to make another plinth if this works well, I had to make a new stud, flange nut, and insert bushing for the 1/2" stud.

I didn't want to buy a tap for this since I probably will not need to tap 1/2-20 again, and instead of buy a threading tool for a bore this small, I made a threading tool using 1/2" square O1 tool steel. I didn't take any in process pictures of making it since I honestly didn't think it would work, but it cut the threads on the flange nut and plinth and still appears sharp enough to keep using in the future. I made a left hand tool so that I could thread away from the chuck for the blind hole. I made the threading part off center, but in hindsight, it could have been done in the middle and worked fine. I heat treated it by heating with a torch until it lost magnetism, and then quenched in oil. I have an old toaster oven and tempered at 400F for about a half hour. I'm not brave enough to use the oven in the kitchen for metalworking projects.

Most of the parts are self explanatory, so did not take pictures of making them, but the T nuts needed in the cross slide needed to have two sides radiused to fit in the circular slot. My first attempt did not go well, I screwed the T nut into an aluminum block on my rotary table, but as soon as the end mill touched it, it unscrewed itself. I didn't think that one through enough.


The second attempt worked well, I screwed the T nut into the block again, but added a clamp on top so that it could not unscrew again. I cut the inner radius, then the outer and it fit perfectly in the cross slide.


I did some quick test cuts and it works well so far, but I haven't put it through it's paces yet to determine how much of an improvement it is. One potential problem of having the toolpost centered is that it might not reach for short chucks. My shortest chuck is the ER40 collet chuck and this works fine for that.


