Tool and cutter grinder build

I discovered a needed revision today. I took the wheel guards to the shop and cut a slot in them to allow a wrench to be inserted and put on the flats on the spindle to hold it while tightening the collet nut.
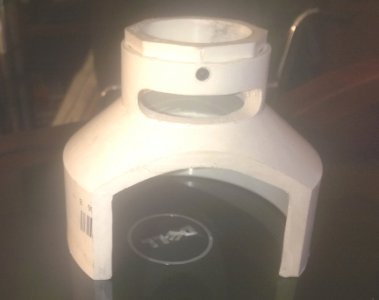
Wheel guard ready to paint.jpg This is the wheel guard with the new slot.
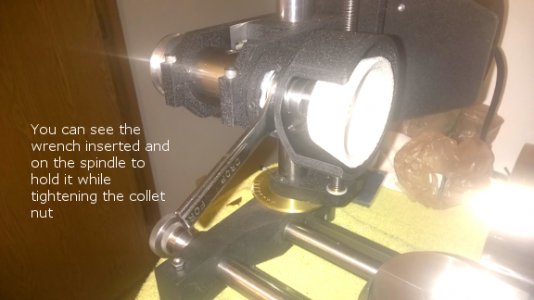
spindle wrench.jpg I cut off a 7/8" wrench to keep just for the grinder. Here you can see the wrench on the spindle. The slot worked just fine.
wrench and wheel guaed .jpg
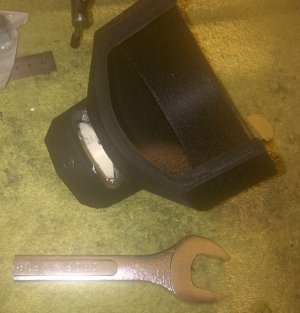
This is the wrench and the finished , painted 4 inch wheel guard. I ordered a couple of 4 inch wheels today.
 
Shame on you guys..... I been waiting for over a month for someone to call me on a big mistake and it seems no one noticed. Oh well, it is fixed now.
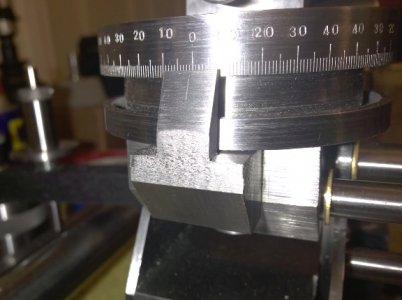
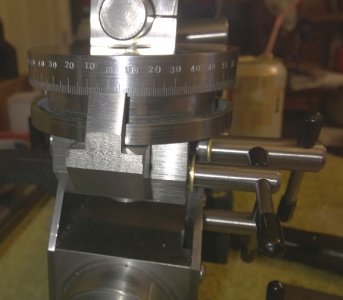
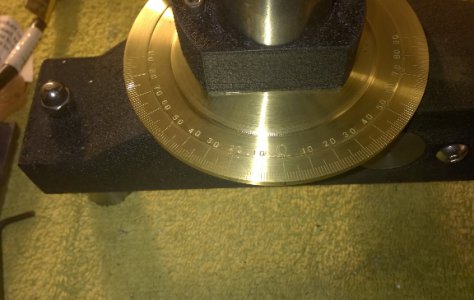
the mistake was , when I marked the degree lines on the rotary table base on the work head the lines were all upside down. I made them from top to bottom and they needed to go the other way.

Since I have gotten the graduations on dials down pat I thought I would redo them on the grinder.
tool holder table dial.jpg This is the dial that was done wrong. I cut it down .010" and re-marked it. It is a lot better. Before the lines were every 5 degrees and I had a vernier on the front. It just looked too bulky and big, so I marked all 360 degrees and cut the 7/8" wide vernier down to .300" wide with one zero mark. I like it a lot better. The numbers came out perfect all the way around except for the "10" , "20" , and "30 there on the left. the dial shifted in the chuck and I hadn't noticed. But it is ok, the divisions and the rest of the numbers came out great.
tool holder dial.jpg
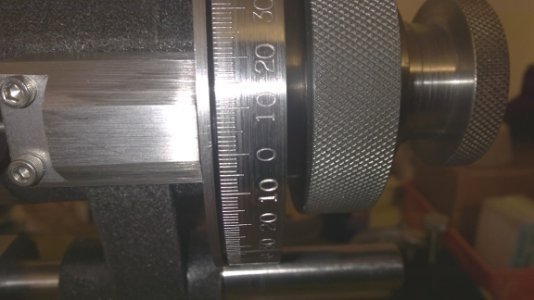
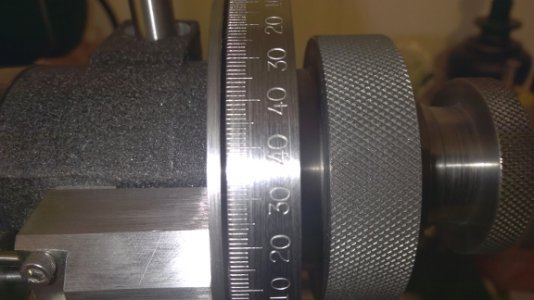
tool holder dial2.jpg I also cut off the marks on the index dial and re-marked them. They are much better and the numbers came out excellent. I like the parts much better now.

The drive belt is supposed to be here Monday. I can't wait to fire this thing up and hope it runs good. I'll keep working on details till then. tool holder table dial2.jpg
 
Since I re-did the dials on the grinder , I noticed the dial plate for the column looked really bad compared to the new ones ...sooooo... I re-did it too. The one degree marks were not even and it just didn't look good. I machined the markings off and did them over. It looks great now.
column dial.jpg
 
You're just going to keep tinkering with this thing, aren't ya? ;)
 
You're just going to keep tinkering with this thing, aren't ya? ;)

Might as well make it as perfect as possible while I am waiting on the drive belt :grin:


Bill,
Did you get the manual I sent you?
 
Last edited by a moderator:
The new graduations look fantastic. Nice job. I need to build a jig like yours for stamping.
R
 
The new graduations look fantastic. Nice job. I need to build a jig like yours for stamping.
R
I have learned a lot about graduations and stamping the hard way ( screwing it up and doing it over). there are things you have to watch and pay attention to, but it is relatively easy to make almost perfect graduations and very good stampings with some simple jig and a good degree wheel. I would like to write an article on it but need some free time ...... ha! what's that? ..........to do it and don't know if the interest is there. after all this is easy to do, right? The more I have done it , the better it gets because I learned what to watch and how to overcome the problems that will and do arise. I am designing a stamping fixture that should eliminate the problems that I have encountered.
 
Might as well make it as perfect as possible while I am waiting on the drive belt :grin:


Bill,
Did you get the manual I sent you?

Yes I did, thank you. Looked at it briefly, and will give it another look this weekend.
 
Back
Top