Another buggy

I remember my dad saying he heard dimes cause cancer. They ground them up a fed them to rats to prove it. They died!
Aaron
Yabbut - I'd bet they had rich blood when they went :)
 
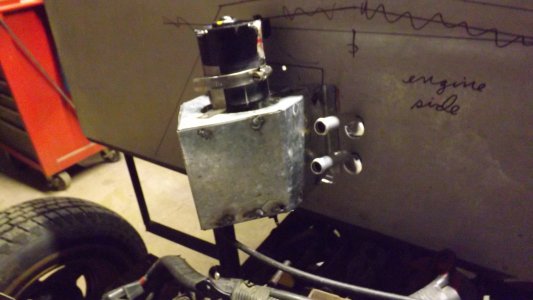
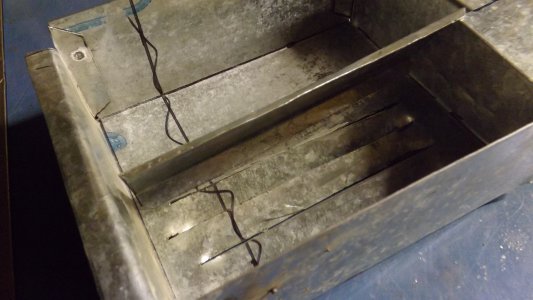
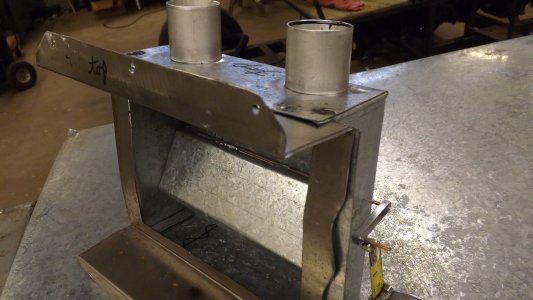
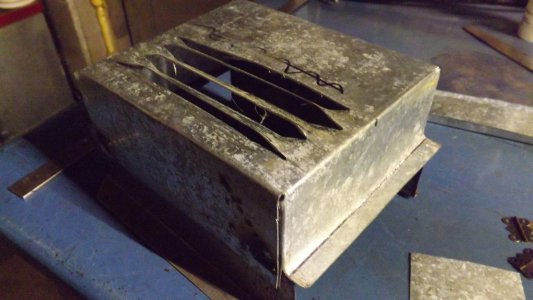
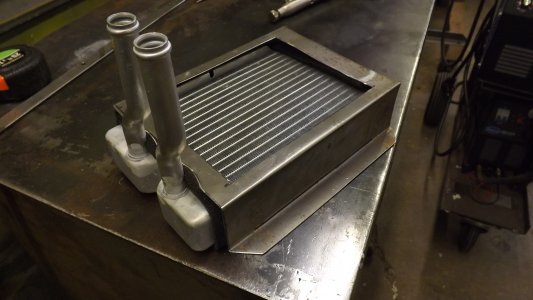
Since my last post the heater has been completed. I purchased a new heater core off EBAY and built a housing for it. In the previous buggy the heater was mounted on the floor between the seats so no easy way to get defrost on the windshield. This box has 2 defrost outlets and large heat outlet to the floor. The fan is on engine side of firewall and will have a intake on top of engine cowl with a screen and cover protecting it.

Thanks for looking
Aaron

DSCF4124.JPG

DSCF4159.JPG

DSCF4160.JPG

DSCF4162.JPGDSCF4161.JPG
 
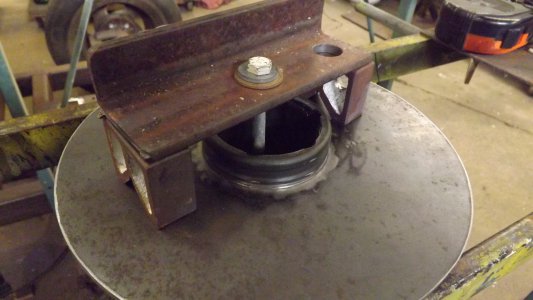
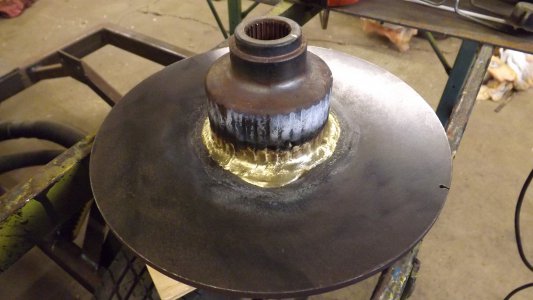
Got started (actually restarted see https://www.hobby-machinist.com/threads/tacks-cracking.56795/#post-467455) a few days ago on the brakes. Been thinking about this since then (2+ years ago) and decided to braze the disks. I 1st put the clamped assembly in the wood furnace for about 2 hours and then used the torch to heat it a little more once I got it to the shop. It seemed to work very good and after slow cooling it was put in the lathe to check runout of the disk. It was very little, plenty good for a <20 MPH vehicle.

DSCF4165.JPG

DSCF4164.JPG

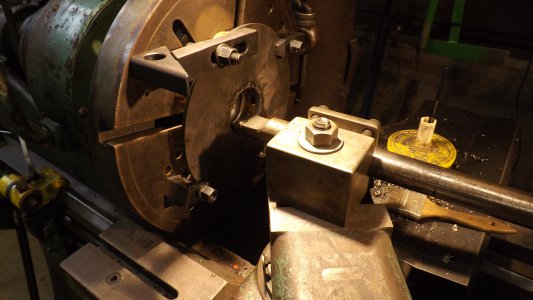
Then it was on to boring out the other disk. It was first cut out close to size with the plasma cutter then fasted to the big face plate. I haven't used that for a while so took extra time to make sure it would stay put. Probably way out of balance but at ~1 RPM that was not an issue.
DSCF4163.JPG

So now it's on to building caliper mounts.
Thanks for your interest.
Aaron
 
Couple days working on caliper mounts among interruptions ( the coolant pump on the band saw stopped working so I had one that came off another machine that was put on. It was way too high volume and pressure so had to put in a restrictor in the line on Monday. Today that stopped working so I got the original and took it apart for cleaning and now it's back on working good).

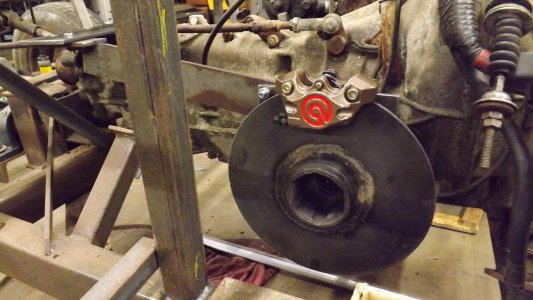
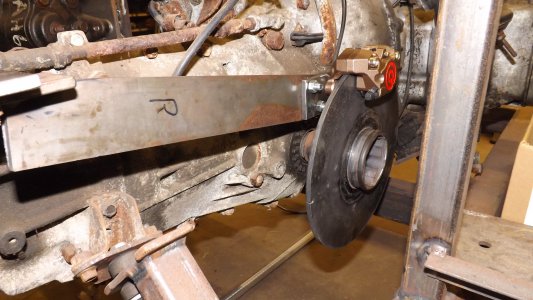
There will be brakes on the front axel only and those are on the CV joint bell at the trany. So I fashioned a link from the top of the trany. If necessary another support can be added to the other end. These calipers are dual piston, one on each side of the disk

DSCF4168.JPG

DSCF4171.JPG

Got out the master cylinder and fount it was badly corroded and unusable so have one coming from EBAY for Tuesday. Tomorrow I'll start trying to figure out the engine wiring and hoses.
Thanks for looking.
Aaron
 
Just an update for the past 2 weeks. Pics and more info will follow soon.
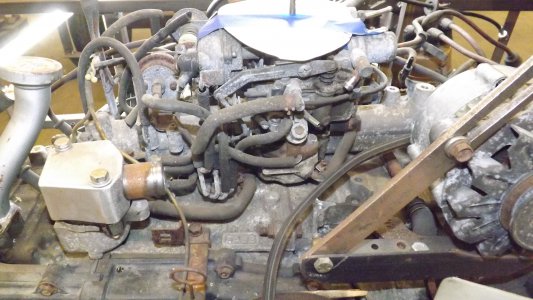
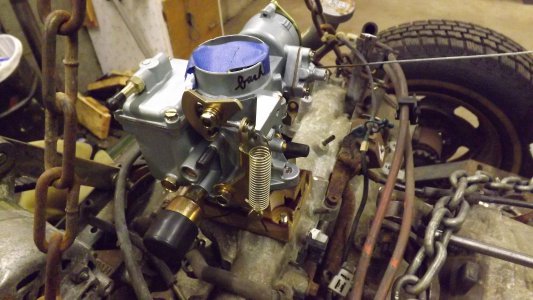
In figuring out the ignition wiring I was able to start the engine but it would not continue to run without squirting gas in carb so assumed the carb was gunked up from sitting for20+ years. Just a good look at the carb made me decide to replace it with a new and much simpler one. Wouldn't you agree?

DSCF4173.JPG

So I looked online for a single barrel that looked right and fit the price constraints (I.E. cheap). I found a beauty from a Nissan of some kind (EDIT it's for a VW bug) on EBAY. Will need to make an adapter plate and a different throttle lever.

Also been working on exhaust piping and fit the new brake master cylinder. Pics and more to come.
Thanks for looking
Aaron
 
Last edited:
Aron, i truly enjoy reading this thread and seeing all the pictures, this is something i've done in the past. About the brakes, i've had problems with inboard brake disk, bolted to the inner joint on cars, i've had diff bearings fail on me, striped the splines on the inner joint, brake the case of the diff, i'm sure you'll be using much less horsepower than me and slower speeds, but keep an eye on it. Here is a link of my buggy : http://www.505turbo.com/forum/index.php?/topic/3386-peugeot-xud9-homemade-tug-loader/#comments
 
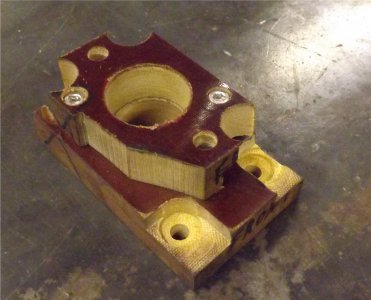
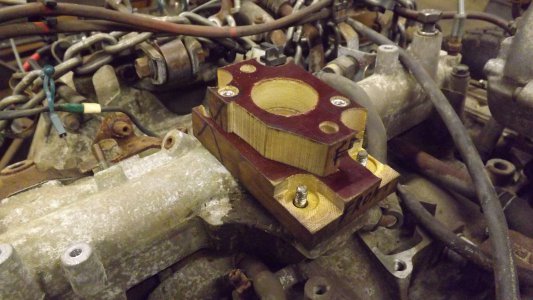
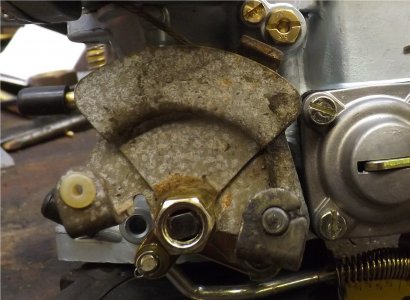
Today I worked on the carb adapter. Was surprised to find that the carb didn't have a normal flange on the bottom but was threaded to accept bolts from the bottom. That required making a 2 piece adapter with multiple countersunk bolts.

DSCF4200.JPG

DSCF4202.JPG

These are made from linen micarta that I had on hand. They still need a little trimming and prettying up and one more gasket to be made.

Now doesn't this look a lot nicer than the pic in post #35?:)
DSCF4204.JPG

Also the throttle lever from the old carb fit perfect w/o work!!

DSCF4199.JPG

Thanks
Aaron
 
Well, I guess between Aaron and Dave, we better stock up on the popcorn. Should be fun following along. When I was in the Netherlands last year I saw several very cool, small articulating 4-wheel drive units that they used in the old metro areas, where access was limited. I'll see if I can find some pics. Mike
Hey, next time you get back to Big Bend let me show you the articulated loader that I built bout 45 years ago. She is powered by a Wisconsin VG4-D 37 brake hp engine driving a pump for the loader hydraulics, another for the power steering and a variable vol piston pump for the 4-wheel drive power.
 
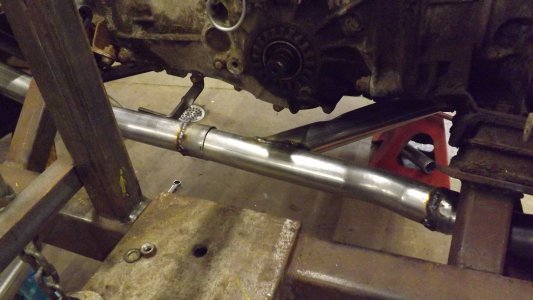
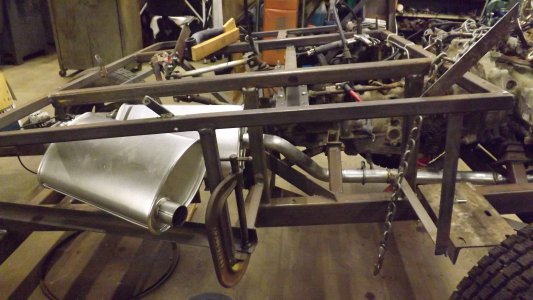
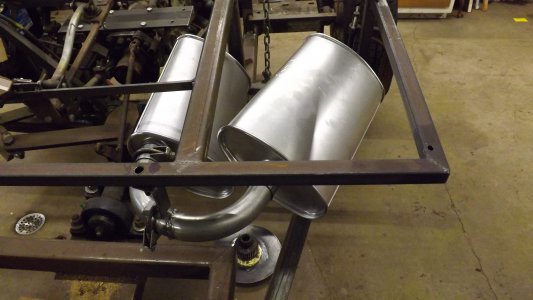
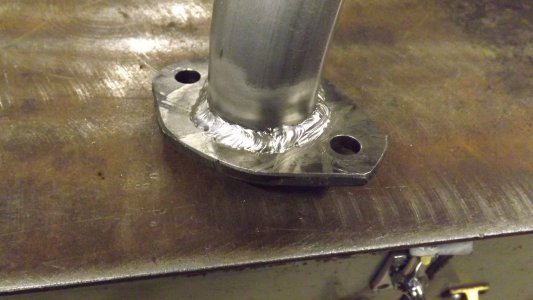
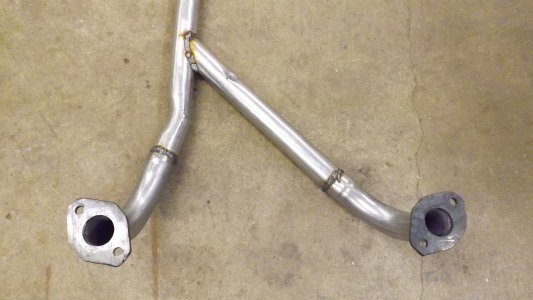
I had started on the exhaust system last week but received the rest of the parts and it is now complete. I made new flanges and welded them to 90 degree elbows.

DSCF4191.JPG

Then with everything held or clamped in place and while laying on a creeper tacked it together. Found I had to raise the engine off the mounts about 2" to remove the pipe. (when I worked as a auto mechanic a long time ago, we used to bad mouth the engineers that designed things that needed to have so many things removed to get at others) In order to raise the engine I had to remove the starter and the clutch cable bracket:rolleyes:.

DSCF4188.JPG

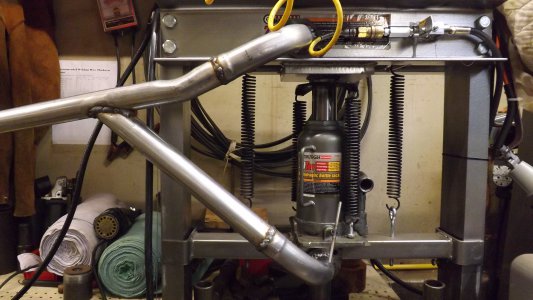
all joints were then welded on the table. When I went to reinstall it on the engine found that it had warped a little and the flanges were now 1/4" too close together. After thinking for about 15 minutes how I might spread them, came up with the idea of using the shop press in an unconventional way but it worked great after a few tries to get the right amount of stretch after spring back.

DSCF4192.JPG


DSCF4193.JPG

So yesterday the mufflers were received and installed. Yes that's a "S" on the muffler. I want this to be very quiet so as to not bother neighbors or anyone. A similar thing was done with Buggy 1 with so much success that I had to install a tach so I knew how fast the engine was spinning.

DSCF4206.JPG
DSCF4205.JPG

A tail pipe spout will complete the job.

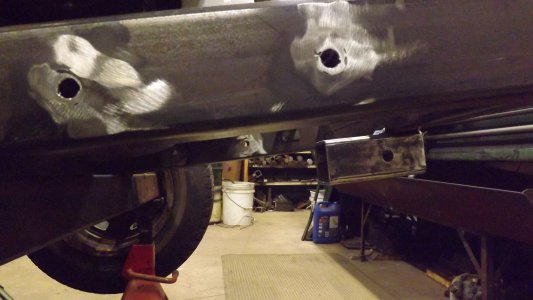
I also yesterday put implement attach holes in the front frame. They are a tube welded on both sides so that bolts will not crush the frame. The receiver can also be seen and there is one on rear frame also

DSCF4208.JPG

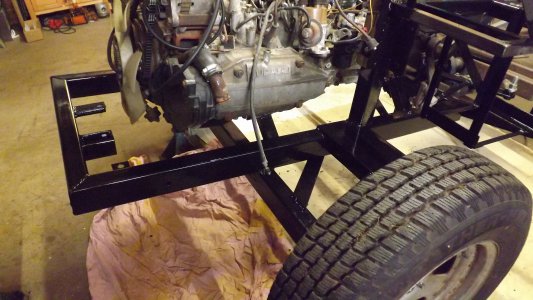
Today the painting of the frame was started.

DSCF4209.JPG

Thanks for looking
Aaron
 
May be a while before I get back up your way, but I'd love to see your rig. Cheers, Mike

Hey, next time you get back to Big Bend let me show you the articulated loader that I built bout 45 years ago. She is powered by a Wisconsin VG4-D 37 brake hp engine driving a pump for the loader hydraulics, another for the power steering and a variable vol piston pump for the 4-wheel drive power.
 
Back
Top