2014 POTD Thread Archive

I figured it would warp that's why I chose 1" material. I planned from the start to machine things square after welding.

Brian, if you have the facility it would be very beneficial to heat treat to stress relieve before machining. Straight machining without, may, (probably will) create stress relief during the process and cause it to move anyway.

Cheers Phil
 
That's a good idea Phil. I will take it to work and stress relieve it.
 
Brian, Nice looking welds. I take it you just added the over kill of weld for more pratice. 7018 is a bit tricky, lots of guys like to tap it on the steel, but I have found striking it like a match works best for me. I also break the flux off the end of the rod between welds. Your cover pass where the top and bottom meet on the face looks like it was too hot or you didn't hold the edge long enough. not real bad. all in all though your welds look pretty good for only having the machine a short time. Real sure they will hold fine. Be sure you have all the slag out of the weld before machining slag will kill an end mill real quick.Mark


Yes, I built that big fillet just to burn up rods and get practice. I know it was overkill!

At first I was hitting the ends of the rod with a file. Then I tried scratching it on the concrete floor while it was still in the stinger. That worked well!

I was having trouble at the ends of the welds (edge of the plate) at first. Trying to keep the edge from blowing out. I was making two full circles and long arcing out of the weld.

I cleaned every pass real well! The slag came off real easy for the most part. The trickiest part was the inside corner. I couldn't get my wire wheel in there. I used a small stainless wire brush for that.

I'm really enjoying welding so far! I had my garage door open and a fan blowing the smoke and fumes away from me. I would like to make some type of fume extractor to vent the smoke outside and away from me.
 
pretty sharp for your first project! Nice looking welds.:thumbsup2:


Thanks I am happy with how they looked for not ever welding. Not sure if it made a difference or not but the rods I used were old and never in an oven. From what i understand oven stored 7018 rods are only important in x-ray quality code work. They will make good welds if not stored in an oven.
 
Brian, Nice looking welds. I take it you just added the over kill of weld for more pratice. 7018 is a bit tricky, lots of guys like to tap it on the steel, but I have found striking it like a match works best for me. I also break the flux off the end of the rod between welds. Your cover pass where the top and bottom meet on the face looks like it was too hot or you didn't hold the edge long enough. not real bad. all in all though your welds look pretty good for only having the machine a short time. Real sure they will hold fine. Be sure you have all the slag out of the weld before machining slag will kill an end mill real quick.Mark

Regarding the PITA factor in restriking 7018 'trodes, I use my Chemetron P&H tig welder with the tig frequency unit operational. The 'freq unit lets me run 1/16 rods of other designation at very low currents as well without the need to scratch start the rod. I know this is cheating but my welding skills would otherwise be lacking.
 
Regarding the PITA factor in restriking 7018 'trodes, I use my Chemetron P&H tig welder with the tig frequency unit operational. The 'freq unit lets me run 1/16 rods of other designation at very low currents as well without the need to scratch start the rod. I know this is cheating but my welding skills would otherwise be lacking.


Tig welding has peaked my curiosity since I have been reading up on welding. I will be looking to add a tig welder to the shop in the future. I wouldn't call it cheating...I would call it using your resources!!
 
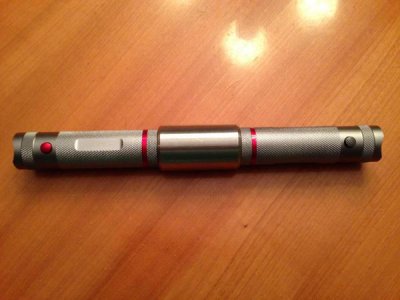
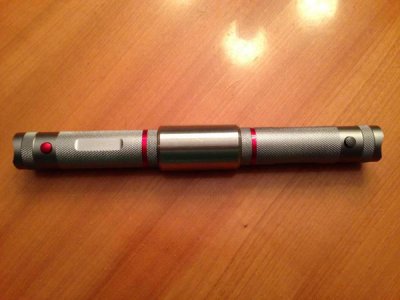
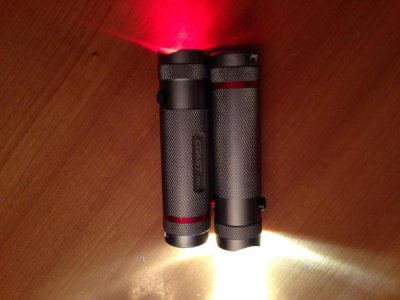
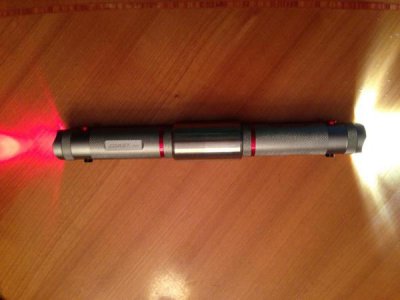
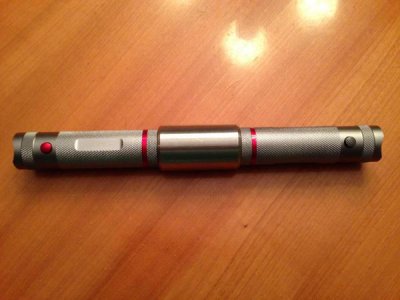
Made a night time dog walking or just walking light.

IMG_0998.jpg

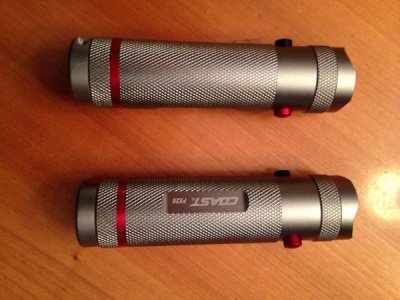
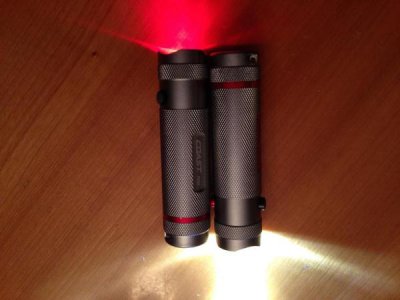
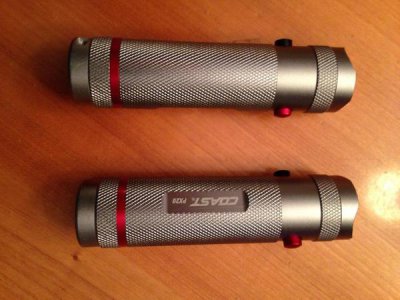
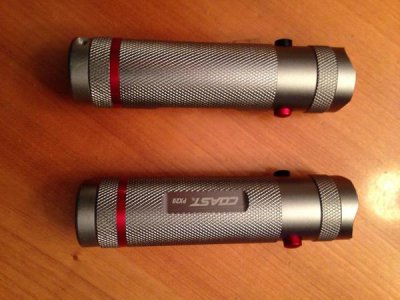
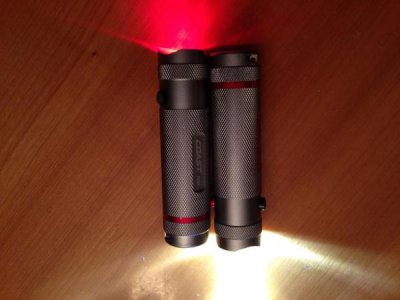
Found these LED lights that can turn on either red or white:

IMG_0999.jpg

IMG_1001.jpg

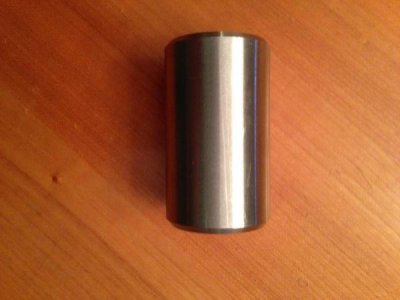
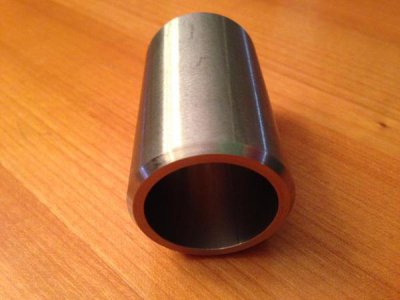
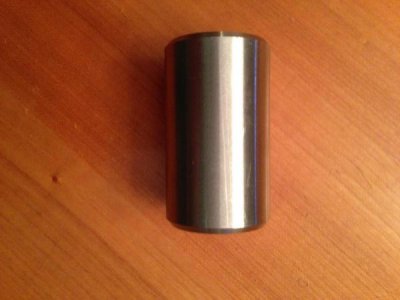
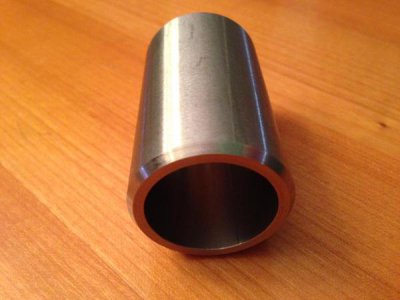
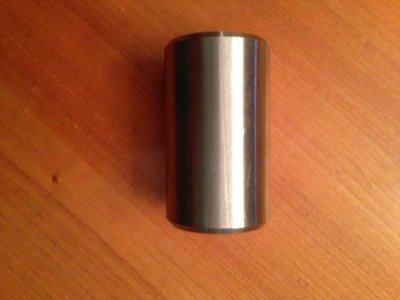
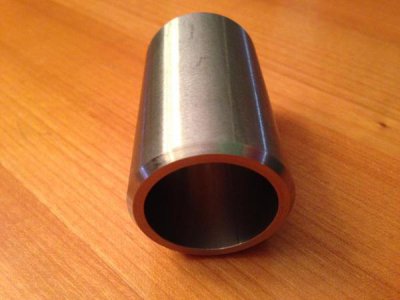
The project part was to make the connecting piece out of a bar of stainless, a simple boring project:

IMG_1002.jpg
IMG_1004.jpg
IMG_1005.jpg


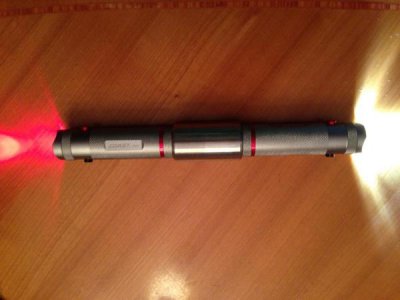
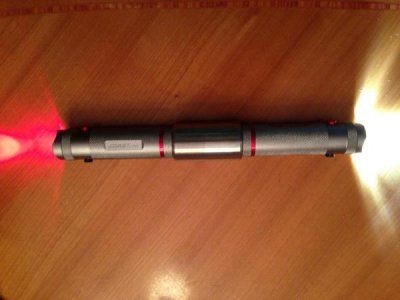
That way you walk holding it on the street and in front there is a white light and behind a red light so more visibility.

Both lights are the same so when on white there are 9 LEDs and when red just one. So if it starts to wear down can just turn it around

Simple project but it came out just the way I wanted it to.

IMG_0998.jpg

IMG_0999.jpg

IMG_1001.jpg

IMG_1002.jpg

IMG_1004.jpg

IMG_1005.jpg

IMG_0998.jpg

IMG_0999.jpg

IMG_1001.jpg

IMG_1002.jpg

IMG_1004.jpg

IMG_1005.jpg
 
Back
Top